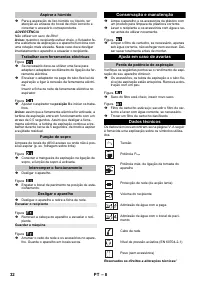
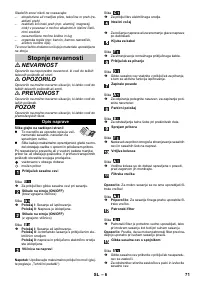
Строительные пылесосы Karcher WD 3 P-I_(1.629-891.0) - инструкция пользователя по применению, эксплуатации и установке на русском языке. Мы надеемся, она поможет вам решить возникшие у вас вопросы при эксплуатации техники.
Если остались вопросы, задайте их в комментариях после инструкции.
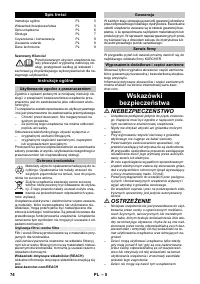
"Загружаем инструкцию", означает, что нужно подождать пока файл загрузится и можно будет его читать онлайн. Некоторые инструкции очень большие и время их появления зависит от вашей скорости интернета.


– 8
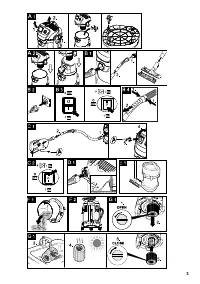
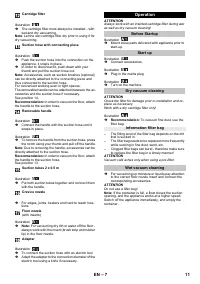
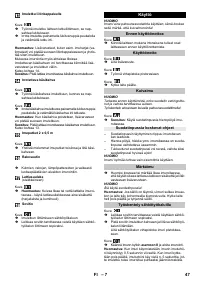
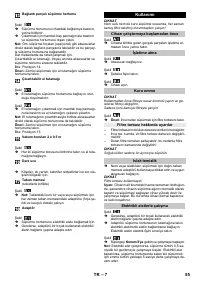
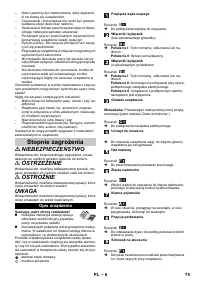
Illustration
Adapt the adapter to the connection diameter of the
electric tool using a knife if necessary.
Connect the adapter to the handle of the suction
hose and connect it to the electric tool connection.
Connect the mains plug of the electric power tool to
the vacuum cleaner.
Illustration
Switch the vacuum cleaner to
Position II
and start
working.
Note:
As soon as the electric tool is switched on, the
suction turbine starts with a 0.5 second delay. If the
electric tool is switched off, the suction turbine contin-
ues to run for approx. 5 seconds in order to vacuum up
the remaining dirt in the suction hose.
Cleaning hard to reach locations or, where vacuuming
is not possible, like leaves from a gravel bed.
Illustration
Connect the suction hose to the blower connection,
this will activate the blower function.
Turn off the appliance.
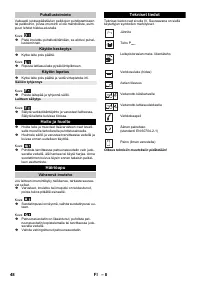
Illustration
Hook the floor nozzle into the parking position.
Turn off the appliance and disconnect the mains plug.
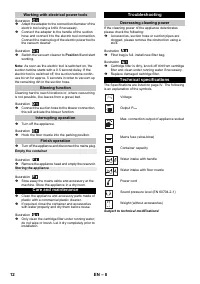
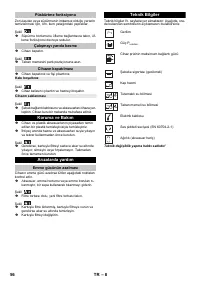
Illustration
Remove the appliance head and empty the reservoir.
Illustration
Stow away the mains cable and accessory at the
machine. Store the appliance in a dry room.
Clean the appliance and accessory parts made of
plastic with a commercial plastic cleaner.
If required, rinse the container and accessories
with water properly and dry them before reuse.
Illustration
Only clean the cartridge filter under running water;
do not wipe or brush. Let it dry completely prior to
installation.
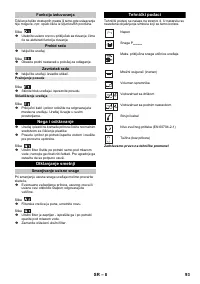
If the cleaning power of the appliance deteriorates
please check the following:
Accessories, suction hose or suction pipes are
clogged, please remove the obstruction using a
stick.
Illustration
Filter bag is full, install new filter bag.
Illustration
Cartridge filter is dirty, knock off dirt from cartridge
filter and clean under running water if necessary.
Replace damaged cartridge filter.
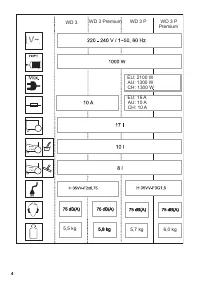
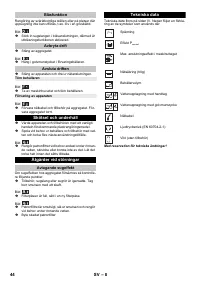
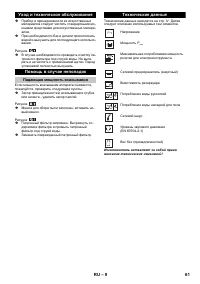
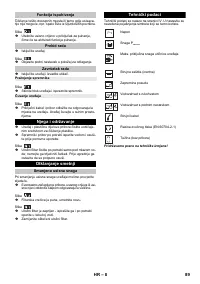
The Specifications are listed on page IV. The following
is an explanation of the symbols.
Subject to technical modifications!
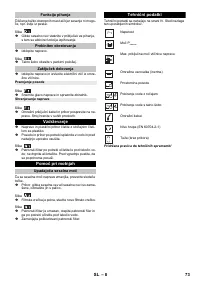
Working with electrical power tools
Blowing function
Interrupting operation
Finish operation
Empty the container
Storing the appliance
Care and maintenance
Troubleshooting
Decreasing cleaning power
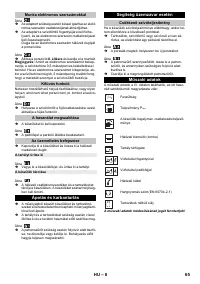
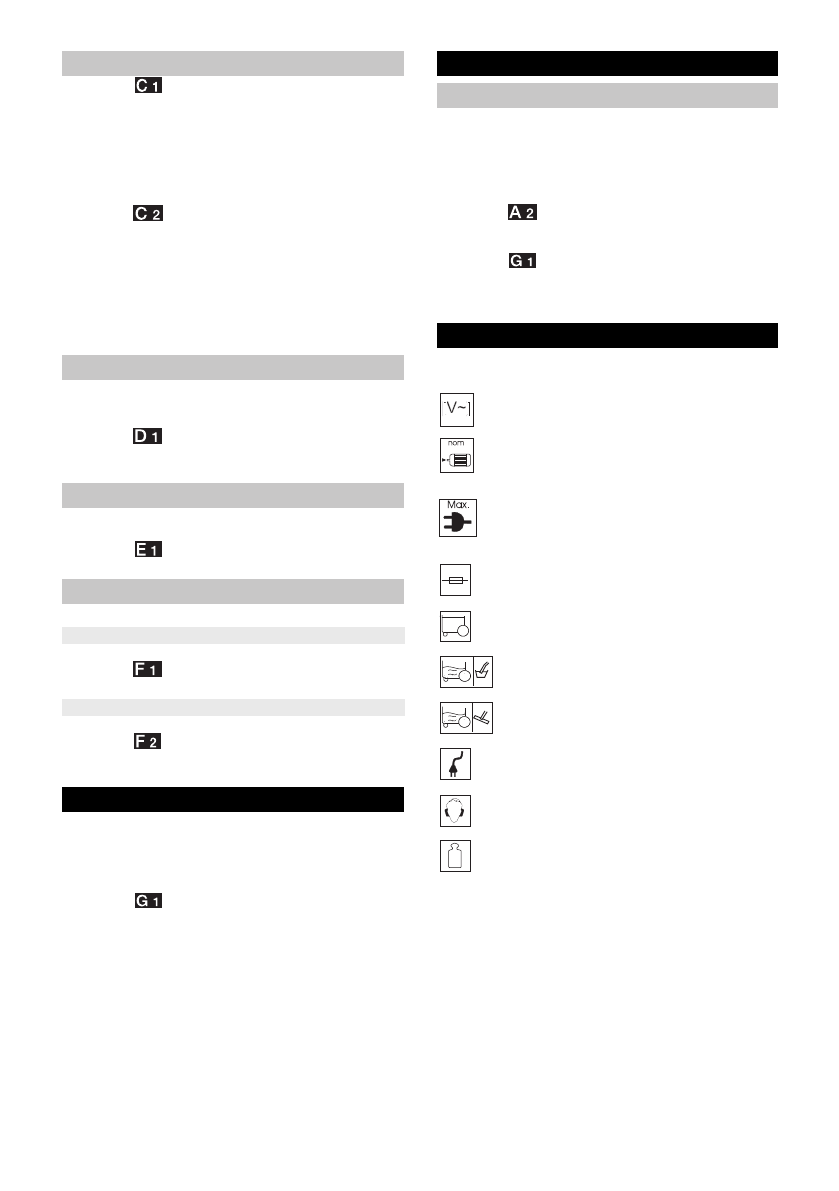
Technical specifications
Voltage
Output P
nom
Max. connection output of appliance socket
Mains fuse (slow-blow)
Container capacity
Water intake with handle
Water intake with floor nozzle
Power cord
Sound pressure level (EN 60704-2-1)
Weight (without accessories)
12
EN
Характеристики

Остались вопросы?Не нашли свой ответ в руководстве или возникли другие проблемы? Задайте свой вопрос в форме ниже с подробным описанием вашей ситуации, чтобы другие люди и специалисты смогли дать на него ответ. Если вы знаете как решить проблему другого человека, пожалуйста, подскажите ему :)


