Строительные пылесосы GRAPHITE 59G608 - инструкция пользователя по применению, эксплуатации и установке на русском языке. Мы надеемся, она поможет вам решить возникшие у вас вопросы при эксплуатации техники.
Если остались вопросы, задайте их в комментариях после инструкции.
"Загружаем инструкцию", означает, что нужно подождать пока файл загрузится и можно будет его читать онлайн. Некоторые инструкции очень большие и время их появления зависит от вашей скорости интернета.


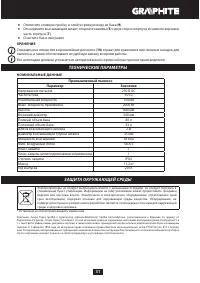


16
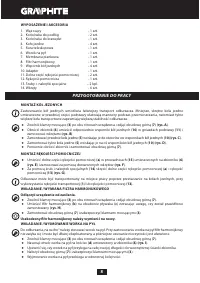
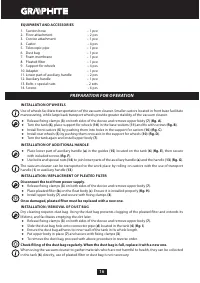
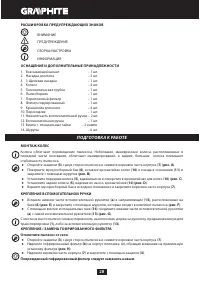
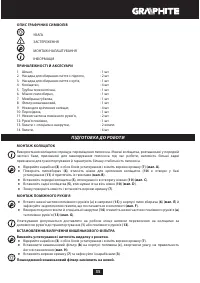
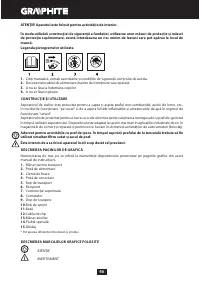
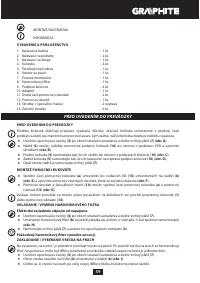
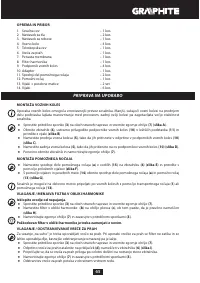
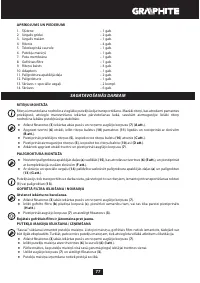
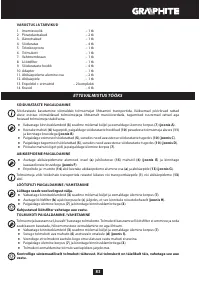
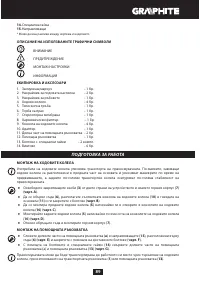
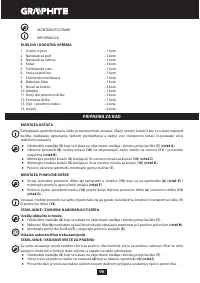
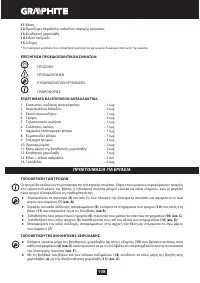
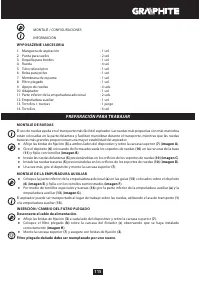
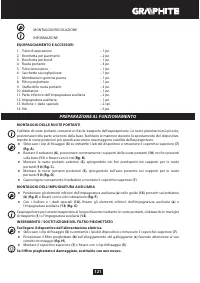
EQUIPMENT AND ACCESSORIES
1. Suction hose
– 1 pce
2. Floor attachment
– 2 pcs
3. Crevice attachment
– 1 pce
4. Castor
– 4 pcs
5. Telescopic pipe
– 1 pce
6. Dust bag
– 1 pce
7. Foam membrane
– 1 pce
8. Pleated filter
– 1 pce
9. Support for wheels
– 4 pcs
10. Adapter
– 1 pce
11. Lower part of auxiliary handle
– 2 pcs
12. Auxiliary handle
– 1 pce
13. Bolts + special nuts
– 2 sets
14. Screws
– 6 pcs
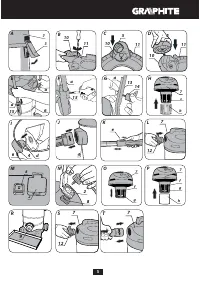
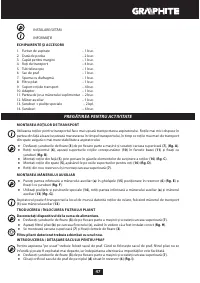
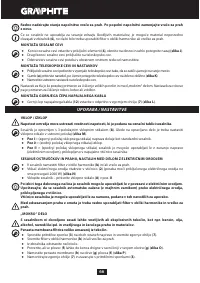
PREPARATION FOR OPERATION
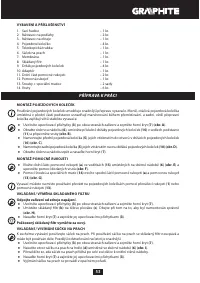
INSTALLATION OF WHEELS
Use of wheels facilitate transportation of the vacuum cleaner. Smaller castors located in front base facilitate
manoeuvring, while large back transport wheels provide greater stability of the vacuum cleaner.
Ɣ
Release fixing clamps (
3
) on both sides of the device and remove upper body (
7
) (
fig. A
).
Ɣ
Turn the tank (
6
), place support for wheels (
10
) in the base sockets (
11
) and fix with screws (
fig. B
).
Ɣ
Install front castors (
5
) by pushing them into holes in the support for castors (
10
) (
fig. C
).
Ɣ
Install rear wheels (
5
) by pushing them onto axis in the support for wheels (
10
) (
fig. D
).
Ɣ
Turn the tank again and install upper body (
7
).
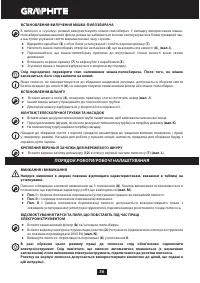
INSTALLATION OF ADDITIONAL HANDLE
Ɣ
Place lower part of auxiliary handle (
a
) in the guides (
15
) located on the tank (
6
) (
fig. E
), then secure
with included screws (
fig. F
).
Ɣ
Use bolts and special nuts (
14
) to join lower parts of the auxiliary handle (
a
) and the handle (
13
) (
fig. G
).
The vacuum cleaner can be transported to the work place by rolling on castors with the use of transport
handle (
1
) or auxiliary handle (
13
).
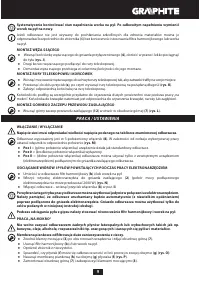
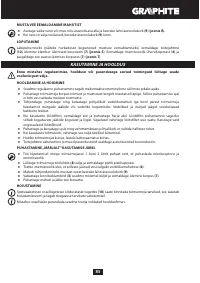
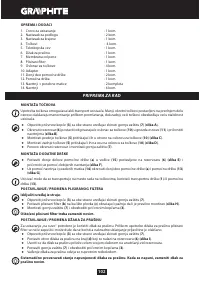
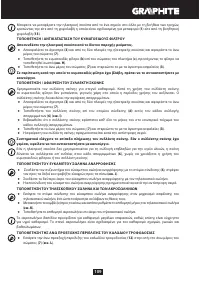
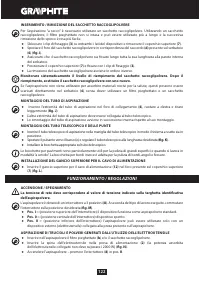
INSTALLATION / REPLACEMENT OF PLEATED FILTER
Disconnect the tool from power supply.
Ɣ
Release fixing clamps (
3
) on both sides of the device and remove upper body (
7
).
Ɣ
Place pleated filter (
b
) on the float body (
c
). Ensure it is installed properly (
fig. H
).
Ɣ
Install upper body (
7
) and secure with fixing clamps (
3
).
Once damaged, pleated filter must be replaced with a new one.
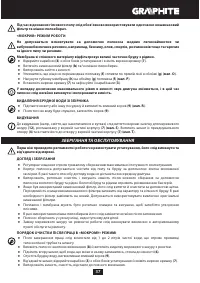
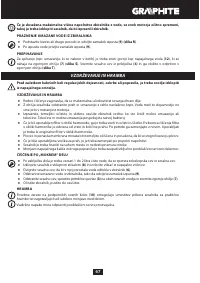
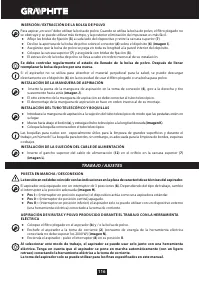
INSTALLATION / REMOVAL OF DUST BAG
Dry cleaning requires dust bag. Using the dust bag prevents clogging of the pleated filter and extends its
lifetime, and facilitates emptying the dirt later.
Ɣ
Release fixing clamps (
3
) on both sides of the device and remove upper body (
7
).
Ɣ
Slide the dust bag hole onto connector pipe (
d
) located in the tank (
6
) (
fig. I
).
Ɣ
Ensure the dust bag adheres to inner wall of the tank in its whole length.
Ɣ
Put upper body in place (
7
) and secure with fixing clamps (
3
).
Ɣ
To remove the dust bag, proceed with above procedure in reverse order.
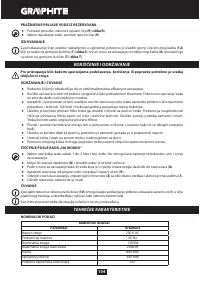
Check filling of the dust bag regularly. When the dust bag is full, replace it with a new one.
When using the vacuum cleaner to gather materials which are not harmful to health, they can be collected
in the tank (
6
) directly, use of pleated filter or dust bag is not necessary.
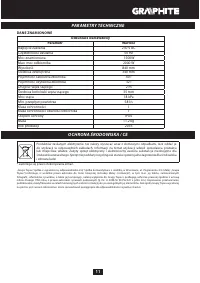
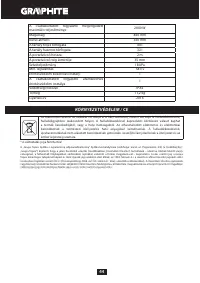
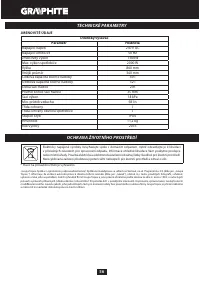
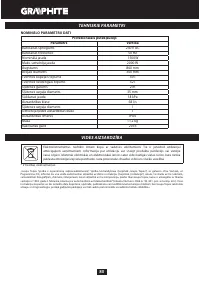
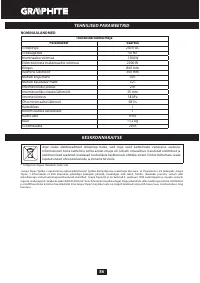
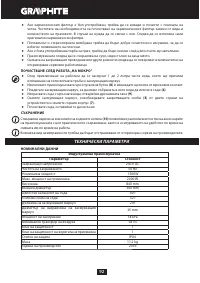
Характеристики

Остались вопросы?Не нашли свой ответ в руководстве или возникли другие проблемы? Задайте свой вопрос в форме ниже с подробным описанием вашей ситуации, чтобы другие люди и специалисты смогли дать на него ответ. Если вы знаете как решить проблему другого человека, пожалуйста, подскажите ему :)


