
Шуруповерты Makita DDA450ZK - инструкция пользователя по применению, эксплуатации и установке на русском языке. Мы надеемся, она поможет вам решить возникшие у вас вопросы при эксплуатации техники.
Если остались вопросы, задайте их в комментариях после инструкции.
"Загружаем инструкцию", означает, что нужно подождать пока файл загрузится и можно будет его читать онлайн. Некоторые инструкции очень большие и время их появления зависит от вашей скорости интернета.


8 ENGLISH
ASSEMBLY
CAUTION:
Always be sure that the tool is
switched off and the battery cartridge is removed
before carrying out any work on the tool.
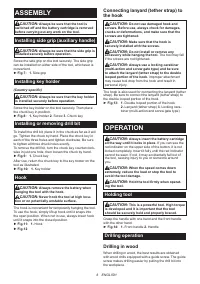
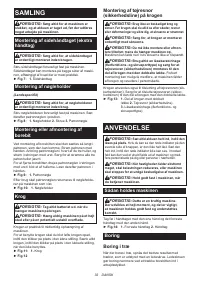
Installing side grip (auxiliary handle)
CAUTION:
Always be sure that the side grip is
installed securely before operation.
Screw the side grip on the tool securely. The side grip
can be installed on either side of the tool, whichever is
convenient.
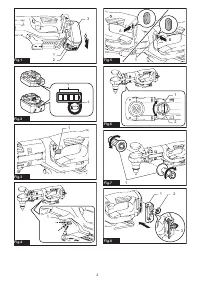
►
Fig.7:
1.
Side grip
Installing key holder
(Country specific)
CAUTION:
Always be sure that the key holder
is installed securely before operation.
Screw the key holder on the tool securely. Then place
the chuck key in position.
►
Fig.8:
1.
Key holder
2.
Screw
3.
Chuck key
Installing or removing drill bit
To install the drill bit, place it in the chuck as far as it will
go. Tighten the chuck by hand. Place the chuck key in
each of the three holes and tighten clockwise. Be sure
to tighten all three chuck holes evenly.
To remove the drill bit, turn the chuck key counterclock-
wise in just one hole, then loosen the chuck by hand.
►
Fig.9:
1.
Chuck key
After use, return the chuck key to the key holder on the
tool as illustrated.
►
Fig.10:
1.
Key holder
Hook
CAUTION:
Always remove the battery when
hanging the tool with the hook.
CAUTION:
Never hook the tool at high loca-
tion or on potentially unstable surface.
The hook is convenient for temporarily hanging the tool.
To use the hook, simply lift up hook until it snaps into
the open position. When not in use, always lower hook
until it snaps into the closed position.
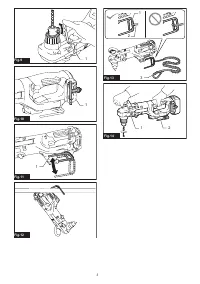
►
Fig.11:
1.
Hook
►
Fig.12
Connecting lanyard (tether strap) to
the hook
CAUTION:
Do not use damaged hook and
screws. Before use, always check for damages,
cracks or deformations, and make sure that the
screws are tightened.
CAUTION:
Make sure that the hook is
securely installed with the screws.
CAUTION:
Do not install or remove any
accessory while hanging the tool.
The tool may fall
if the screws are not tightened.
CAUTION:
Always use a locking carabiner
(multi-action and screw gate type) and be sure
to attach the lanyard (tether strap) to the double
looped portion of the hook.
Improper attachment
may cause tool drop from the hook and result in
personal injury.
The hook is also used for connecting the lanyard (tether
strap). Be sure to connect the lanyard (tether strap) to
the double looped portion of the hook.
►
Fig.13:
1.
Double looped portion of the hook
2.
Lanyard (tether strap)
3.
Locking cara-
biner (multi-action and screw gate type)
OPERATION
CAUTION:
Always insert the battery cartridge
all the way until it locks in place.
If you can see the
red indicator on the upper side of the button, it is not
locked completely. Insert it fully until the red indicator
cannot be seen. If not, it may accidentally fall out of
the tool, causing injury to you or someone around
you.
CAUTION:
When the speed comes down
extremely, reduce the load or stop the tool to
avoid the tool damage.
CAUTION:
Hold the tool firmly when operat
-
ing the tool.
Holding tool
CAUTION:
This is a powerful tool. High torque
is developed and it is important that the tool
should be securely held and properly braced.
Grasp the handle with one hand and the front handle
with the other hand.
►
Fig.14:
1.
Front handle
2.
Handle
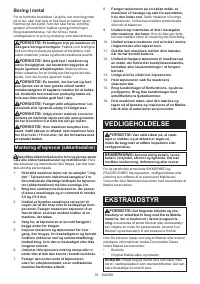
Drilling operation
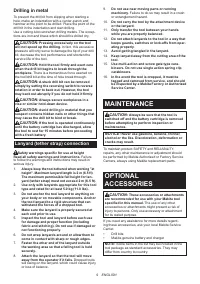
Drilling in wood
When drilling in wood, the best results are obtained
with wood drills equipped with a guide screw. The guide
screw makes drilling easier by pulling the drill bit into
the workpiece.
Содержание
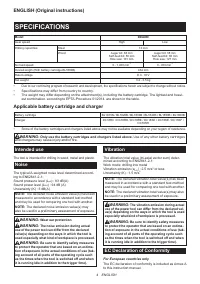
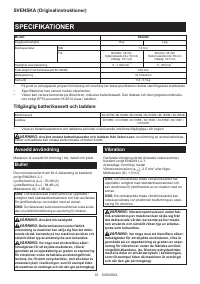
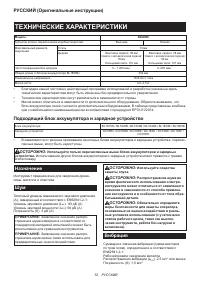
- 52 ТЕХНИЧЕСКИЕ ХАРАКТЕРИСТИКИ; Подходящий блок аккумулятора и зарядное устройство; Вибрация
- 53 МЕРЫ БЕЗОПАСНОСТИ; Сохраните брошюру с инструк
- 54 Важные правила техники; СОХРАНИТЕ ДАННЫЕ
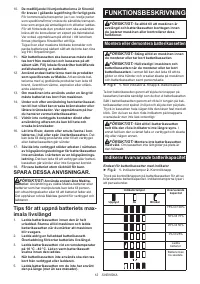
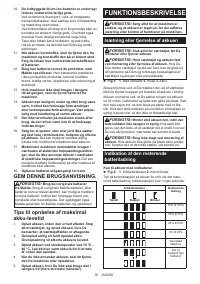
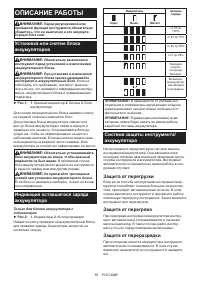
- 55 ОПИСАНИЕ РАБОТЫ; Защита от перегрузки
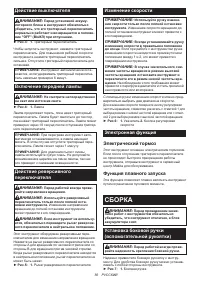
- 56 Электрический тормоз; СБОРКА
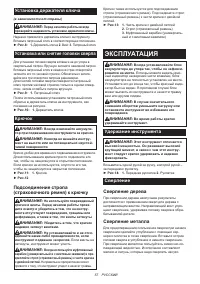
- 57 Установка держателя ключа; ЭКСПЛУАТАЦИЯ; Удержание инструмента
- 58 Подсоединение стропа; ОБСЛУЖИВАНИЕ
- 59 ДОПОЛНИТЕЛЬНЫЕ


