
Шуруповерты GRAPHITE 58G712 - инструкция пользователя по применению, эксплуатации и установке на русском языке. Мы надеемся, она поможет вам решить возникшие у вас вопросы при эксплуатации техники.
Если остались вопросы, задайте их в комментариях после инструкции.
"Загружаем инструкцию", означает, что нужно подождать пока файл загрузится и можно будет его читать онлайн. Некоторые инструкции очень большие и время их появления зависит от вашей скорости интернета.


12
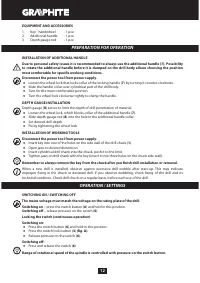
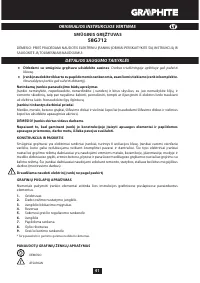
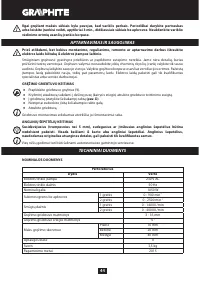
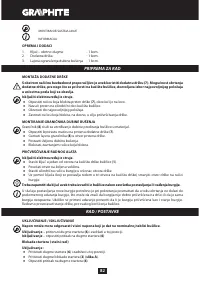
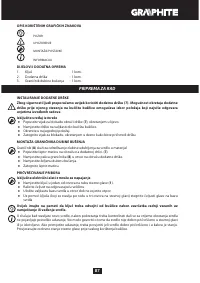
EQUIPMENT AND ACCESSORIES
1.
Key - handwheel
- 1 pce
2.
Additional handle
- 1 pce
3.
Depth gauge rod
- 1 pce
PREPARATION FOR OPERATION
INSTALLATION OF ADDITIONAL HANDLE
Due to personal safety issues it is recommended to always use the additional handle (7). Possibility
to rotate the additional handle before it is clamped on the drill body allows choosing the position
most comfortable for specific working conditions.
Disconnect the power tool from power supply.
Ɣ
Loosen the wheel lock that locks collar of the locking handle (
7
) by turning it counter-clockwise.
Ɣ
Slide the handle collar over cylindrical part of the drill body.
Ɣ
Turn for the most comfortable position.
Ɣ
Turn the wheel lock clockwise tightly to clamp the handle.
DEPTH GAUGE INSTALLATION
Depth gauge (
8
) serves to limit the depth of drill penetration of material.
Ɣ
Loosen the wheel lock, which blocks collar of the additional handle (
7
).
Ɣ
Slide depth gauge rod (
8
) into the hole in the additional handle collar.
Ɣ
Set desired drill depth.
Ɣ
Fix by tightening the wheel lock.
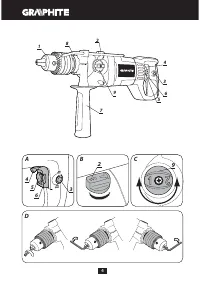
INSTALLATION OF WORKING TOOLS
Disconnect the power tool from power supply.
Ɣ
Insert key into one of the holes on the side wall of the drill chuck (
1
).
Ɣ
Open jaws to desired dimension.
Ɣ
Insert cylindrical drill shank into the chuck, push it to the limit.
Ɣ
Tighten jaws on drill shank with the key (insert it into three holes on the chuck side wall).
Remember to always remove the key from the chuck after you finish drill installation or removal.
When a new drill is installed, observe against excessive drill wobble after start-up. This may indicate
improper fixing in the chuck or deviated drill. If you observe wobbling, check fixing of the drill and its
technical condition. Check drill chuck on a regular basis, before each use of the drill.
OPERATION / SETTINGS
SWITCHING ON / SWITCHING OFF
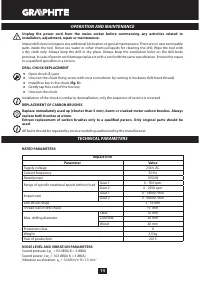
The mains voltage must match the voltage on the rating plate of the drill.
Switching on
– press the switch button (
6
) and hold in this position.
Switching off
– release pressure on the switch (
6
).
Locking the switch (continuous operation)
Switching on:
Ɣ
Press the switch button (
6
) and hold in this position.
Ɣ
Press the switch lock button (
3
)
(fig. A)
.
Ɣ
Release pressure on the switch (
6
).
Switching off:
Ɣ
Press and release the switch (
6
).
Range of rotational speed of the spindle is controlled with pressure on the switch button.


