
Шуруповерты Bosch GSR 18V-50 06019H5006 - инструкция пользователя по применению, эксплуатации и установке на русском языке. Мы надеемся, она поможет вам решить возникшие у вас вопросы при эксплуатации техники.
Если остались вопросы, задайте их в комментариях после инструкции.
"Загружаем инструкцию", означает, что нужно подождать пока файл загрузится и можно будет его читать онлайн. Некоторые инструкции очень большие и время их появления зависит от вашей скорости интернета.


English |
17
Removing the Battery
The battery
(7)
is equipped with two locking levels to pre-
vent the battery from falling out when pushing the battery re-
lease button
(8)
unintentionally. As long as the battery is in-
serted in the power tool, it is held in position by means of a
spring.
To remove the battery
(7)
, press the release button
(8)
and
pull the battery out of the power tool.
Do not use force to
do this.
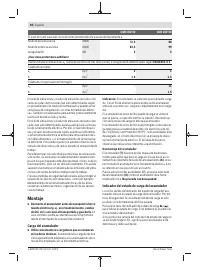
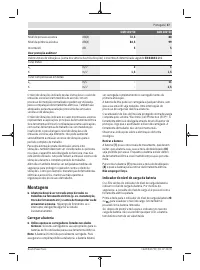
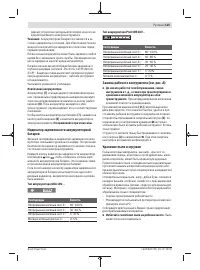
Battery charge indicator
The green LEDs on the battery charge indicator indicate the
state of charge of the battery. For safety reasons, it is only
possible to check the state of charge when the power tool is
not in operation.
Press the button for the battery charge indicator or
to
show the state of charge. This is also possible when the bat-
tery is removed.
If no LED lights up after pressing the button for the battery
charge indicator, then the battery is defective and must be
replaced.
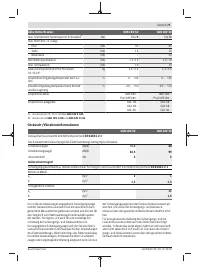
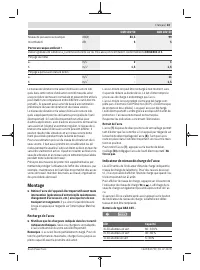
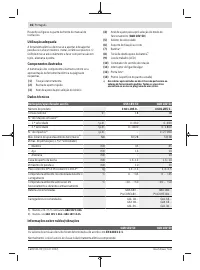
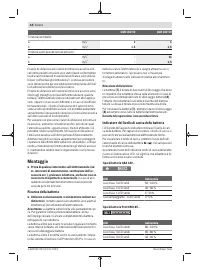
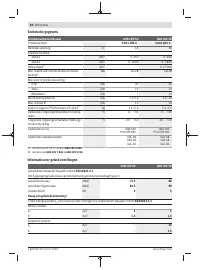
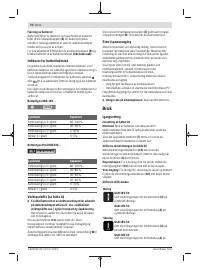
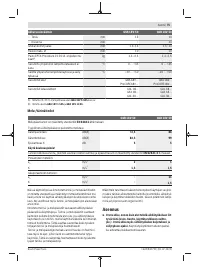
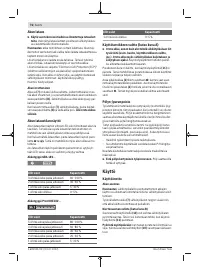
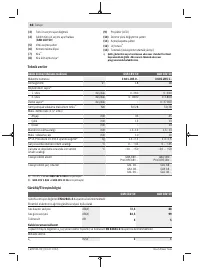
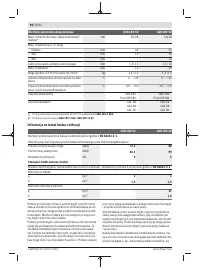
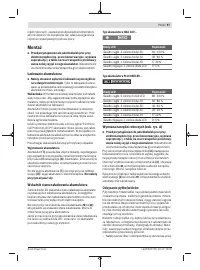
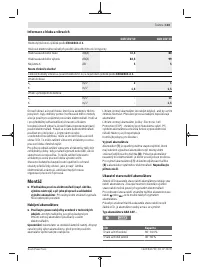
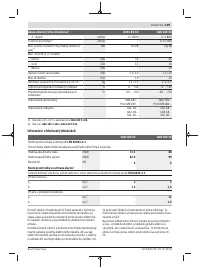
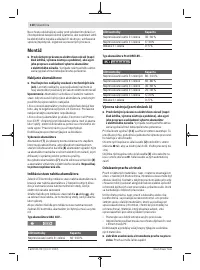
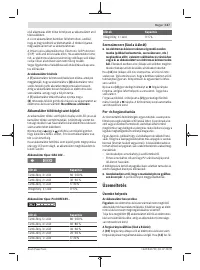
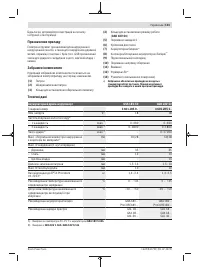
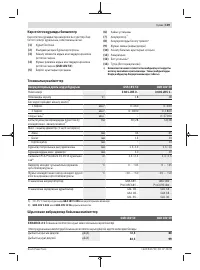
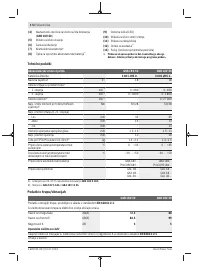
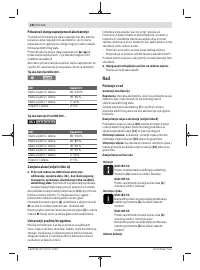
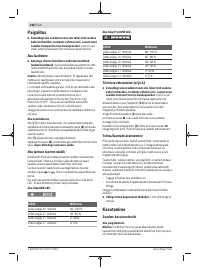
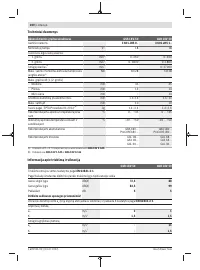
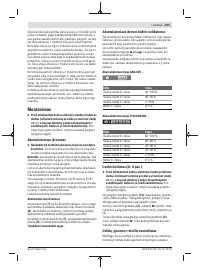
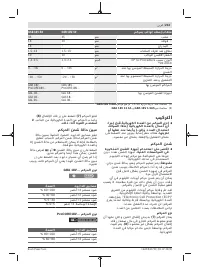
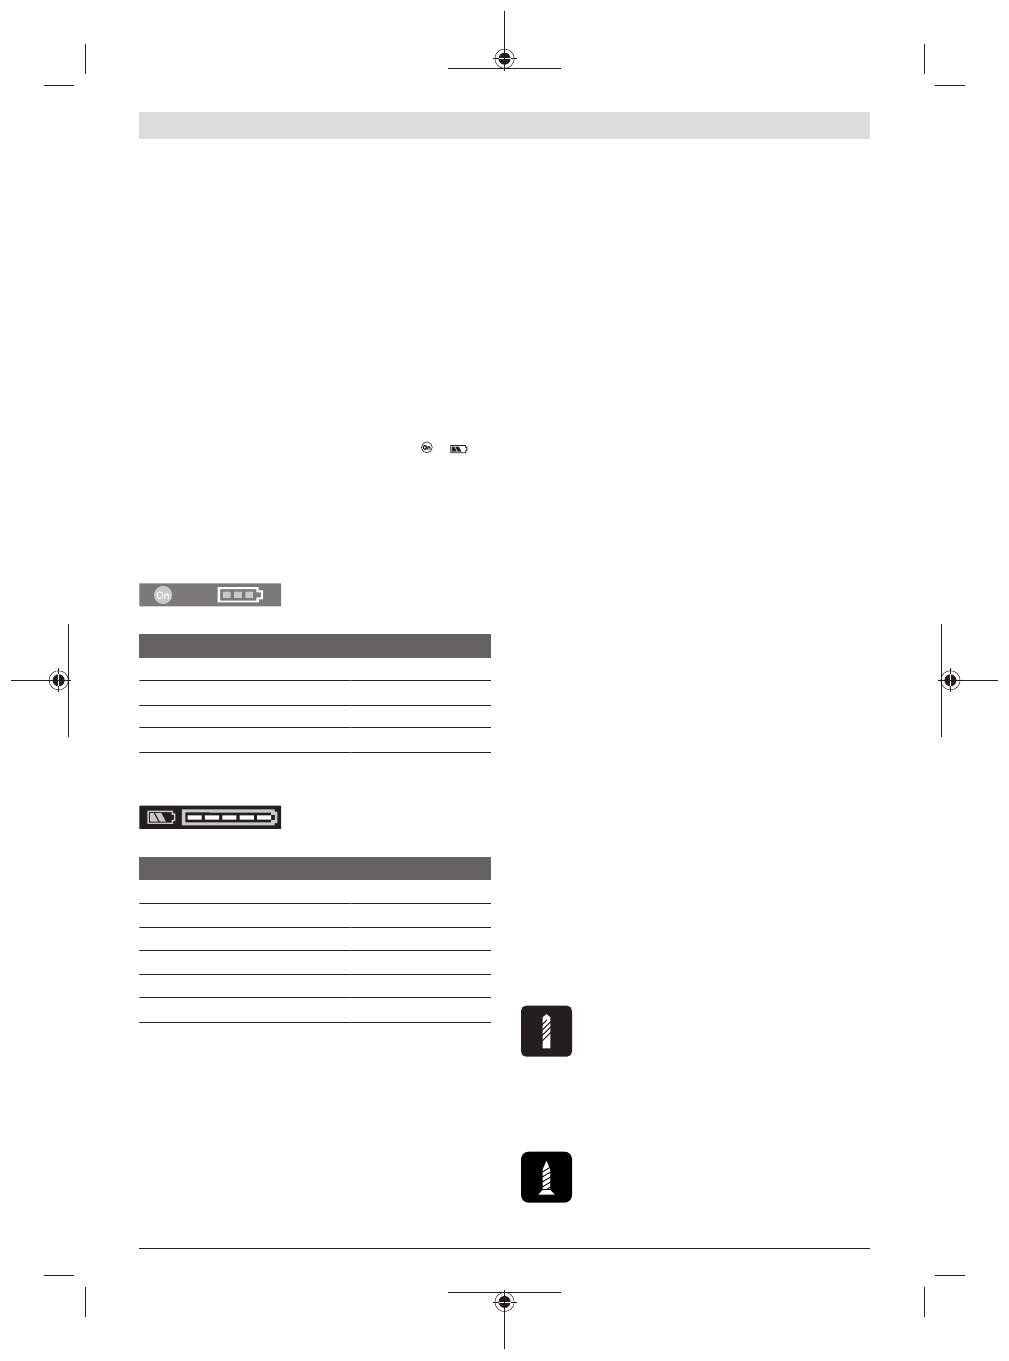
Battery model GBA 18V...
LEDs
Capacity
3× continuous green light
60−100 %
2× continuous green light
30−60 %
1× continuous green light
5−30 %
1× flashing green light
0−5 %
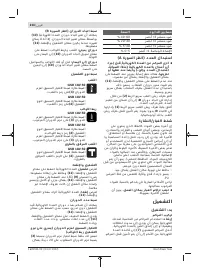
Battery model ProCORE18V...
LEDs
Capacity
5× continuous green light
80−100 %
4× continuous green light
60−80 %
3× continuous green light
40−60 %
2× continuous green light
20−40 %
1× continuous green light
5−20 %
1× flashing green light
0−5 %
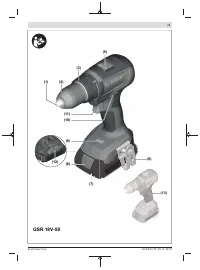
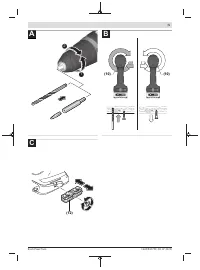
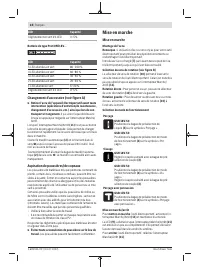
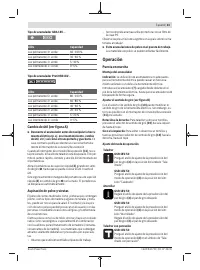
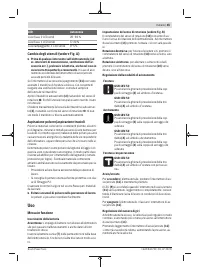
Changing the tool (see figure A)
u
Remove the battery from the power tool before carry-
ing out work on the power tool (e.g. maintenance,
changing tool, etc.). The battery should also be re-
moved for transport and storage.
There is risk of injury
from unintentionally pressing the on/off switch.
The drill spindle is locked when the on/off switch
(11)
is not
pressed. This makes it possible to change the application
tool in the drill chuck quickly, conveniently and easily.
Open the keyless chuck
(2)
by turning it in the direction of
rotation
➊
until the tool can be inserted. Insert the tool.
Firmly tighten the keyless chuck
(2)
by turning it by hand in
the direction of rotation
➋
. This will automatically lock the
drill chuck.
Dust/Chip Extraction
Dust from materials such as lead-containing coatings, some
wood types, minerals and metal can be harmful to one’s
health. Touching or breathing-in the dust can cause allergic
reactions and/or lead to respiratory infections of the user or
bystanders.
Certain dust, such as oak or beech dust, is considered carci-
nogenic, especially in connection with wood-treatment ad-
ditives (chromate, wood preservative). Materials containing
asbestos may only be worked by specialists.
– Provide for good ventilation of the working place.
– It is recommended to wear a P2 filter-class respirator.
Observe the relevant regulations in your country for the ma-
terials to be worked.
u
Avoid dust accumulation at the workplace.
Dust can
easily ignite.
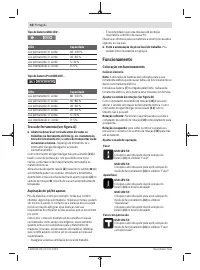
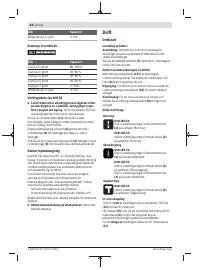
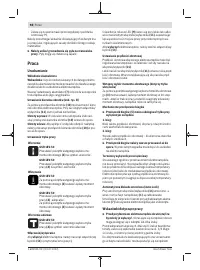
Operation
Starting Operation
Inserting the battery
Note:
The use of batteries unsuitable for your power tool can
lead to malfunctions or damage to the power tool.
Push the charged battery
(7)
into the base of the power tool
from the front until the battery is securely locked.
Setting the rotational direction (see figure B)
The rotational direction switch
(10)
is used to change the ro-
tational direction of the power tool. However, this is not pos-
sible while the on/off switch
(11)
is being pressed.
Right rotation:
To drill and to drive in screws, press the ro-
tational direction switch
(10)
through to the left stop.
Left Rotation:
To loosen and unscrew screws and nuts,
press the rotational direction switch
(10)
through to the
right stop.
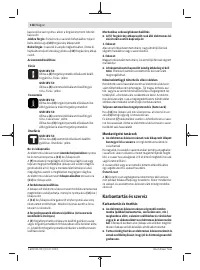
Setting the operating mode
Drilling
GSR 18V-50
Set the torque presetting ring
(3)
to the
"drilling" symbol.
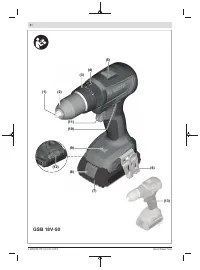
GSB 18V-50
Set the operating mode presetting ring
(4)
to
the "drilling" symbol.
Screwdriving
GSR 18V-50
Set the torque presetting ring
(3)
to the re-
quired torque.
Bosch Power Tools
1 609 92A 7XF | (01.07.2022)
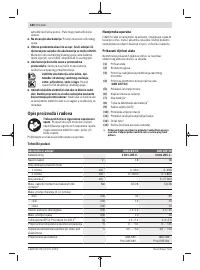
Содержание
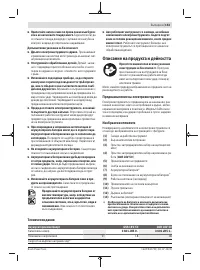
- 120 Указания по технике безопасности; ЖДЕНИЕ
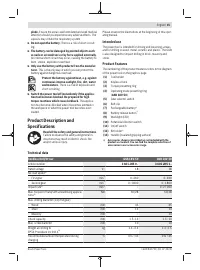
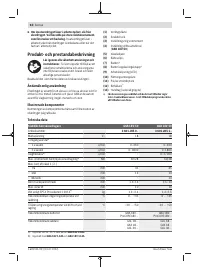
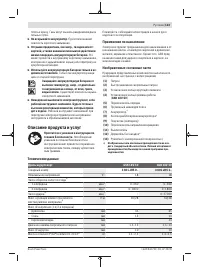
- 123 Описание продукта и услуг; Применение по назначению
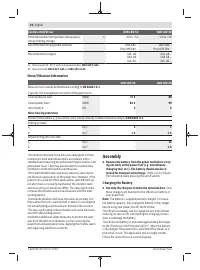
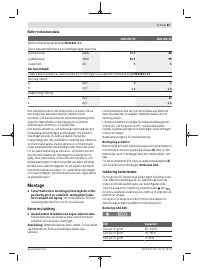
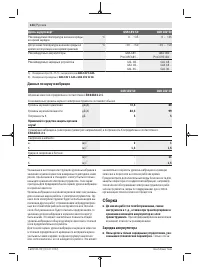
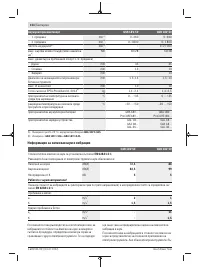
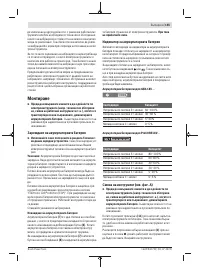
- 124 Данные по шуму и вибрации; Сборка; Зарядка аккумулятора
- 125 Удаление пыли и стружки
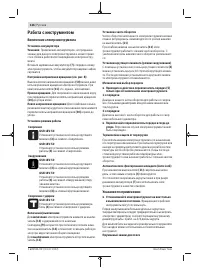
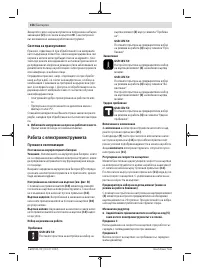
- 126 Работа с инструментом; Включение электроинструмента
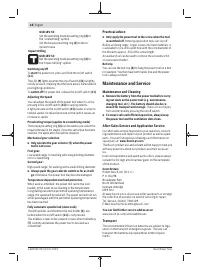
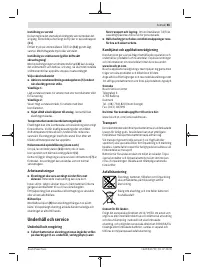
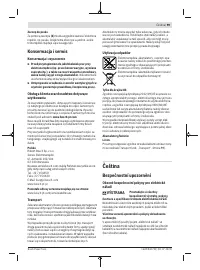
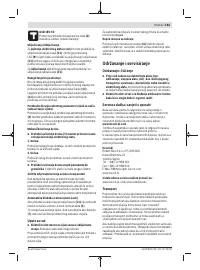
- 127 Техобслуживание и сервис; Техобслуживание и очистка; Транспортировка
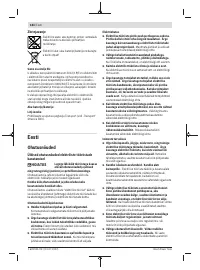
- 128 Українська; Вказівки з техніки безпеки; ДЖЕННЯ


