
Шуруповерты Bosch GSR 12 VE-2 0.601.993.K20 - инструкция пользователя по применению, эксплуатации и установке на русском языке. Мы надеемся, она поможет вам решить возникшие у вас вопросы при эксплуатации техники.
Если остались вопросы, задайте их в комментариях после инструкции.
"Загружаем инструкцию", означает, что нужно подождать пока файл загрузится и можно будет его читать онлайн. Некоторые инструкции очень большие и время их появления зависит от вашей скорости интернета.


22
| English
2 609 932 649 | (17.8.09)
Bosch Power Tools
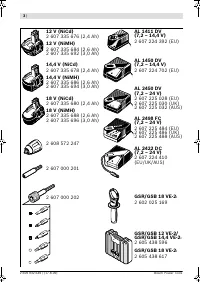
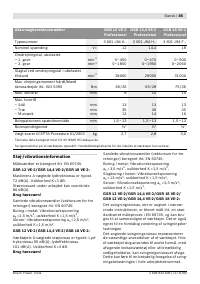
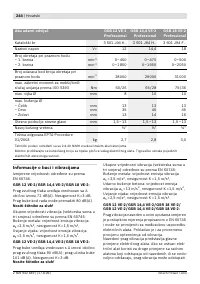
The battery is equipped with a NTC temperature
control which allows charging only within a tem-
perature range of between 0 ° C and 45 ° C. A
long battery service life is achieved in this man-
ner.
A significantly reduced working period after
charging indicates that the battery is used and
must be replaced.
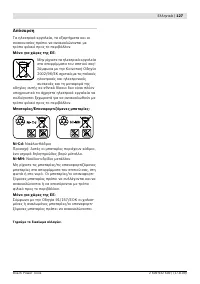
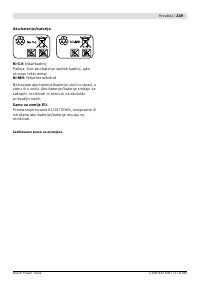
Observe the notes for disposal.
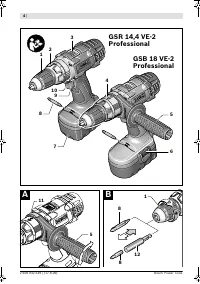
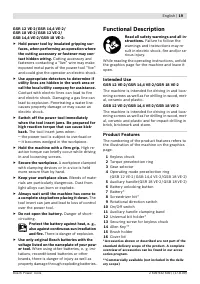
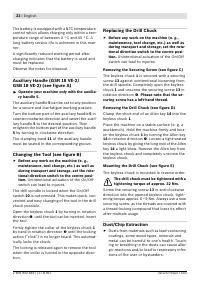
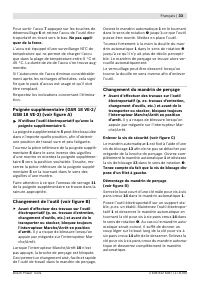
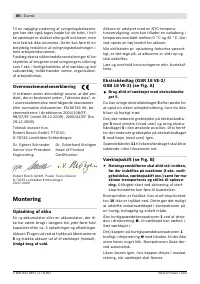
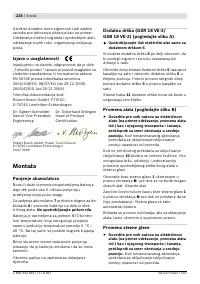
Auxiliary Handle (GSR 18 VE-2 /
GSB 18 VE-2) (see figure A)
f
Operate your machine only with the auxilia-
ry handle 5.
The auxiliary handle
5
can be set to any position
for a secure and low-fatigue working posture.
Turn the bottom part of the auxiliary handle
5
in
counterclockwise direction and swivel the auxil-
iary handle
5
to the desired position. Then
retighten the bottom part of the auxiliary handle
5
by turning in clockwise direction.
The clamping band
11
of the auxiliary handle
must be seated in the corresponding groove.
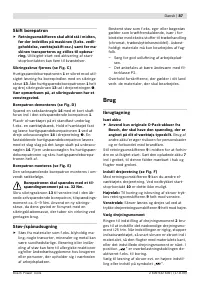
Changing the Tool (see figure B)
f
Before any work on the machine (e. g.,
maintenance, tool change, etc.) as well as
during transport and storage, set the rota-
tional direction switch to the centre posi-
tion.
Unintentional actuation of the On/Off
switch can lead to injuries.
The drill spindle is locked when the On/Off
switch
10
is not pressed. This makes quick, con-
venient and easy changing of the tool in the drill
chuck possible.
Open the keyless chuck
1
by turning in rotation
direction
n
, until the tool can be inserted. Insert
the tool.
Firmly tighten the collar of the keyless chuck
1
by hand in rotation direction
o
until the locking
action (“click”) is no longer heard. This automat-
ically locks the chuck.
The locking is released again to remove the tool
when the collar is turned in the opposite direc-
tion.
Replacing the Drill Chuck
f
Before any work on the machine (e. g.,
maintenance, tool change, etc.) as well as
during transport and storage, set the rota-
tional direction switch to the centre posi-
tion.
Unintentional actuation of the On/Off
switch can lead to injuries.
Removing the Securing Screw (see figure C)
The keyless chuck
1
is secured with a securing
screw
13
against unintentional loosening from
the drill spindle. Completely open the keyless
chuck
1
and unscrew the securing screw
13
in
rotation direction
n
.
Please note that the se-
curing screw has a left-hand thread.
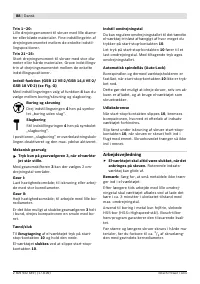
Removing the Drill Chuck (see figure D)
Clamp the short end of an Allen key
14
into the
keyless chuck
1
.
Place the machine on a stable surface (e. g. a
workbench). Hold the machine firmly and loos-
en the keyless chuck
1
by turning the Allen key
14
in rotation direction
n
. Loosen a tight-seated
keyless chuck by giving the long end of the Allen
key
14
a light blow. Remove the Allen key from
the keyless chuck and completely unscrew the
keyless chuck.
Mounting the Drill Chuck (see figure E)
The keyless chuck is mounted in reverse order.
The drill chuck must be tightened with a
tightening torque of approx. 32 Nm.
Screw the securing screw
13
in anti-clockwise
direction into the opened keyless chuck, tight-
ening torque approx. 6 – 9 Nm. Always use a new
securing screw, as the threads are covered with
a thread-locking compound that loses its effect
after multiple usage.
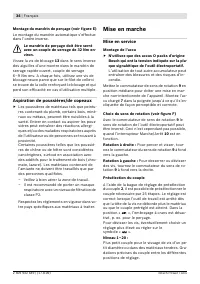
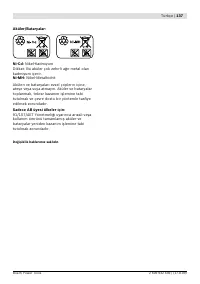
Dust/Chip Extraction
f
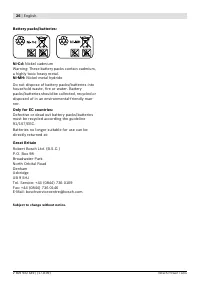
Dusts from materials such as lead-containing
coatings, some wood types, minerals and
metal can be harmful to one’s health. Touch-
ing or breathing-in the dusts can cause aller-
gic reactions and/or lead to respiratory infec-
tions of the user or bystanders.
Содержание
- 179 Указания по безопасности
- 181 ) Применение и обслуживание
- 182 Крепление заготовки.; Описание функции; Применение по назначению
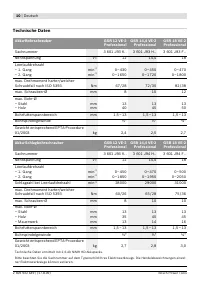
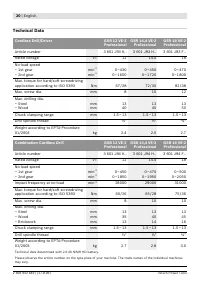
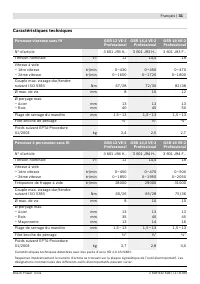
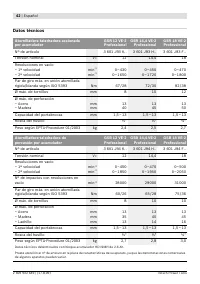
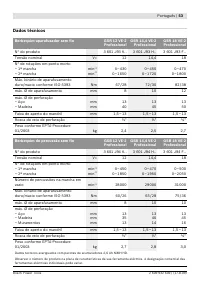
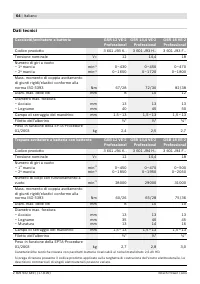
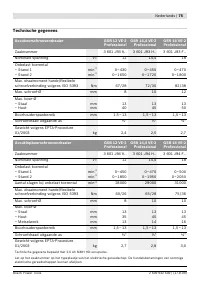
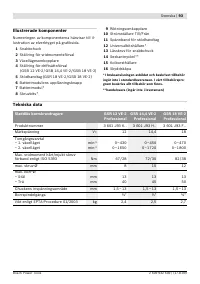
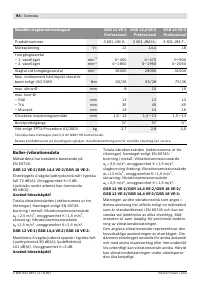
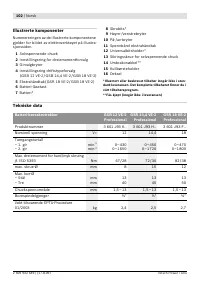
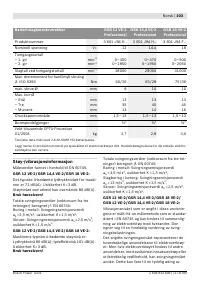
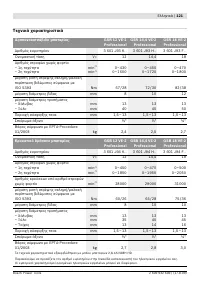
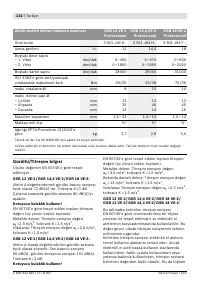
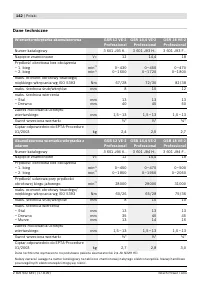
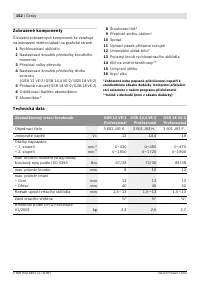
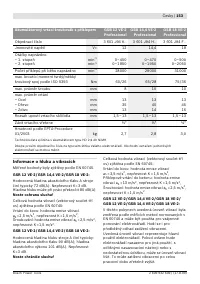
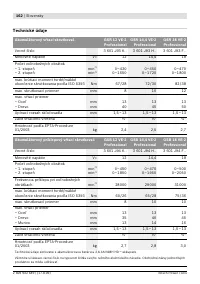
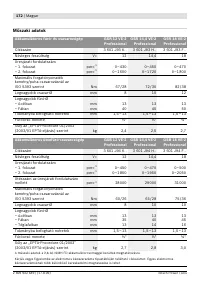
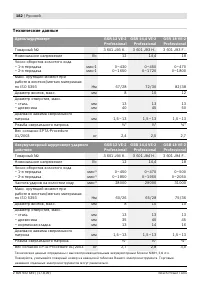
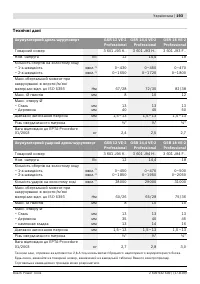
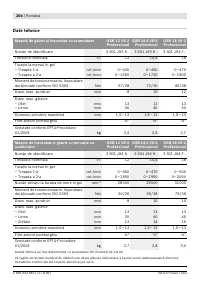
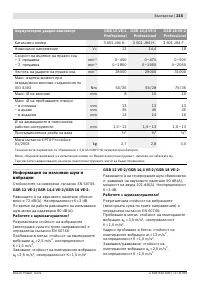
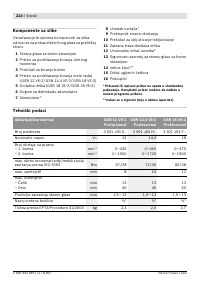
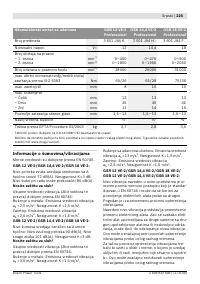
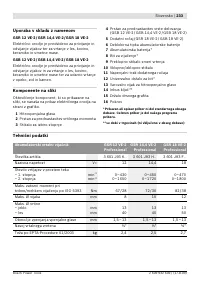
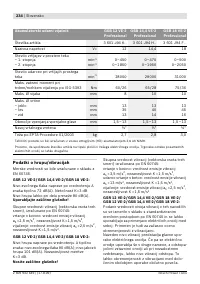
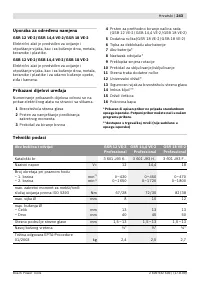
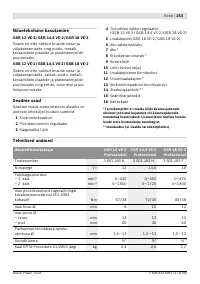
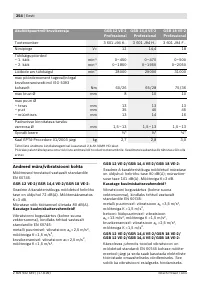
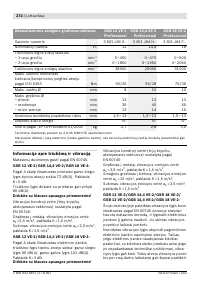
- 183 Технические данные
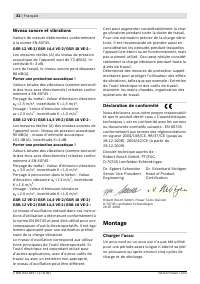
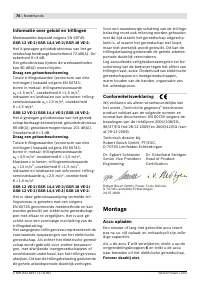
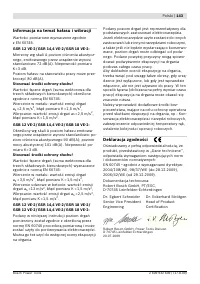
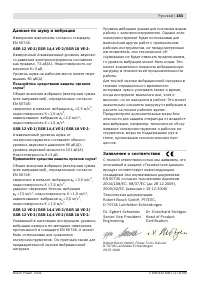
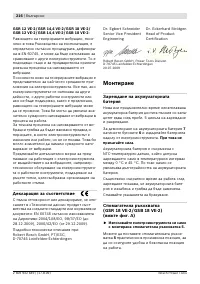
- 184 Данные по шуму и вибрации; Применяйте средства защиты органов слуха!; Заявление о соответствии
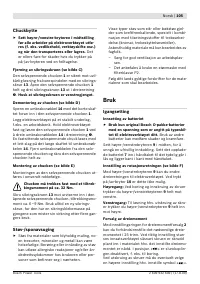
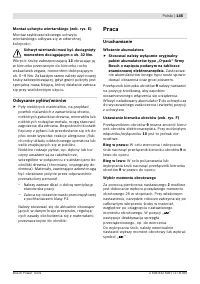
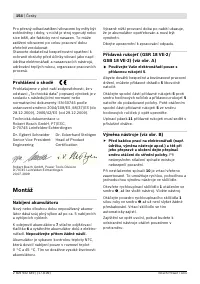
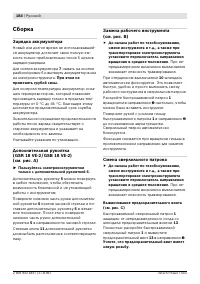
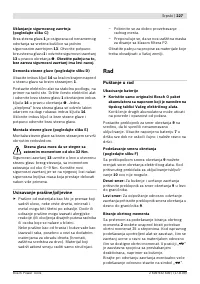
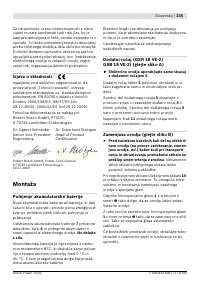
- 185 Сборка; Зарядка аккумулятора; При этом не; Смена сверлильного патрона
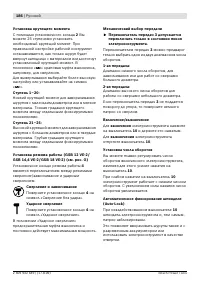
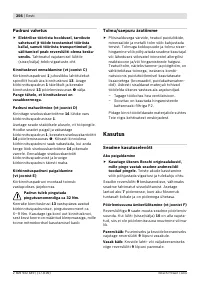
- 186 Отсос пыли и стружки; Работа с инструментом; Включение электроинструмента; Установка аккумулятора
- 188 Тормоз выбега; Указания по применению; Техобслуживание и сервис; Техобслуживание и очистка
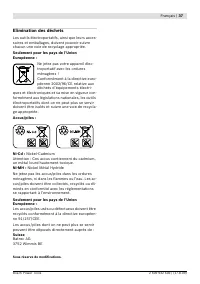
- 189 Россия; Утилизация
Характеристики

Остались вопросы?Не нашли свой ответ в руководстве или возникли другие проблемы? Задайте свой вопрос в форме ниже с подробным описанием вашей ситуации, чтобы другие люди и специалисты смогли дать на него ответ. Если вы знаете как решить проблему другого человека, пожалуйста, подскажите ему :)


