
Шуруповерты BOSCH GSB 18V-150 C 06019J5105 - инструкция пользователя по применению, эксплуатации и установке на русском языке. Мы надеемся, она поможет вам решить возникшие у вас вопросы при эксплуатации техники.
Если остались вопросы, задайте их в комментариях после инструкции.
"Загружаем инструкцию", означает, что нужно подождать пока файл загрузится и можно будет его читать онлайн. Некоторые инструкции очень большие и время их появления зависит от вашей скорости интернета.


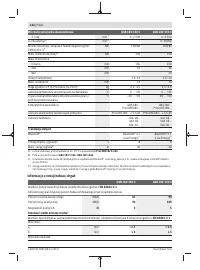


20
| English
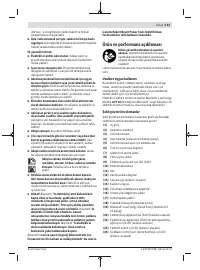
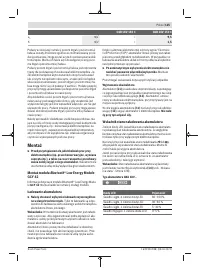
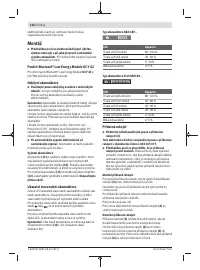
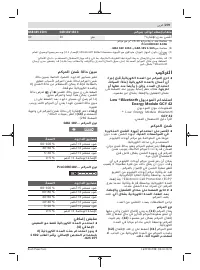
Using the GCY 42
Bluetooth
® Low Energy
Module
Read the corresponding operating instructions for informa-
tion about the
Bluetooth
® Low Energy Module
GCY 42
.
Charging the Battery
u
Use only the chargers listed in the technical data.
Only
these chargers are matched to the lithium-ion battery of
your power tool.
Note:
The battery is supplied partially charged. To ensure
full battery capacity, fully charge the battery in the charger
before using your power tool for the first time.
The lithium-ion battery can be charged at any time without
reducing its service life. Interrupting the charging process
does not damage the battery.
The lithium-ion battery is protected against deep discharge
by the "Electronic Cell Protection (ECP)". When the battery
is discharged, the power tool is switched off by means of a
protective circuit: The application tool no longer rotates.
u
Do not continue to press the On/Off switch after the
power tool has automatically switched off.
The battery
can be damaged.
Follow the instructions on correct disposal.
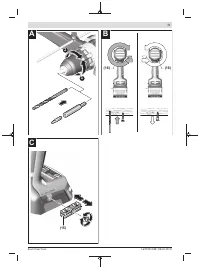
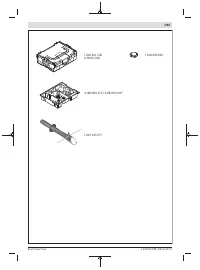
Removing the Battery
The battery
(11)
is equipped with two locking levels to pre-
vent the battery from falling out when pushing the battery re-
lease button
(12)
unintentionally. As long as the battery is
inserted in the power tool, it is held in position by means of a
spring.
To remove the battery
(11)
, press the release button
(12)
and pull the battery out of the power tool.
Do not use force
to do this.
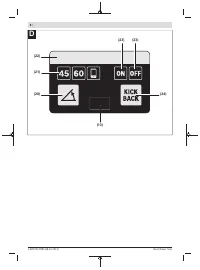
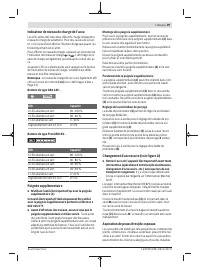
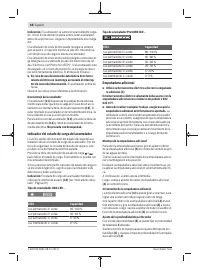
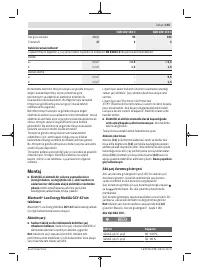
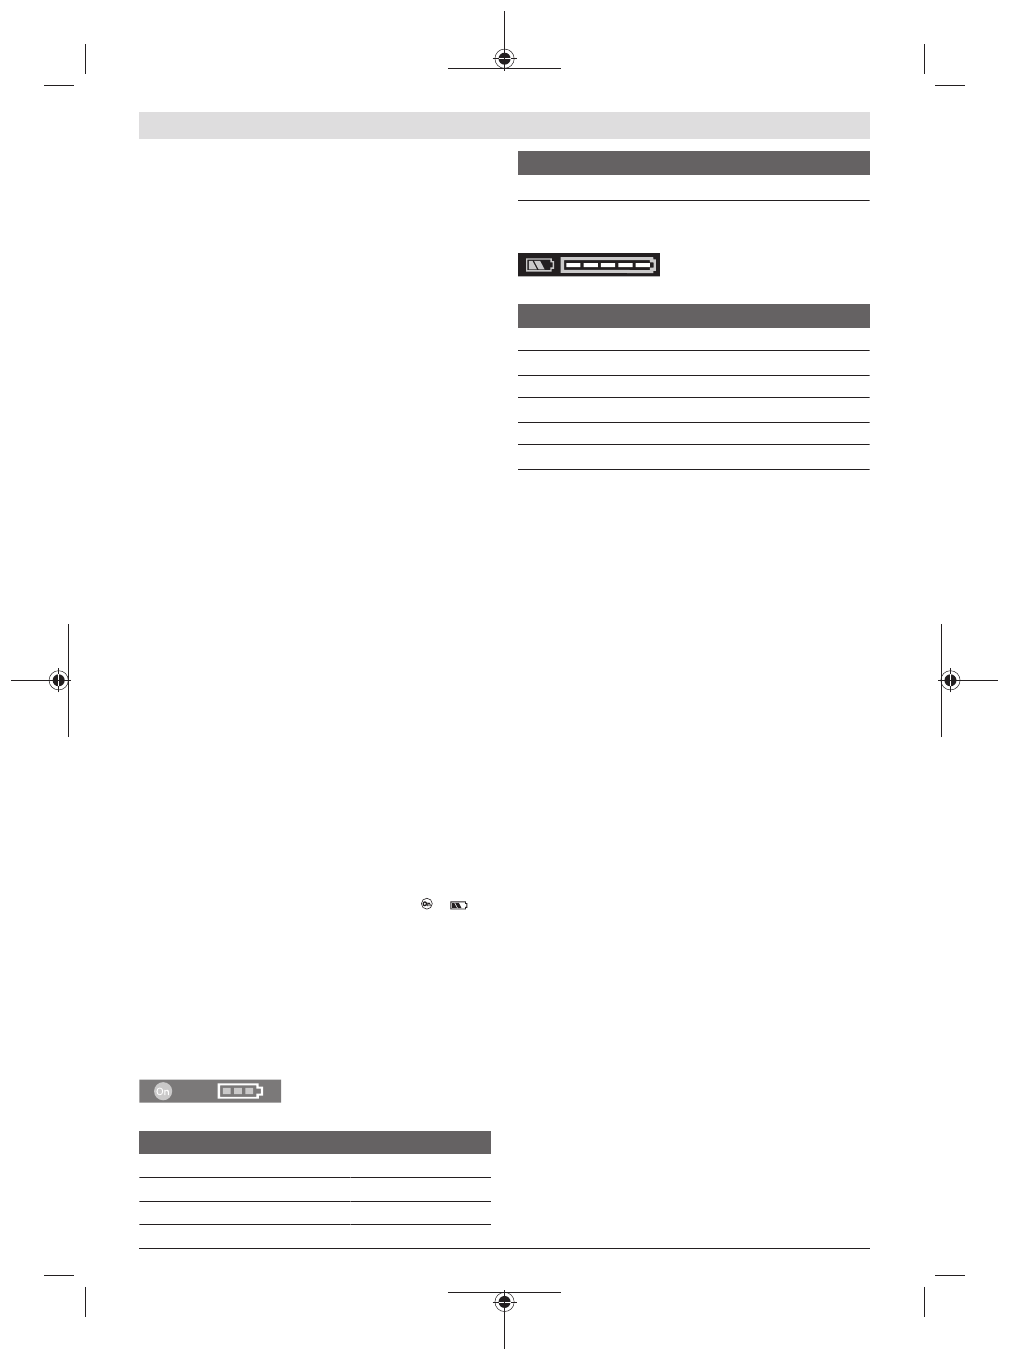
Battery charge indicator
The green LEDs on the battery charge indicator indicate the
state of charge of the battery. For safety reasons, it is only
possible to check the state of charge when the power tool is
not in operation.
Press the button for the battery charge indicator or
to
show the state of charge. This is also possible when the bat-
tery is removed.
If no LED lights up after pressing the button for the battery
charge indicator, then the battery is defective and must be
replaced.
Note:
The state of charge of the battery is also displayed on
the user interface
(14)
(see "Status Indications", page 22).
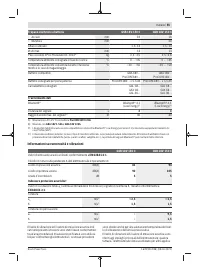
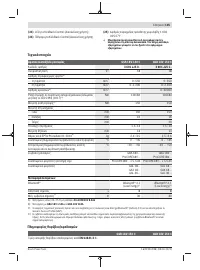
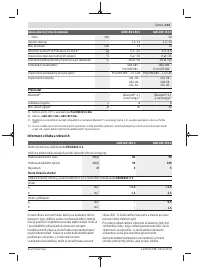
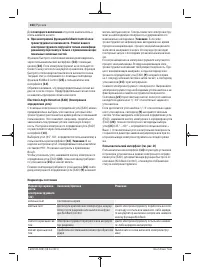
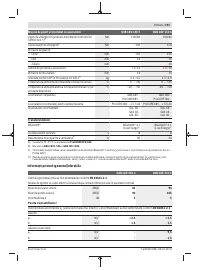
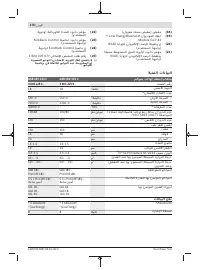
Battery model GBA 18V...
LEDs
Capacity
3× continuous green light
60−100 %
2× continuous green light
30−60 %
1× continuous green light
5−30 %
LEDs
Capacity
1× flashing green light
0−5 %
Battery model ProCORE18V...
LEDs
Capacity
5× continuous green light
80−100 %
4× continuous green light
60−80 %
3× continuous green light
40−60 %
2× continuous green light
20−40 %
1× continuous green light
5−20 %
1× flashing green light
0−5 %
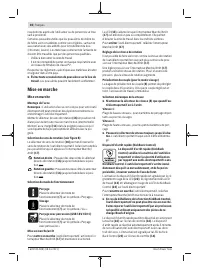
Auxiliary handle
u
Do not operate your power tool without the auxiliary
handle
(4)
.
This power tool must only be used with the auxiliary
handle with the order number 1 602 025 07Y.
u
Before carrying out any work, make sure that the aux-
iliary handle is tightened.
Loss of control can cause per-
sonal injury. Ensure that the auxiliary handle is tightened
with a torque suited to the fastening method; fasten this
to the power tool so that any movement of the auxiliary
handle around or along the drilling axis is avoided.
Fitting the auxiliary handle
To open the auxiliary handle, turn the lower gripping end of
the auxiliary handle
(4)
in an anticlockwise direction.
Pull back the intermediate piece of the auxiliary handle and
hold it in this position.
Slide the auxiliary handle over the drill chuck to mount the
auxiliary handle on the power tool.
Then let go of the intermediate piece .
Afterwards, turn the lower gripping end of the auxiliary
handle
(4)
clockwise to retighten it.
Swivelling the auxiliary handle
You can swivel the auxiliary handle
(4)
to any angle for a safe
work posture that minimises fatigue.
Turn the lower gripping end of the auxiliary handle
(4)
anti-
clockwise and swivel the auxiliary handle
(4)
into the re-
quired position. Afterwards, turn the lower gripping end of
the auxiliary handle
(4)
clockwise to retighten it.
Setting the drilling depth
You can use the depth stop
(3)
to set the required drilling
depth
X
.
Loosen the wing bolt for adjusting the depth stop
(5)
and in-
sert the depth stop into the auxiliary handle
(4)
.
Pull the depth stop
(3)
far enough out that the distance
between the drill bit tip and the edge of the depth stop
(3)
corresponds to the required drilling depth
X
.
1 609 92A 59B | (08.03.2021)
Bosch Power Tools
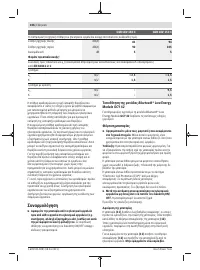
Содержание
- 156 Указания по технике безопасности; ЖДЕНИЕ
- 159 Описание продукта и услуг; Применение по назначению
- 160 Технические данные; Данные по шуму и вибрации
- 161 Сборка; Установка модуля; Зарядка аккумулятора
- 162 Дополнительная рукоятка
- 163 Удаление пыли и стружки; Работа с инструментом; Включение электроинструмента
- 165 Указания по применению; Техобслуживание и сервис; Техобслуживание и очистка
- 166 Транспортировка


