
Шлифмашины Makita GA029GZ - инструкция пользователя по применению, эксплуатации и установке на русском языке. Мы надеемся, она поможет вам решить возникшие у вас вопросы при эксплуатации техники.
Если остались вопросы, задайте их в комментариях после инструкции.
"Загружаем инструкцию", означает, что нужно подождать пока файл загрузится и можно будет его читать онлайн. Некоторые инструкции очень большие и время их появления зависит от вашей скорости интернета.


19 ENGLISH
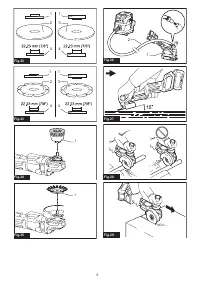
Operation with abrasive cut-off /
diamond wheel
Optional accessory
WARNING:
Do not "jam" the wheel or apply
excessive pressure. Do not attempt to make an
excessive depth of cut.
Overstressing the wheel
increases the loading and susceptibility to twisting
or binding of the wheel in the cut and the possibility
of kickback, wheel breakage and overheating of the
motor may occur.
WARNING:
Do not start the cutting operation
in the workpiece. Let the wheel reach full speed
and carefully enter into the cut moving the tool
forward over the workpiece surface.
The wheel
may bind, walk up or kickback if the power tool is
started in the workpiece.
WARNING:
During cutting operations, never
change the angle of the wheel.
Placing side pres
-
sure on the cut-off wheel (as in grinding) will cause
the wheel to crack and break, causing serious per
-
sonal injury.
WARNING:
A diamond wheel shall be oper-
ated perpendicular to the material being cut.
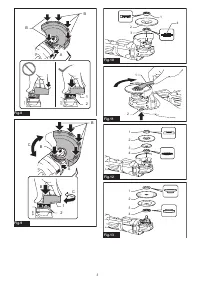
Usage example: operation with abrasive cut-off
wheel
►
Fig.28
Usage example: operation with diamond wheel
►
Fig.29
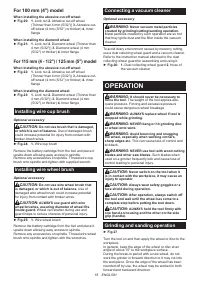
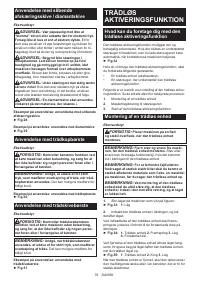
Operation with wire cup brush
Optional accessory
CAUTION:
Check operation of brush by run-
ning tool with no load, insuring that no one is in
front of or in line with brush.
NOTICE:
Avoid applying too much pressure
which causes over bending of wires when using
the wire cup brush.
It may lead to premature
breakage.
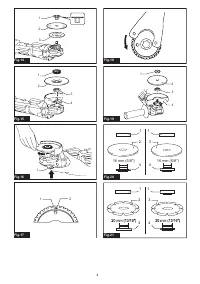
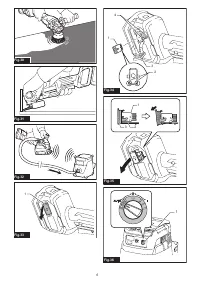
Usage example: operation with wire cup brush
►
Fig.30
Operation with wire wheel brush
Optional accessory
CAUTION:
Check operation of wire wheel
brush by running tool with no load, insuring that
no one is in front of or in line with the wire wheel
brush.
NOTICE:
Avoid applying too much pressure
which causes over bending of wires when
using wire wheel brush.
It may lead to premature
breakage.
Usage example: operation with wire wheel brush
►
Fig.31
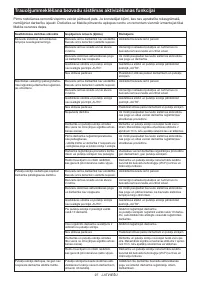
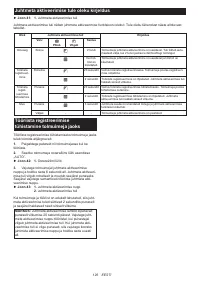
WIRELESS ACTIVATION
FUNCTION
What you can do with the wireless
activation function
The wireless activation function enables clean and com
-
fortable operation. By connecting a supported vacuum
cleaner to the tool, you can run the vacuum cleaner
automatically along with the switch operation of the tool.
►
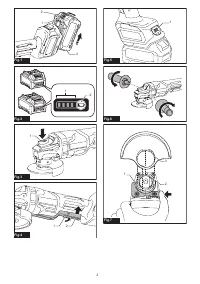
Fig.32
To use the wireless activation function, prepare following items:
•
A wireless unit (optional accessory)
•
A vacuum cleaner which supports the wireless
activation function
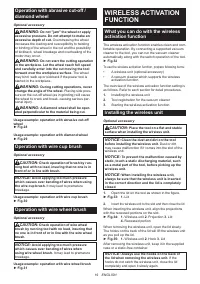
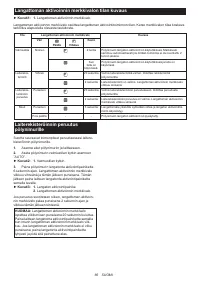
The overview of the wireless activation function setting is
as follows. Refer to each section for detail procedures.
1.
Installing the wireless unit
2.
Tool registration for the vacuum cleaner
3.
Starting the wireless activation function
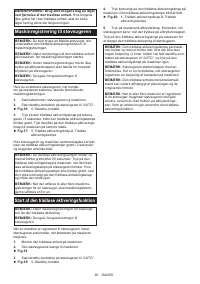
Installing the wireless unit
Optional accessory
CAUTION:
Place the tool on a flat and stable
surface when installing the wireless unit.
NOTICE:
Clean the dust and dirt on the tool
before installing the wireless unit.
Dust or dirt
may cause malfunction if it comes into the slot of the
wireless unit.
NOTICE:
To prevent the malfunction caused by
static, touch a static discharging material, such
as a metal part of the tool, before picking up the
wireless unit.
NOTICE:
When installing the wireless unit,
always be sure that the wireless unit is inserted
in the correct direction and the lid is completely
closed.
1.
Open the lid on the tool as shown in the figure.
►
Fig.33:
1.
Lid
2.
Insert the wireless unit to the slot and then close the lid.
When inserting the wireless unit, align the projections
with the recessed portions on the slot.
►
Fig.34:
1.
Wireless unit
2.
Projection
3.
Lid
4.
Recessed portion
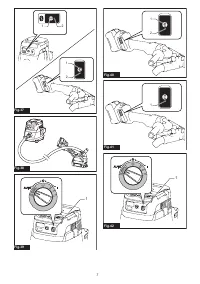
When removing the wireless unit, open the lid slowly.
The hooks on the back of the lid will lift the wireless unit
as you pull up the lid.
►
Fig.35:
1.
Wireless unit
2.
Hook
3.
Lid
After removing the wireless unit, keep it in the supplied
case or a static-free container.
NOTICE:
Always use the hooks on the back of
the lid when removing the wireless unit.
If the
hooks do not catch the wireless unit, close the lid
completely and open it slowly again.
Содержание
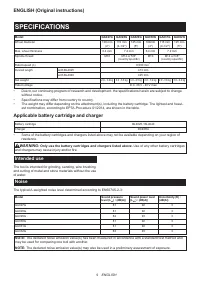
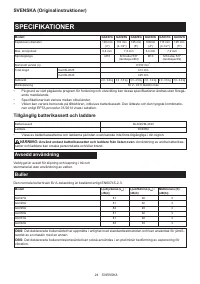
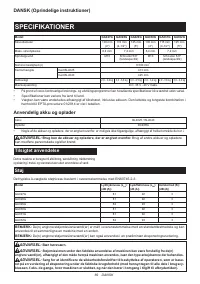
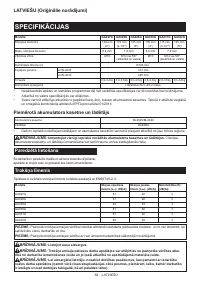
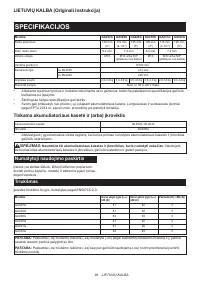
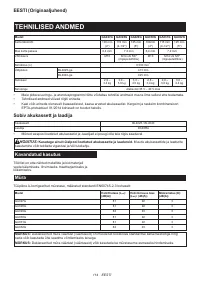
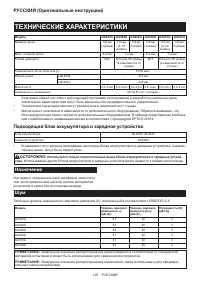
- 129 ТЕХНИЧЕСКИЕ ХАРАКТЕРИСТИКИ; Подходящий блок аккумулятора и зарядное устройство; Шум
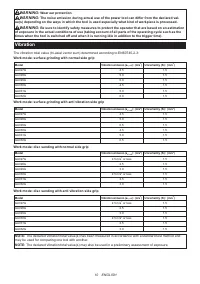
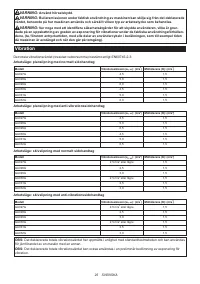
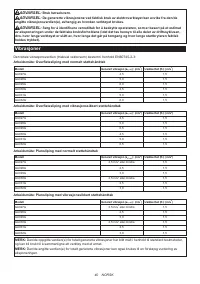
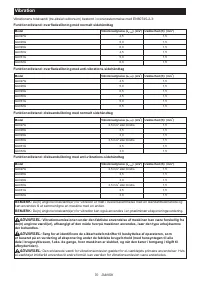
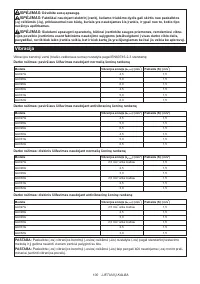
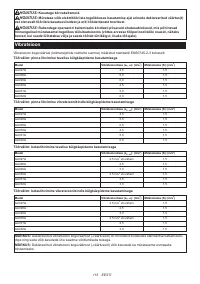
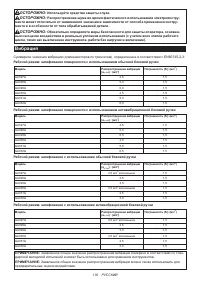
- 130 Вибрация
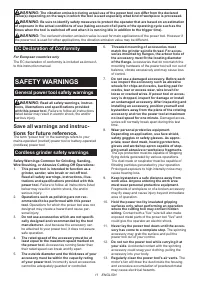
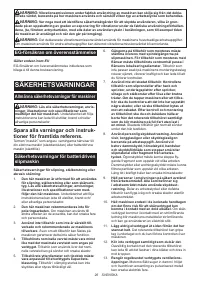
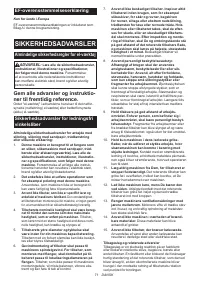
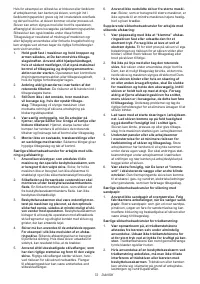
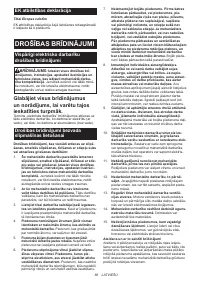
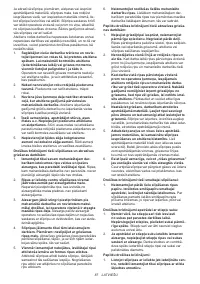
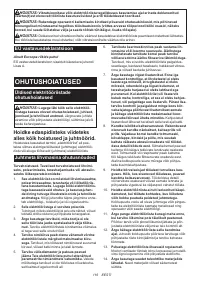
- 131 МЕРЫ БЕЗОПАСНОСТИ; Сохраните брошюру с инструк
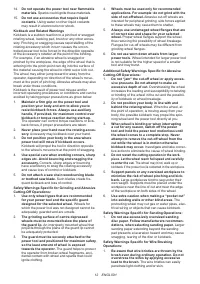
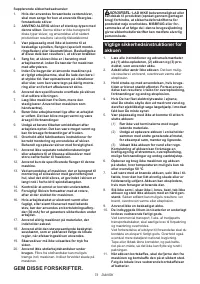
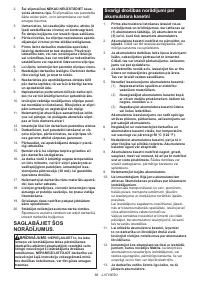
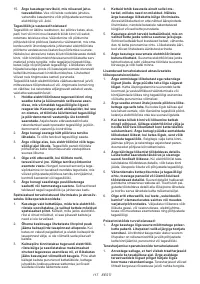
- 134 Важные правила техники; СОХРАНИТЕ ДАННЫЕ
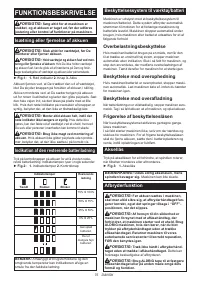
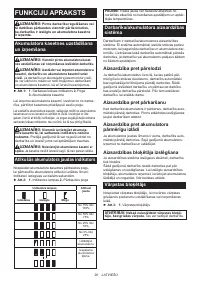
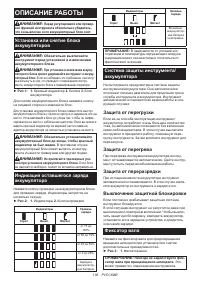
- 136 ОПИСАНИЕ РАБОТЫ; Защита от перегрузки
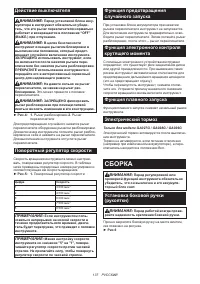
- 137 СБОРКА
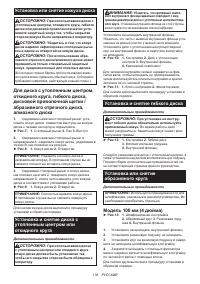
- 139 Установка или снятие гайки Ezynut; Установка абразивного отрезного/; Установка чашечной проволочной
- 140 Установка дисковой проволочной щетки; Подключение пылесоса; ЭКСПЛУАТАЦИЯ; Шлифовка и зачистка
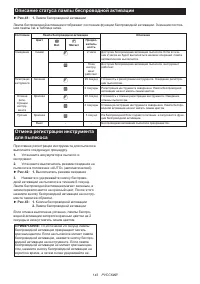
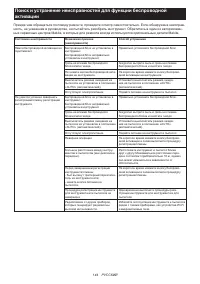
- 141 ФУНКЦИЯ БЕСПРОВОДНОЙ
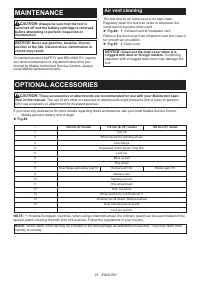
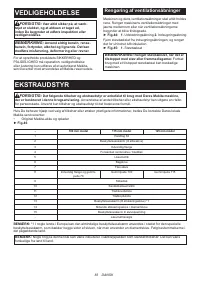
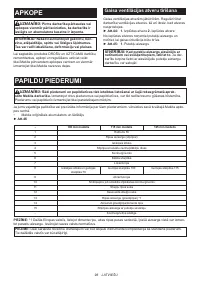
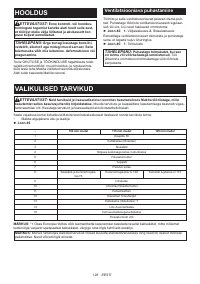
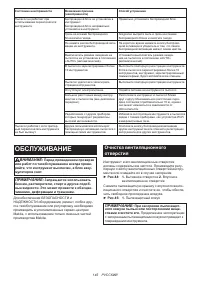
- 145 ОБСЛУЖИВАНИЕ; Очистка вентиляционного
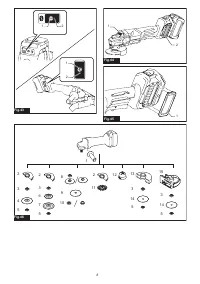
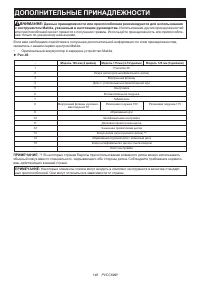
- 146 ДОПОЛНИТЕЛЬНЫЕ ПРИНАДЛЕЖНОСТИ
Характеристики

Остались вопросы?Не нашли свой ответ в руководстве или возникли другие проблемы? Задайте свой вопрос в форме ниже с подробным описанием вашей ситуации, чтобы другие люди и специалисты смогли дать на него ответ. Если вы знаете как решить проблему другого человека, пожалуйста, подскажите ему :)


