Радиоприемники Telefunken TF-1569U - инструкция пользователя по применению, эксплуатации и установке на русском языке. Мы надеемся, она поможет вам решить возникшие у вас вопросы при эксплуатации техники.
Если остались вопросы, задайте их в комментариях после инструкции.
"Загружаем инструкцию", означает, что нужно подождать пока файл загрузится и можно будет его читать онлайн. Некоторые инструкции очень большие и время их появления зависит от вашей скорости интернета.


Instruction manual
3
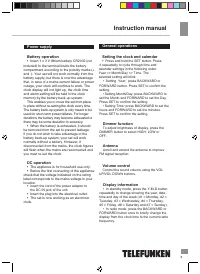
• Setting Year: press BACKWARD or
FORWARD button. Press SET to confirm the
setting.
• Setting Month/Day: press BACKWARD to
set the Month and FORWARD to set the Day.
Press SET to confirm the setting.
• Setting Time: press BACKWARD to set the
hours and FORWARD to set the minutes.
Press SET to confirm the setting.
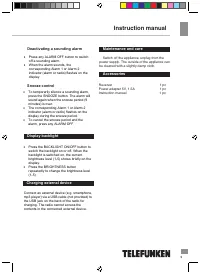
Dimmer function
To adjust brightness of display, press the
DIMMER button to select HIGH, LOW or
OFF.
Antenna
Unroll and extend the antenna to improve
FM signal reception.
Power supply
Battery operation
• Insert 1 x 3 V lithium battery CR2032 (not
included) to the terminal inside the battery
compartment according to the polarity marks (+
and -). Your set will not work normally from the
battery supply, but there is now the advantage
that, in case of a mains current failure or power
outage, your clock will continue to work. The
clock display will not light up, the clock time
and alarm setting will be held in the clock
memory by the battery back-up system.
This enables you to move the set from place
to place without re-setting the clock every time.
The battery back-up system is only meant to be
used for short-term power failures. For longer
durations the battery may become exhausted or
there may be some deviation in accuracy.
• When the battery is exhausted, it should
be removed from the set to prevent leakage.
If you do not wish to take advantage of the
battery back-up system, your set will work
normally without a battery. However, if
disconnected from the mains, the clock figures
will flash when the mains are reconnected and
you must re-set the clock.
DC operation
• The appliance is for household use only.
• Before the first connecting of the appliance
check that the voltage indicated on the rating
label corresponds to the mains voltage in your
location.
• Insert the plug into the electrical outlet.
• The set is now working as an electronic
clock.
Display information
• In standby mode, press the Y-M-D button
repeatedly to change showing the year, date,
time and day of the week (d1 = Monday, d2 =
Tuesday, d3 = Wednesday, d4 = Thursday,
d5 = Friday, d6 = Saturday and d7 = Sunday).
• In radio mode, press the BACKWARD or
FORWARD button once to briefly change the
display from the clock time to the current radio
frequency.
•
Insert the cord of the power adaptor to
the DC IN jack of the unit.
Volume control
Control the sound volume using the VOL
UP/VOL DOWN buttons.
General operations
Setting the clock and calendar
•
Press and hold
the SET
button. Press
it repeatedly to cycle through time and
calendar settings in the following order:
Year => Month
/Day => Time. The
selected setting will blink.
Содержание
- 9 Питание от сети постоянного тока; приведет к остановке
- 10 Операции с радио; FORWARD; Контроль громкости; VOL UP; Прослушивание радио
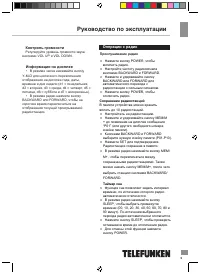
- 11 Операции с будильником; Установка будильника; Повторный сигнал будильника; Включение и отключение будильника
- 12 Чистка и уход; Перед чисткой убедитесь, что прибор; Комплект поставки; Подключите внешнее устройство
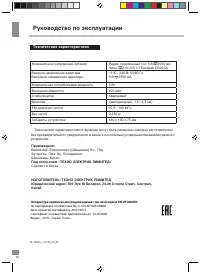
- 13 Технические характеристики; Под контролем «ТЕХНО ЭЛЕКТРИК ЛИМИТЕД»; Сделано в Китае; Апп
- 14 Общая информация; Хранение и транспортировка; Устранение неисправностей


