
Пылесос LG CordZero A9MASTER2X - инструкция пользователя по применению, эксплуатации и установке на русском языке. Мы надеемся, она поможет вам решить возникшие у вас вопросы при эксплуатации техники.
Если остались вопросы, задайте их в комментариях после инструкции.
"Загружаем инструкцию", означает, что нужно подождать пока файл загрузится и можно будет его читать онлайн. Некоторые инструкции очень большие и время их появления зависит от вашей скорости интернета.


26
EN
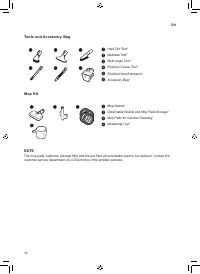
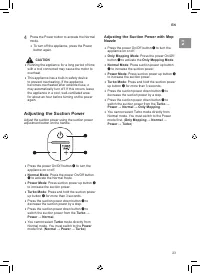
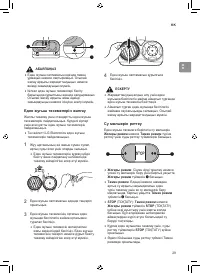
NOTE
•
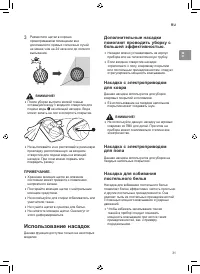
When you separate the mop nozzle in power
mode or turbo mode, the product body will
operate more powerfully to facilitate the use of
a different nozzle.
•
When you replace the mop nozzle during
product operation, the product will operate in
only mop mode with suction OFF.
•
If you use mop cleaning with suction OFF for
a long period of time, the safety device (motor
overheating prevention device) will operate,
stopping product operation, in order to protect
the mop nozzle. (Recommended duration of
use: 80 minutes) It is not a sign of malfunction.
Use the product after allowing the mop nozzle
to cool for 1 hour.
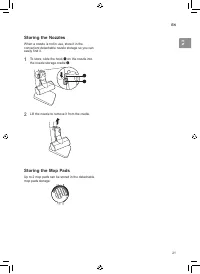
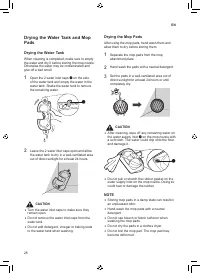
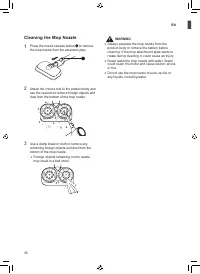
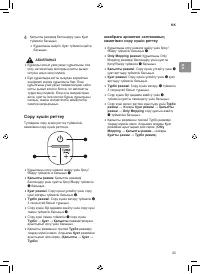
Using the Wet Mop Pads
Remove dust and mop the floor at the same time
with the mop nozzle.
•
Clean the dust bin before using the wet mop
pads.
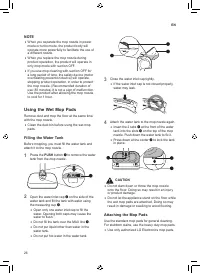
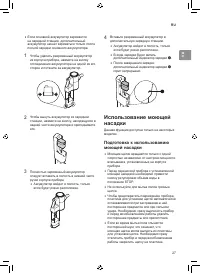
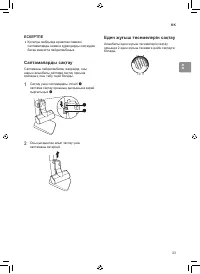
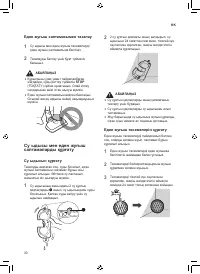
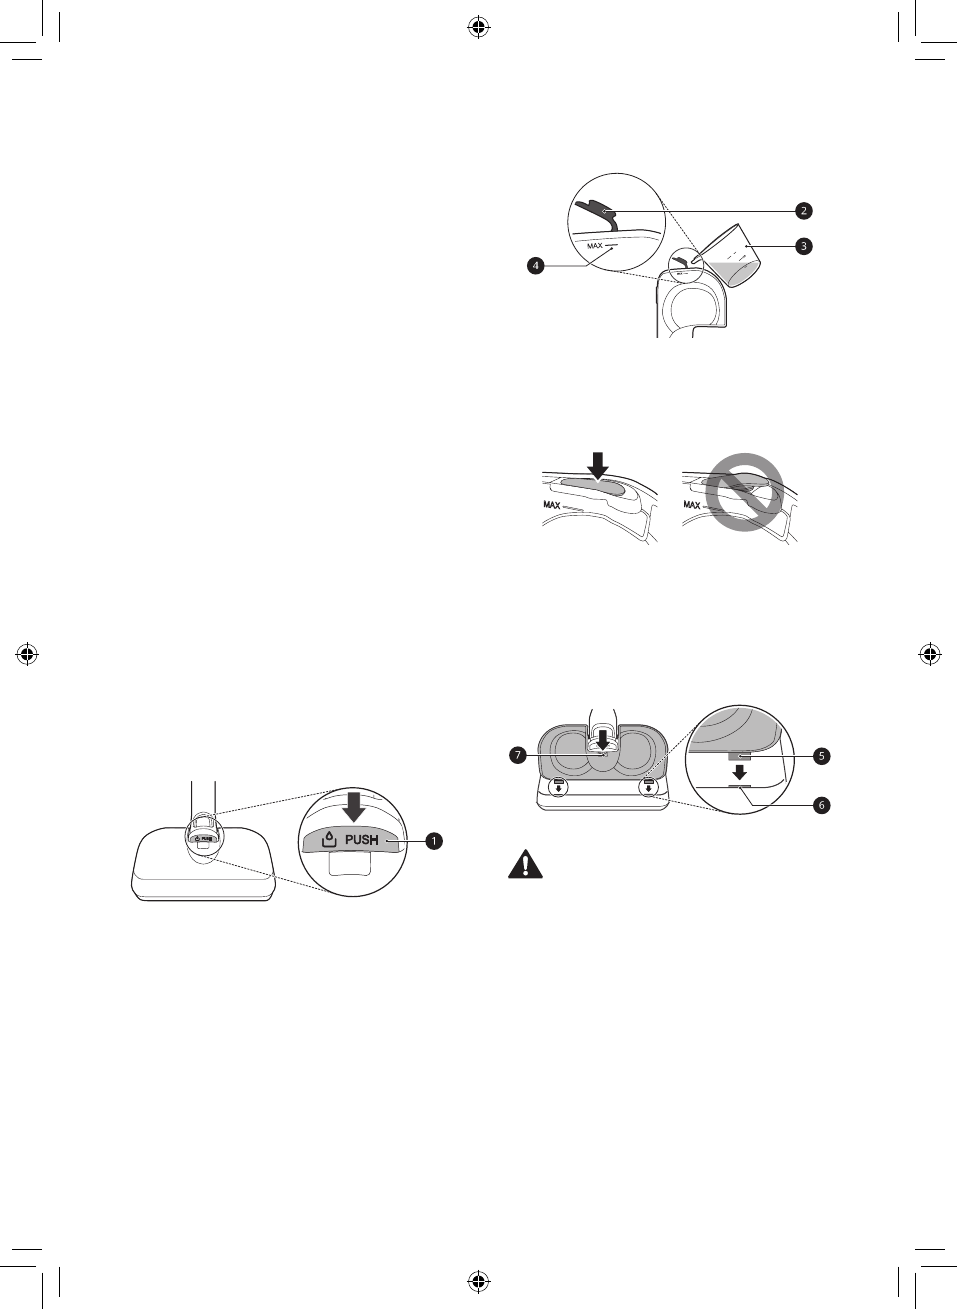
Filling the Water Tank
Before mopping, you must fill the water tank and
attach it to the mop nozzle.
1
Press the
PUSH
button
a
to remove the water
tank from the mop nozzle.
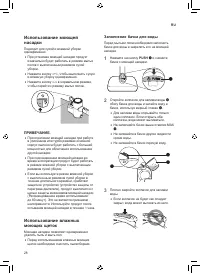
2
Open the water inlet cap
b
on the side of the
water tank and fill the tank with water using
the measuring cup
c
.
•
Open only one water inlet cap to fill the
water. Opening both caps may cause the
water to flush.
•
Do not fill the tank over the MAX line
d
.
•
Do not put liquid other than water in the
water tank.
•
Do not put hot water in the water tank.
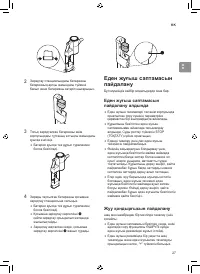
3
Close the water inlet cap tightly.
•
If the water inlet cap is not closed properly,
water may leak.
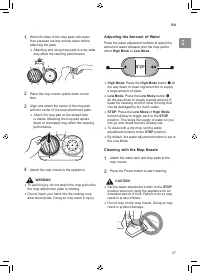
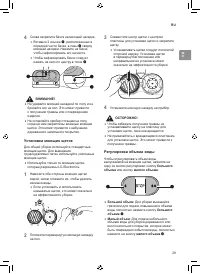
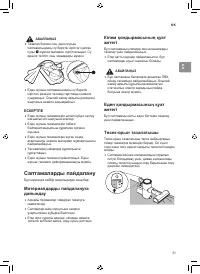
4
Attach the water tank to the mop nozzle again.
•
Insert the 2 tabs
e
at the front of the water
tank into the slots
f
on the top of the mop
nozzle. Push down the water tank to fix it.
•
Press down at the center
g
to lock the tank
in place.
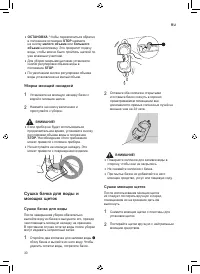
CAUTION
•
Do not slam down or throw the mop nozzle
onto the floor. Doing so may result in an injury
or product damage.
•
Do not let the appliance stand on the floor while
the wet mop pads are attached. Doing so may
result in damage or swelling to wood flooring.
Attaching the Mop Pads
Use the standard mop pads for general cleaning.
For stubborn stains, use the heavy duty mop pads.
•
Use only authorized LG Electronics mop pads.
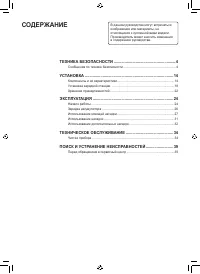
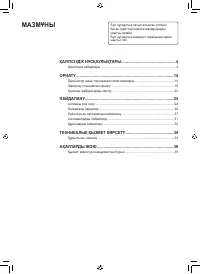
Содержание
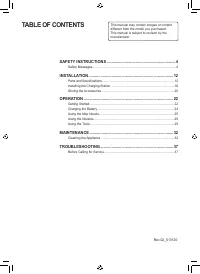
- 43 СОДЕРЖАНИЕ; ТЕХНИКА БЕЗОПАСНОСТИ
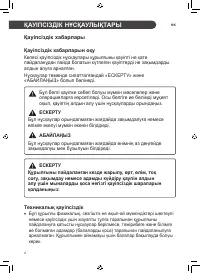
- 44 Сообщения по технике безопасности; Чтение сообщений по технике безопасности
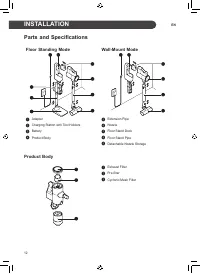
- 46 Установка
- 47 Эксплуатация
- 52 Моющая насадка
- 54 Компоненты и их характеристики; Напольный вариант; УСТАНОВКА
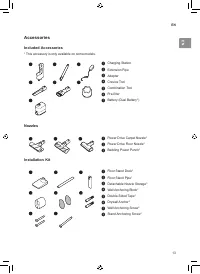
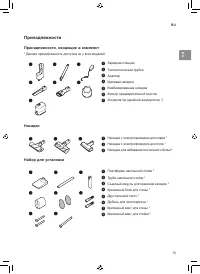
- 55 Принадлежности; Принадлежности, входящие в комплект
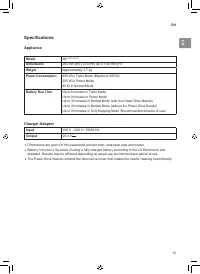
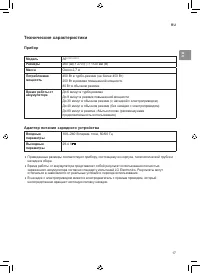
- 57 Технические характеристики; Прибор; Адаптер питания зарядного устройства
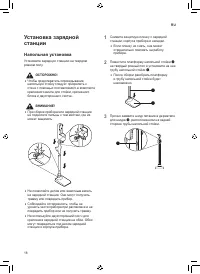
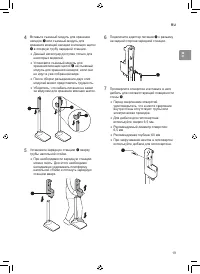
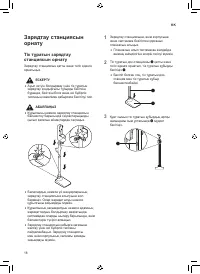
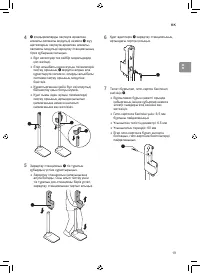
- 58 Напольная установка
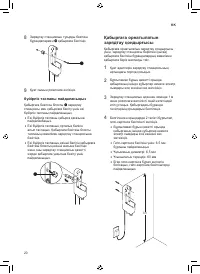
- 60 используйте двусторонний скотч; Настенная установка
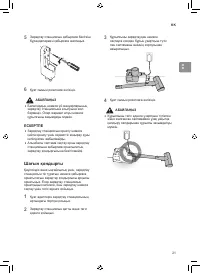
- 61 Компактная установка
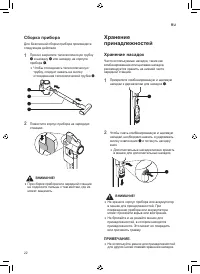
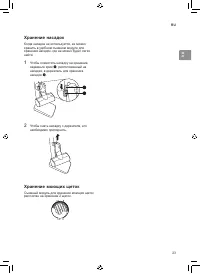
- 62 Сборка прибора; Хранение; Хранение насадок
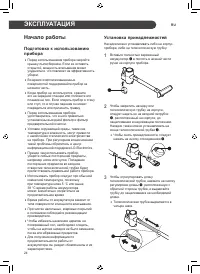
- 64 ЭКСПЛУАТАЦИЯ; Начало работы; Подготовка к использованию
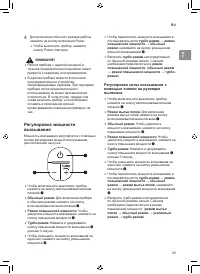
- 65 Регулировка силы всасывания с
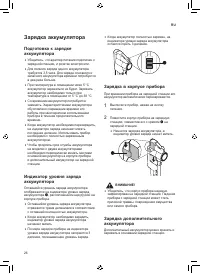
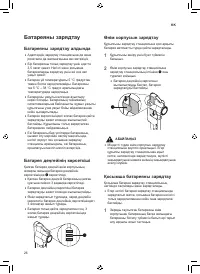
- 66 Зарядка аккумулятора
- 68 Заполнение бачка для воды
- 70 Уборка моющей насадкой; Сушка бачка для воды и; Сушка бачка для воды
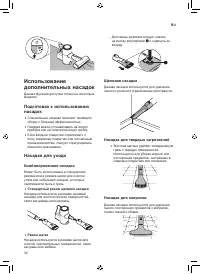
- 71 Использование насадок
- 72 Комбинированная насадка; Щелевая насадка
- 73 Гибкая щелевая насадка; Насадка с переменным углом
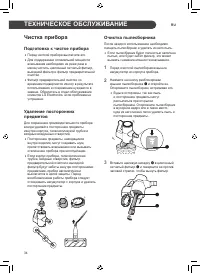
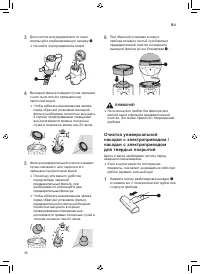
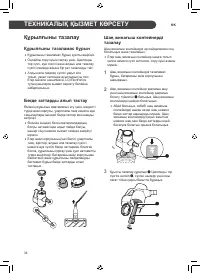
- 74 ТЕХНИЧЕСКОЕ ОБСЛУЖИВАНИЕ; Чистка прибора; Подготовка к чистке прибора
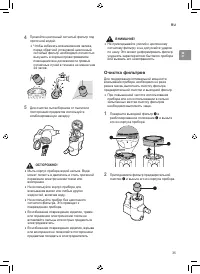
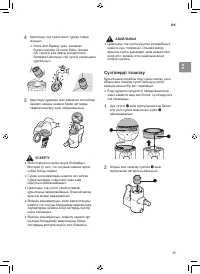
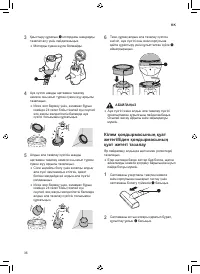
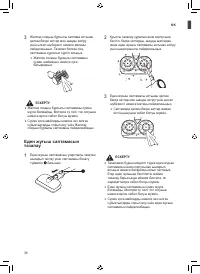
- 75 Очистка фильтров
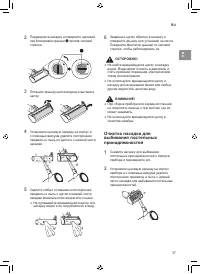
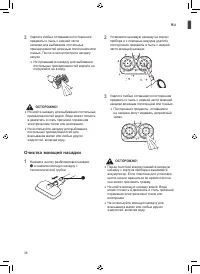
- 78 Очистка моющей насадки
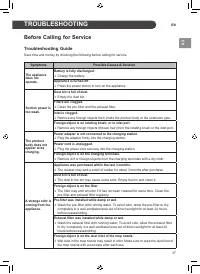
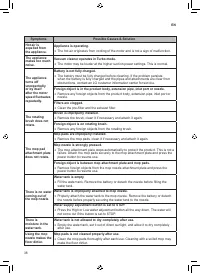
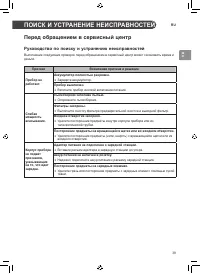
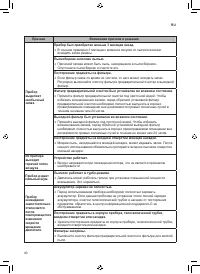
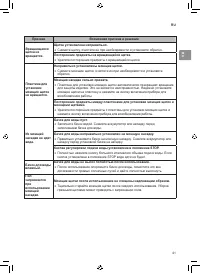
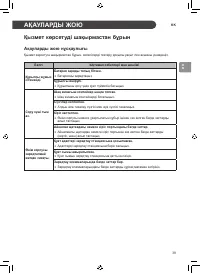
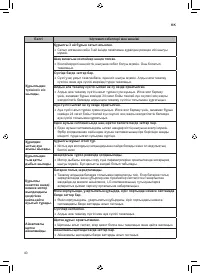
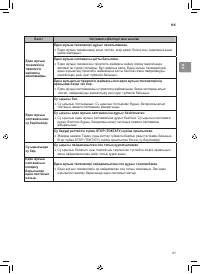
- 79 Перед обращением в сервисный центр; Руководство по поиску и устранению неисправностей; ПОИСК И УСТРАНЕНИЕ НЕИСПРАВНОСТЕЙ
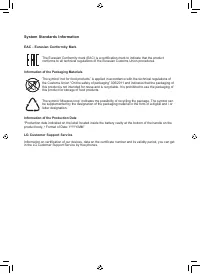
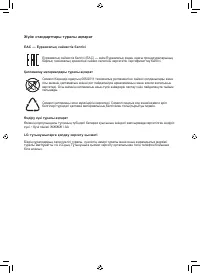
- 82 Информация о системных стандартах


