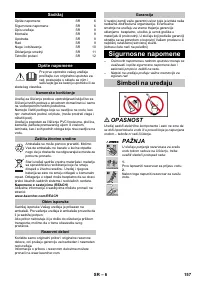
Пылесос Karcher FC 3 - инструкция пользователя по применению, эксплуатации и установке на русском языке. Мы надеемся, она поможет вам решить возникшие у вас вопросы при эксплуатации техники.
Если остались вопросы, задайте их в комментариях после инструкции.
"Загружаем инструкцию", означает, что нужно подождать пока файл загрузится и можно будет его читать онлайн. Некоторые инструкции очень большие и время их появления зависит от вашей скорости интернета.


– 8
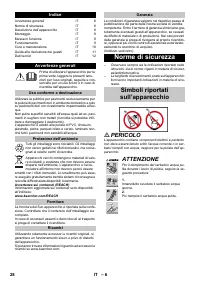
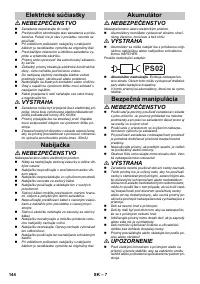
몇
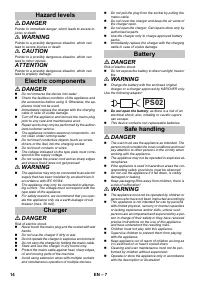
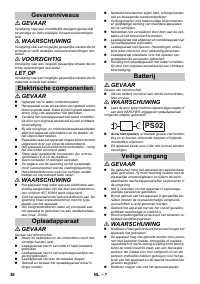
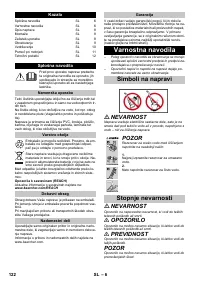
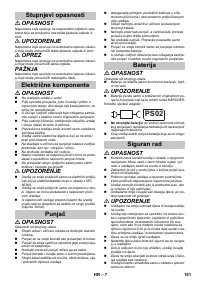
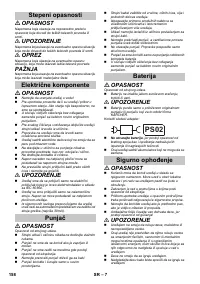
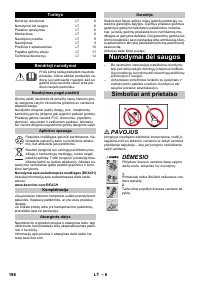
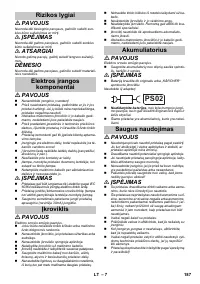
CAUTION
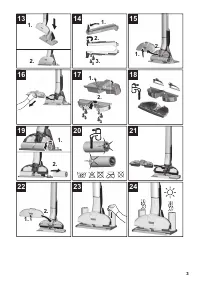
Create stability for the appliance prior to any work
on or with the appliance to prevent accidents or
damage.
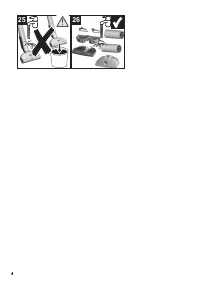
Never fill solvents, solvent-containing liquids or un-
diluted acids (e.g. detergents, petrol, paint thinner,
and acetone) into the water reservoir as these sub-
stances corrode the materials used in the appli-
ance.
Never leave the appliance unattended as long as it
is in operation.
Keep parts of the body (e.g. hair, fingers) away
from the rotating cleaning rollers.
Protect your hands when cleaning the floor head
due to a danger of injury from sharp objects (e.g.
splinters).
Keep connection cable away from heat, sharp edg-
es, oil and moving parts.
ATTENTION
Only switch on the appliance when the fresh water
tank and waste water tank are fitted.
The device may not be used for vacuuming sharp
objects or large objects (e.g. glass shards, gravel,
toy parts).
Do not fill the fresh water container with vinegar,
decalcification agents, essential oils or similar sub-
stances. Also take care to ensure that these sub-
stances are not vacuumed.
Only use this appliance on hard floors with water-
proof coatings (e. g. varnished parquet, enamelled
tiles, Linoleum).
Do not use the appliance for cleaning of carpets or
carpeted floors.
Do not use the appliance over the floor grilles of con-
vector heaters. The appliance is not able to take in the
water discharged when used above grilles.
In case of longer breaks in operation and after use,
switch off the device at the main switch / device
switch and pull the charger’s mains plug.
Do not operate the appliance at temperatures be-
low 0 °C.
Protect the unit from rain. Do not store outside.
* FC 3 Cordless
** FC 3 Cordless Premium
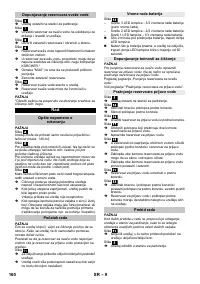
ATTENTION
Take care to ensure that the power cable lies fully in the
guide rail before fitting the handle bar.
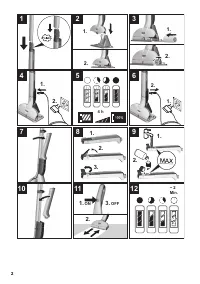
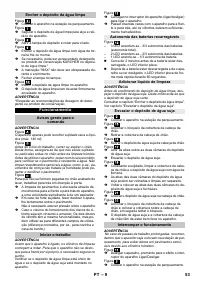
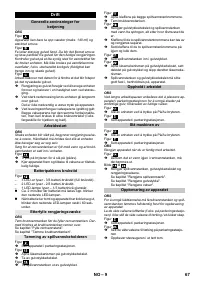
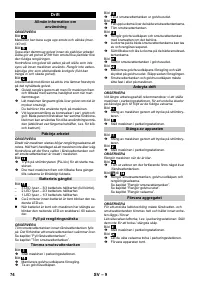
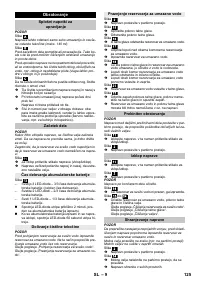
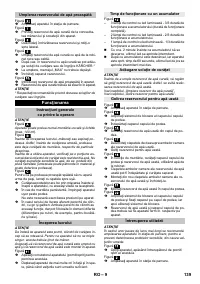
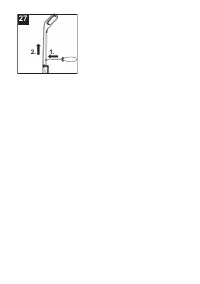
Illustration
Insert handle into the basic unit as far as it goes un-
til it engages audibly.
The handle must sit snugly into the appliance.
Illustration
Place the device in the parking station for safe storage.
Illustration
Screw the cleaning rollers onto the threaded rod up
to the mechanical stop.
Pay attention to the colour-codes on the inside of
the roller and roller holder on the appliance (e.g.
blue should match up with blue).
After the installation, check to ensure that the
cleaning rollers sit snugly.
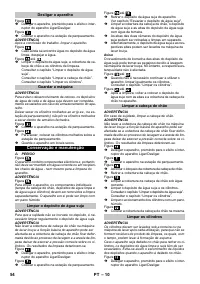
Illustration
Plug the charging cable of the charger into the
charging socket on the device.
Plug the mains plug of the charger into a power outlet.
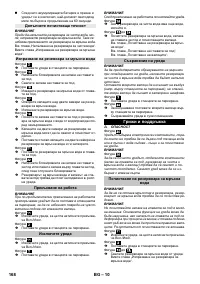
Illustration
The LED indicator lights display the battery's cur-
rent charging state.
All 3 LED indicator lights flash from bottom to top
when charging a completely empty battery.
The lowermost LED lights up continuously when
the battery is 1/3 charged, the two upper LEDs con-
tinue to flash.
When the battery is 2/3 charged, the two lower
LEDs light up continuously, the uppermost LED
continues to flash.
After the battery has been fully charged, the 3 LED
indicator lights will continue to light constantly for
60 minutes. After this time, the LED indicator lights
go out.
Illustration
Once the battery is charged, pull the mains plug out
of the socket and the charging cable out of the
charging socket.
Illustration
Place the device in the parking station.
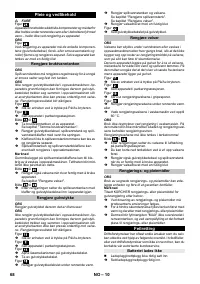
Illustration
Grasp the fresh water tank by the recessed grip
and remove it from the device.
Illustration
Open the tank cap and turn it to the side.
Illustration
Fill the fresh water tank with cold or lukewarm tap
water.
KÄRCHER detergents/care agents can also be
added to the fresh water tank as required.*
Do not exceed the "MAX" marking when filling.
Close tank lock.
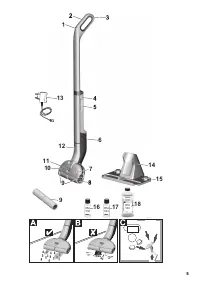
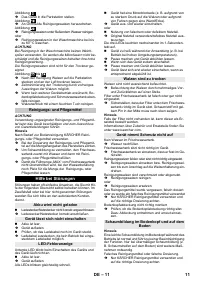
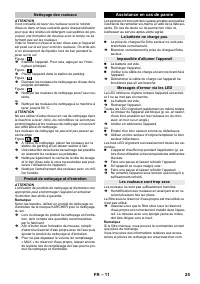
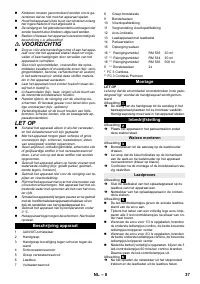
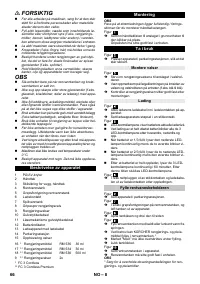
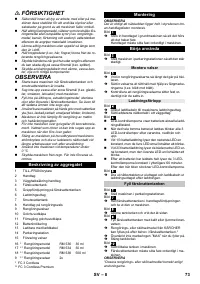
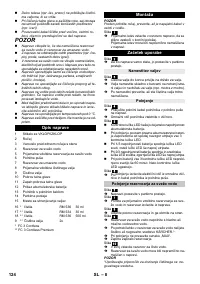
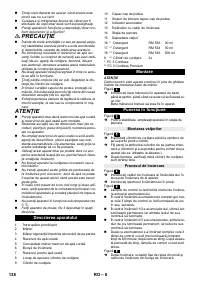
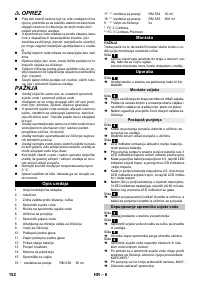
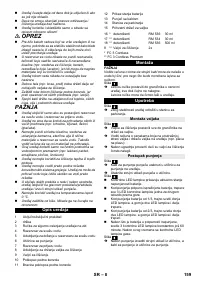
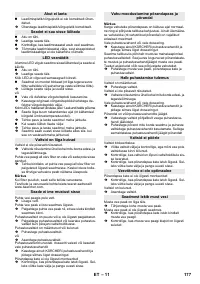
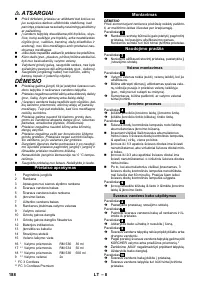
Description of the Appliance
1
ON/OFF switch
2
Handle
3
Wall anti-slip handle
4
Fresh water tank
5
Fresh water tank recessed grip
6
Charging socket
7
Waste water tank
8
Recessed grip cleaning roller
9
Cleaning rollers
10
Floor head cover
11
Floor head cover lock
12
Battery indicator
13
Charger with charging cable
14
Parking station
15
Roller storage
16 * Detergent
RM 536
30 ml
17 ** Detergent
RM 534
30 ml
18 ** Detergent
RM 536
500 ml
9 ** Cleaning rollers
2x
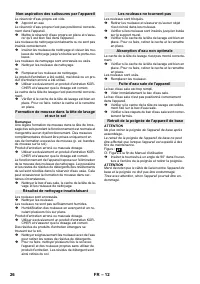
Assembly
Commissioning
Installing the rollers
Charging process
Fill fresh water reservoir
15
EN
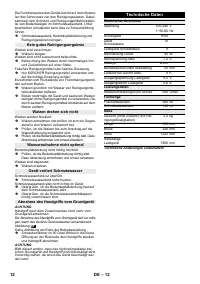
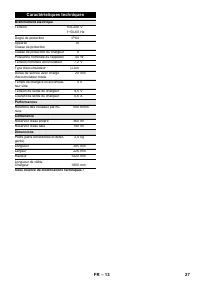
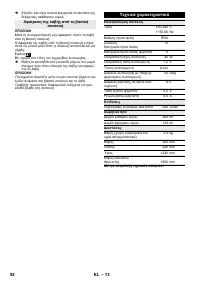
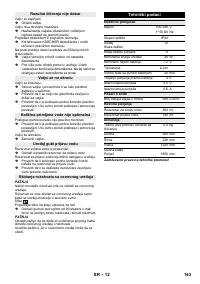
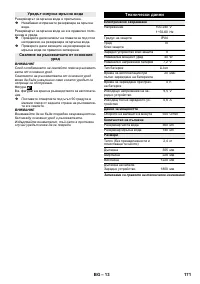
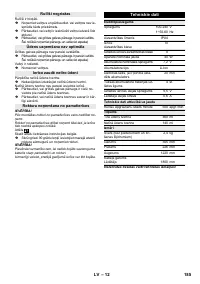
Характеристики

Остались вопросы?Не нашли свой ответ в руководстве или возникли другие проблемы? Задайте свой вопрос в форме ниже с подробным описанием вашей ситуации, чтобы другие люди и специалисты смогли дать на него ответ. Если вы знаете как решить проблему другого человека, пожалуйста, подскажите ему :)


