Пылесос Philips FC6841 - инструкция пользователя по применению, эксплуатации и установке на русском языке. Мы надеемся, она поможет вам решить возникшие у вас вопросы при эксплуатации техники.
Если остались вопросы, задайте их в комментариях после инструкции.
"Загружаем инструкцию", означает, что нужно подождать пока файл загрузится и можно будет его читать онлайн. Некоторые инструкции очень большие и время их появления зависит от вашей скорости интернета.


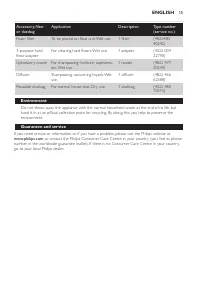


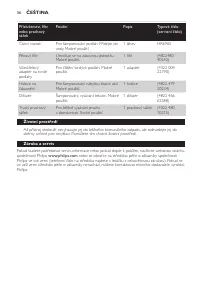
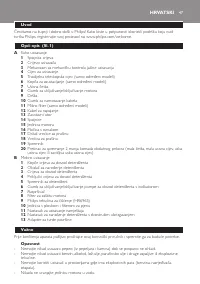


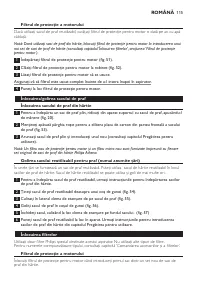

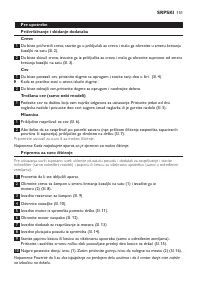


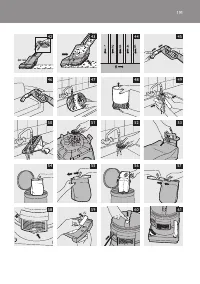


Preparing for use
Connecting and disconnecting accessories
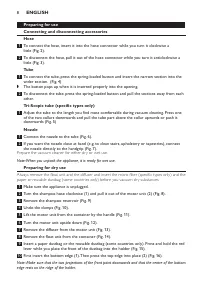
hose
1
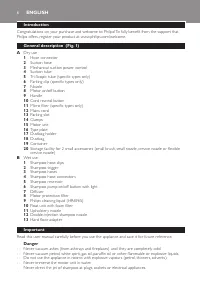
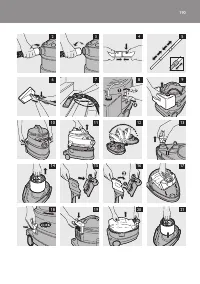
To connect the hose, insert it into the hose connector while you turn it clockwise a
little (Fig. 2).
2
To disconnect the hose, pull it out of the hose connector while you turn it anticlockwise a
little (Fig. 3).
tube
1
To connect the tube, press the spring-loaded button and insert the narrow section into the
wider section. (Fig. 4)
,
The button pops up when it is inserted properly into the opening.
2
To disconnect the tube, press the spring-loaded button and pull the sections away from each
other.
tri-scopic tube (specific types only)
1
Adjust the tube to the length you find most comfortable during vacuum cleaning. Press one
of the two collars downwards and pull the tube part above the collar upwards or push it
downwards (Fig. 5)
nozzle
1
Connect the nozzle to the tube (Fig. 6).
2
If you want the nozzle close at hand (e.g. to clean stairs, upholstery or tapestries), connect
the nozzle directly to the handgrip (Fig. 7).
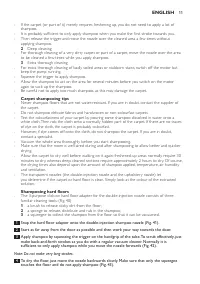
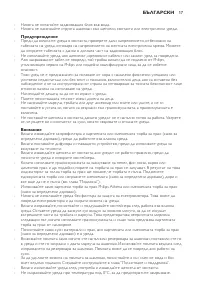
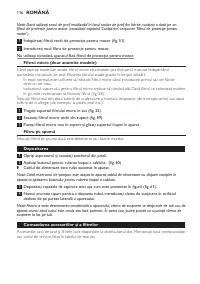
Prepare the vacuum cleaner for either dr y or wet use.
Note: When you unpack the appliance, it is ready for wet use.
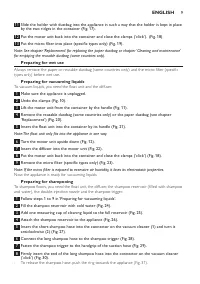
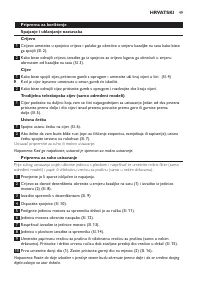
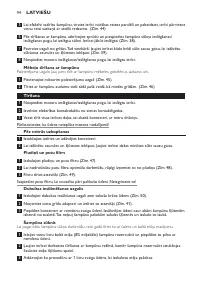
Preparing for dry use
Always remove the float unit and the diffuser and inser t the micro filter (specific types only) and the
paper or reusable dustbag (some countries only) before you vacuum dr y substances.
1
Make sure the appliance is unplugged.
2
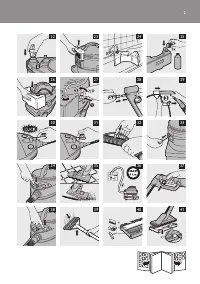
Turn the shampoo hose clockwise (1) and pull it out of the motor unit (2) (Fig. 8).
3
Remove the shampoo reservoir (Fig. 9)
4
Undo the clamps (Fig. 10).
5
Lift the motor unit from the container by the handle (Fig. 11).
6
Turn the motor unit upside down (Fig. 12).
7
Remove the diffuser from the motor unit (Fig. 13).
8
Remove the float unit from the container (Fig. 14).
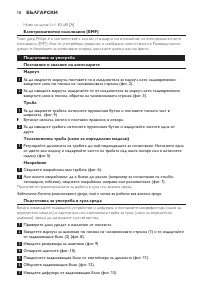
9
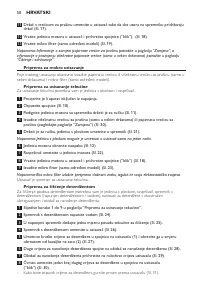
Insert a paper dustbag or the reusable dustbag (some countries only). Press and hold the red
lever while you place the front of the dustbag into the holder (Fig. 15).
10
First insert the bottom edge (1). Then press the top edge into place (2) (Fig. 16).
Note: Make sure that the two projections of the front point downwards and that the centre of the bottom
edge rests on the ridge of the holder.
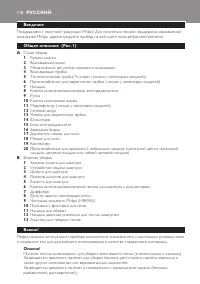
English
8
Содержание
- 120 При правильной установке в отверстие кнопка высвобождается.; Телескопическая трубка tri-scopic (только у некоторых моделей); Подготовка пылесоса к сухой или влажной уборке.; Подготовка к сухой уборке; Убедитесь, что прибор отключен от электросети.
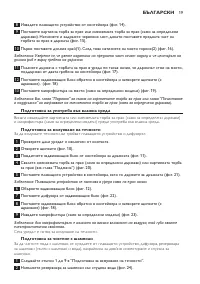
- 121 часть нижнего края установлена в выступ держателя.; Подготовка к влажной уборке
- 122 или ковровых покрытий)
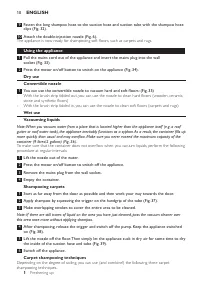
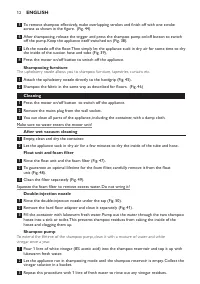
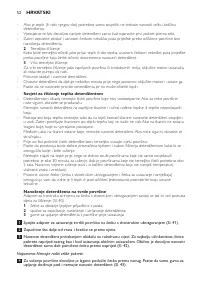
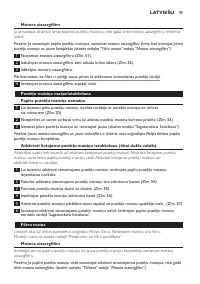
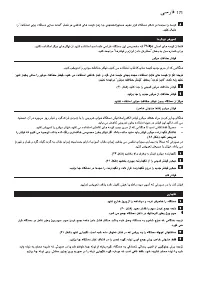
- 123 Очистка ковров с шампунем; обработайте этот участок пылесосом без применения шампуня.; Очистка ковров шампунем
- 124 Очистка шампунем твердых полов; щетка для удаления с пола прилипшей грязи; Очистка мебели шампунем; Выньте вилку сетевого шнура из розетки электросети.
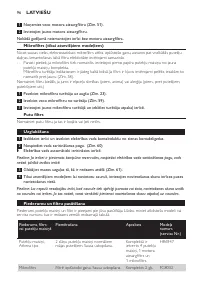
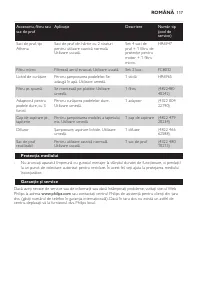
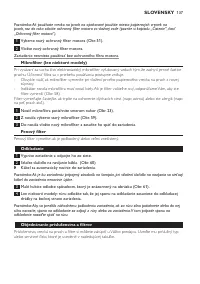
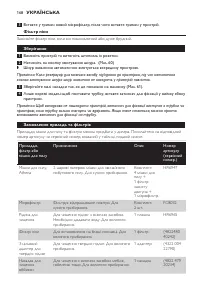
- 125 замена/очистка мешка для пыли
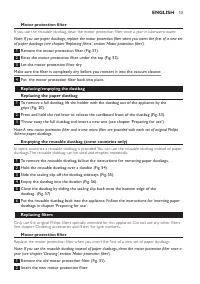
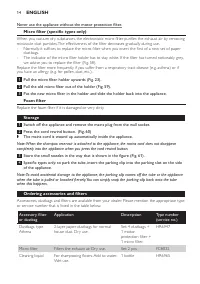
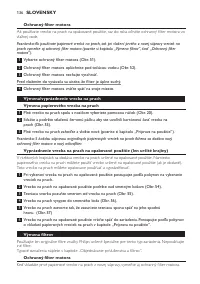
- 126 в комплекте только в некоторых странах); использования и очистки.; замена фильтров; раздел “Фильтр защиты электродвигателя”).
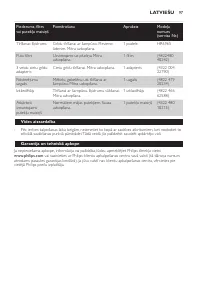
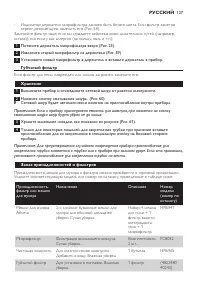
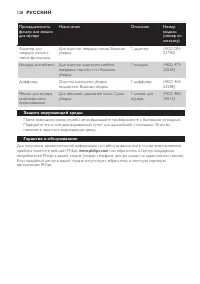
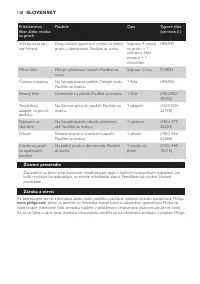
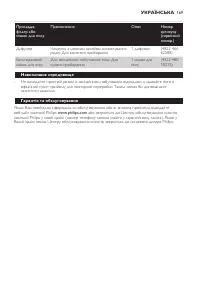
- 127 сматывания шнура шнур будет убран не до конца.; заказ принадлежностей и фильтров


