
Пылесос Bosch Unlimited Serie | 6 BCS612KA2 - инструкция пользователя по применению, эксплуатации и установке на русском языке. Мы надеемся, она поможет вам решить возникшие у вас вопросы при эксплуатации техники.
Если остались вопросы, задайте их в комментариях после инструкции.
"Загружаем инструкцию", означает, что нужно подождать пока файл загрузится и можно будет его читать онлайн. Некоторые инструкции очень большие и время их появления зависит от вашей скорости интернета.

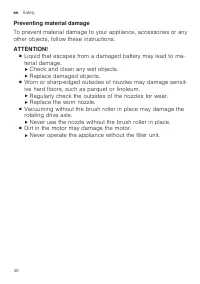
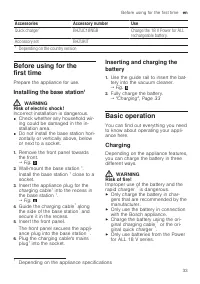


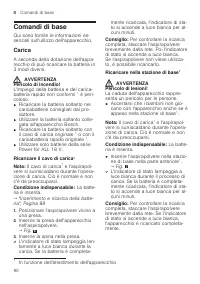


Basic operation
en
35
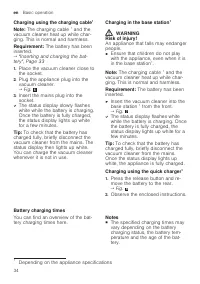
¡
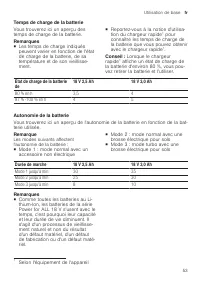
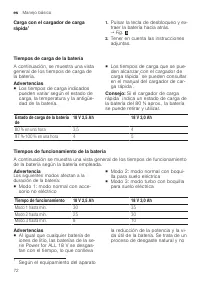
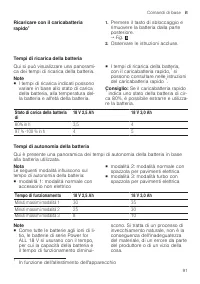
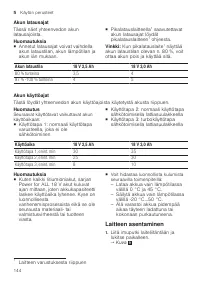
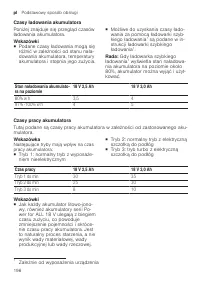
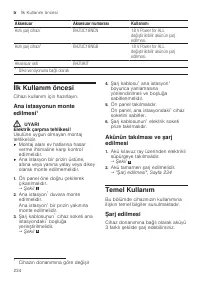
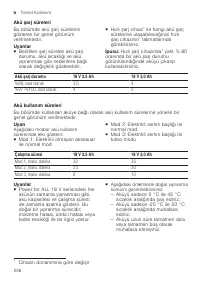
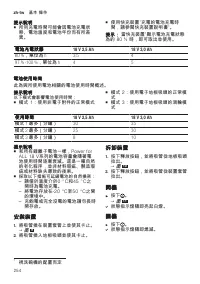
You can find out which battery
charging times are achieved with
the quick charger
1
in the instruc-
tions of for the quick charger
1
.
Tip:
If the quick charger
1
displays a
battery charging status of approx.
80%, you can remove and use the
battery.
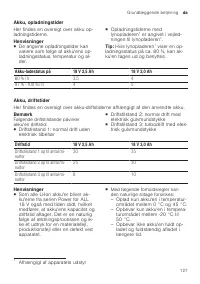
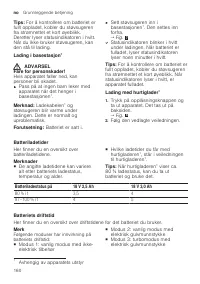
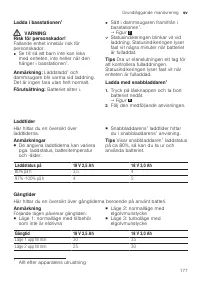
Battery charging status of
18 V 2,5 Ah
18 V 3,0 Ah
80% in hrs
3,5
4
97%–100% in hrs
4
5
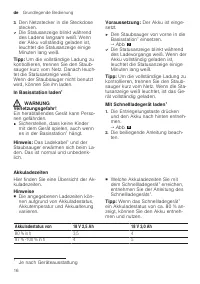
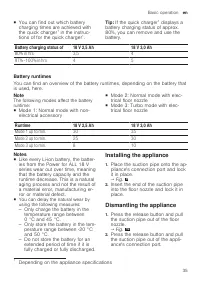
Battery runtimes
You can find an overview of the battery runtimes, depending on the battery that
is used, here.
Note
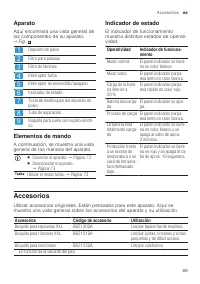
The following modes affect the battery
runtime:
¡
Mode 1: Normal mode with non-
electrical accessory
¡
Mode 2: Normal mode with elec-
trical floor nozzle
¡
Mode 3: Turbo mode with elec-
trical floor nozzle
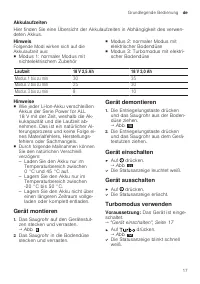
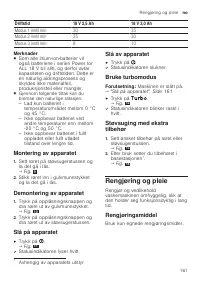
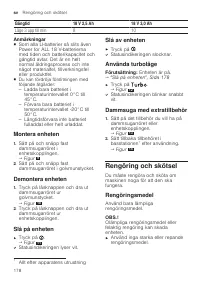
Runtime
18 V 2,5 Ah
18 V 3,0 Ah
Mode 1 up to min.
30
35
Mode 2 up to min.
25
30
Mode 3 up to min.
8
10
Notes
¡
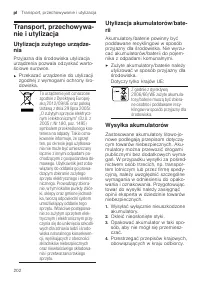
Like every Li-ion battery, the batter-
ies from the Power for ALL 18 V
series wear out over time, meaning
that the battery capacity and the
runtime decrease. This is a natural
aging process and not the result of
a material error, manufacturing er-
ror or material defect.
¡
You can delay the natural wear by
using the following measures:
–
Only charge the battery in the
temperature range between
0 °C and 45 °C.
–
Only store the battery in the tem-
perature range between -20 °C
and 50 °C.
–
Do not store the battery for an
extended period of time if it is
fully charged or fully discharged.
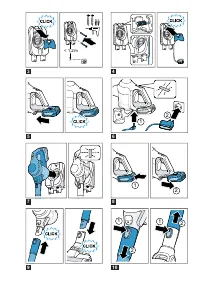
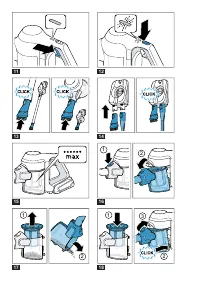
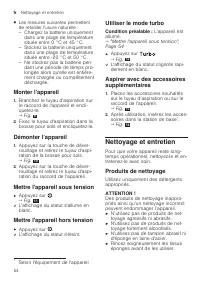
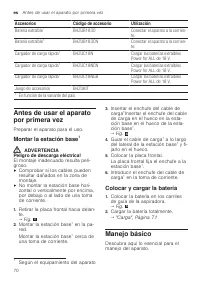
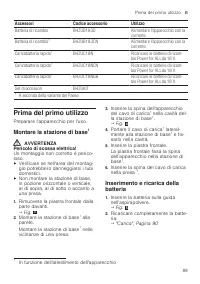
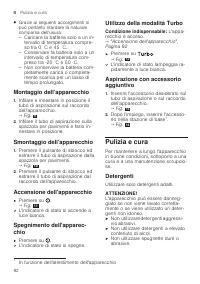
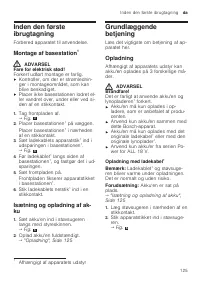
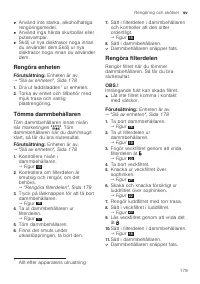
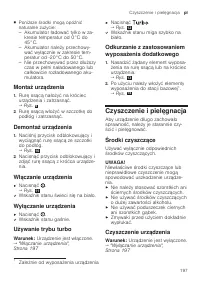
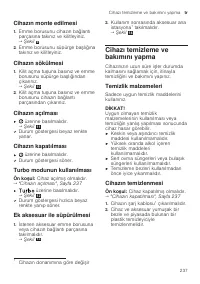
Installing the appliance
1.
Place the suction pipe onto the ap-
pliance's connection port and lock
it in place.
→
2.
Insert the end of the suction pipe
into the floor nozzle and lock it in
place.
Dismantling the appliance
1.
Press the release button and pull
the suction pipe out of the floor
nozzle.
→
2.
Press the release button and pull
the suction pipe out of the appli-
ance's connection port.
1
Depending on the appliance specifications


