Пылесос Bosch Flexxo Serie | 4 25.2V BCH3K255 - инструкция пользователя по применению, эксплуатации и установке на русском языке. Мы надеемся, она поможет вам решить возникшие у вас вопросы при эксплуатации техники.
Если остались вопросы, задайте их в комментариях после инструкции.
"Загружаем инструкцию", означает, что нужно подождать пока файл загрузится и можно будет его читать онлайн. Некоторые инструкции очень большие и время их появления зависит от вашей скорости интернета.


39
en
Congratulations on your purchase of a Bosch vacuum
cleaner from the BBH3/BCH3 series.
This instruction manual describes various BBH3/BCH3
models, which means that some of the equipment fea-
tures and functions described may not apply to your
model. You should only use original Bosch accessories,
which have been specially developed for your vacuum
cleaner, to achieve the best possible vacuuming re -
sults.
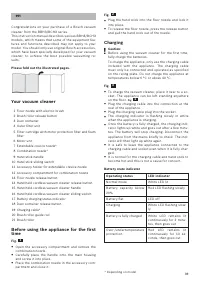
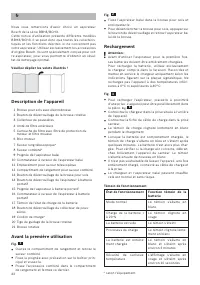
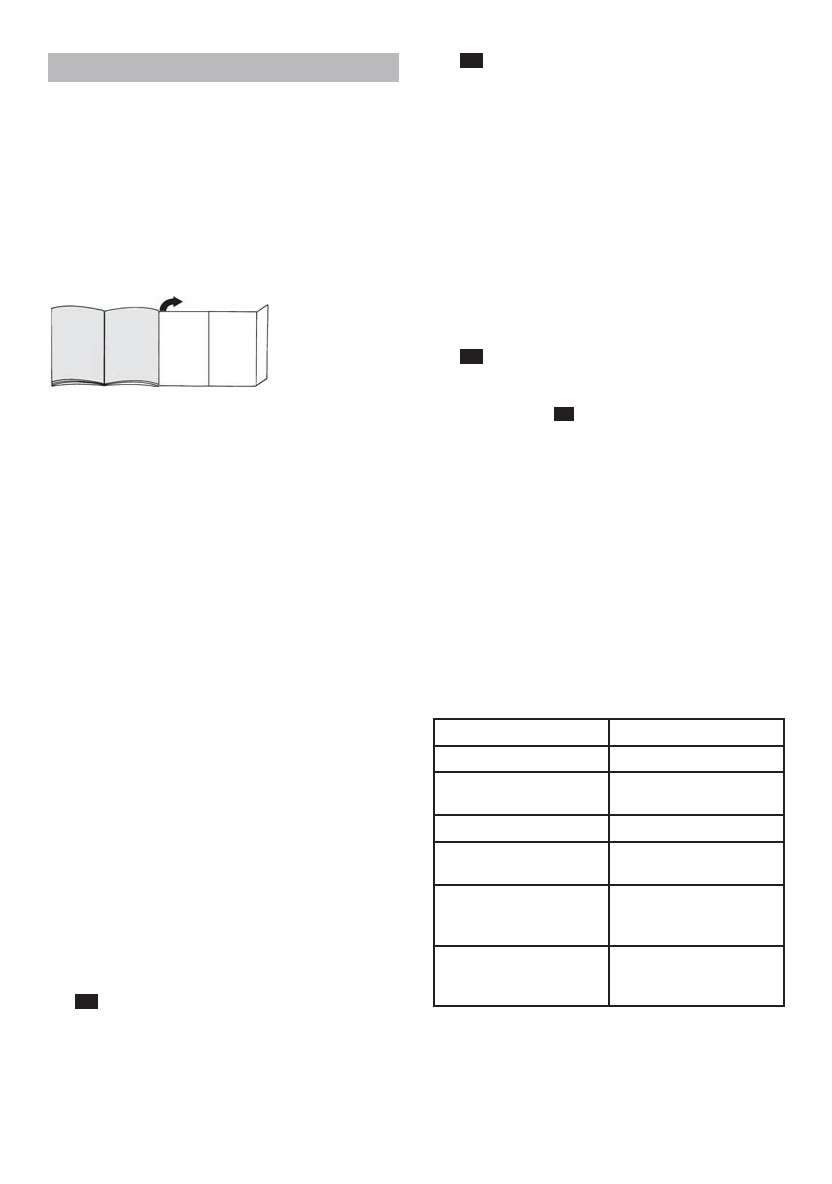
Please fold out the illustrated pages.
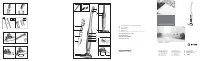
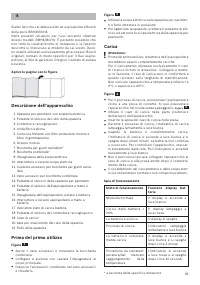
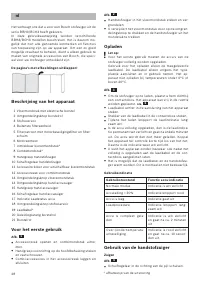
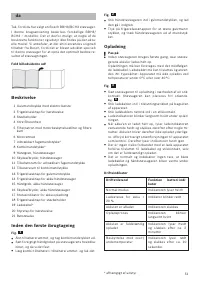
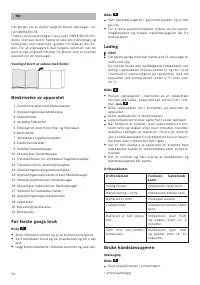
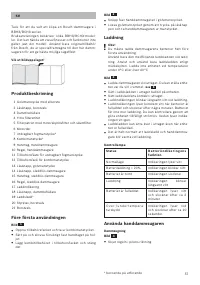
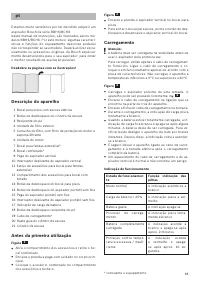
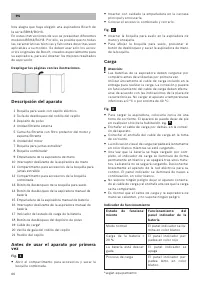
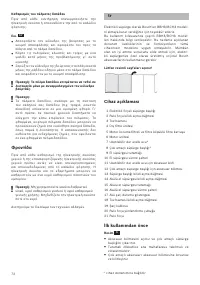
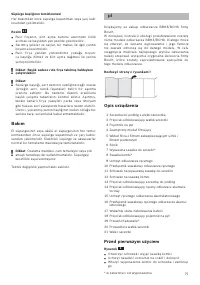
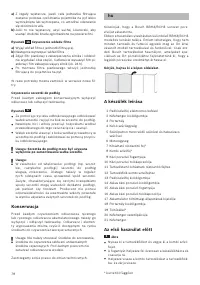
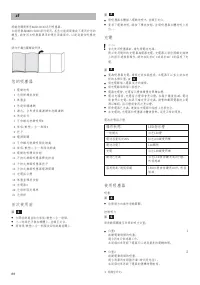
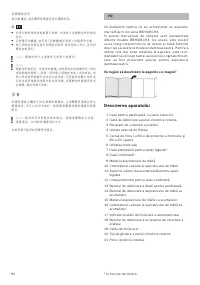
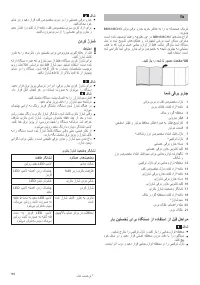
Your vacuum cleaner
1 Floor nozzle with electric brush
2 Brush roller release button
3 Dust container
4 Outer filter unit
5 Filter cartridge with motor protection filter and foam
filter
6 Motor unit
7 Extendable crevice nozzle*
8 Combination nozzle*
9 Hand stick handle
10 Hand stick sliding switch
11 Accessory holder for extendable crevice nozzle
12 Accessory compartment for combination nozzle
13 Floor nozzle release button
14 Hand-held cordless vacuum cleaner release button
15 Hand-held cordless vacuum cleaner handle
16 Hand-held cordless vacuum cleaner sliding switch
17 Battery charging status indicator
18 Dust container release button
19 Charging cable*
20 Brush roller guide rod
21 Brush roller
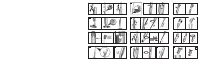
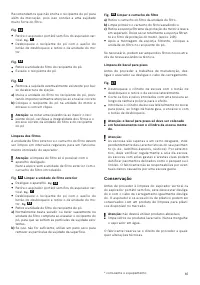
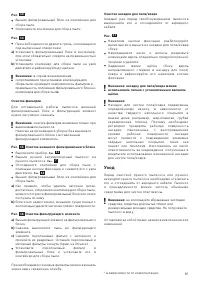
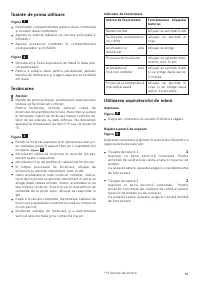
Before using the appliance for the first
time
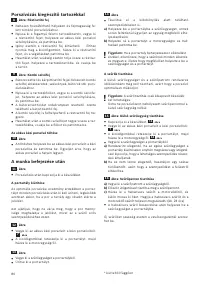
Fig.
1
Open the accessor y compar tment and remove the
combination nozzle.
Carefully place the handle onto the main housing
and screw it into place.
Place the combination nozzle in the accessor y com-
par tment and close it.
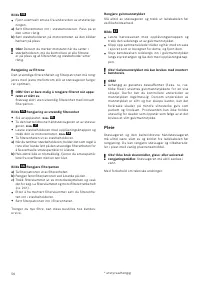
Fig.
2
Plug the hand stick into the floor nozzle and lock it
into place.
To release the floor nozzle, press the release button
and pull the hand stick out of the nozzle.
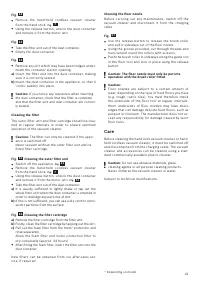
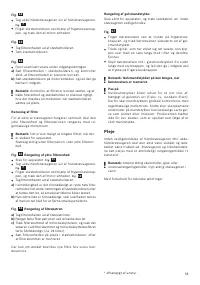
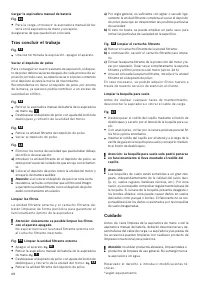
Charging
!
Caution:
Before using the vacuum cleaner for the first time,
fully charge the batteries.
To charge the appliance, only use the charging cable
included with the appliance. The charging cable
must only be connected and operated as specified
on the rating plate. Do not charge the appliance at
temperatures below 0 °C or above 4 0 °C.
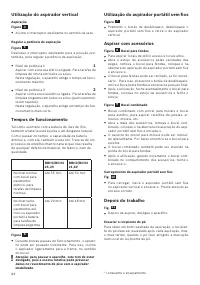
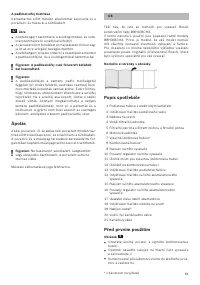
Fig.
3
To charge the vacuum cleaner, place it near to a so -
cket. The appliance can be left standing any where
on the floor.
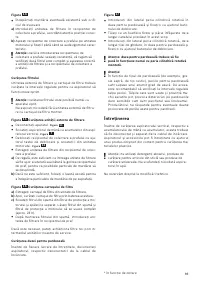
Fig.
6
Plug the charging cable into the connection at the
rear of the appliance.
Plug the charging cable plug into the socket.
The charging indicator is flashing slowly in white
when the appliance is charging.
Once the batter y is fully charged, the charging indi-
cator lights up white and goes out after a few minu-
tes. The batter y will stop charging. Disconnect the
appliance from the mains briefly to check. The indi-
cator will then light up white again.
It is safe to leave the appliance connected to the
charging cable and socket even when it is fully char-
ged.
It is normal for the charging cable and hand stick to
become hot and this is not a cause for concern.
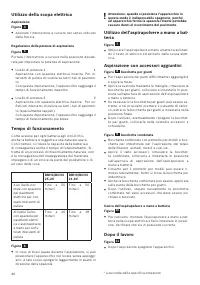
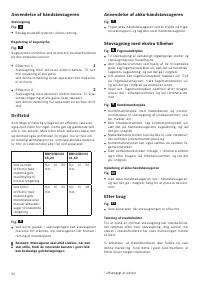
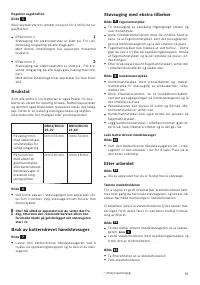
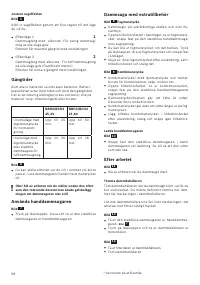
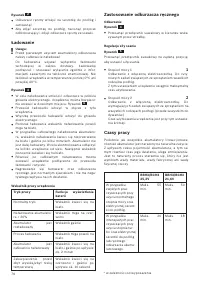
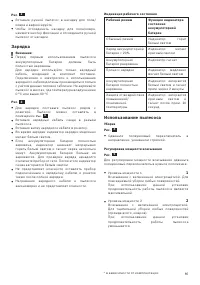
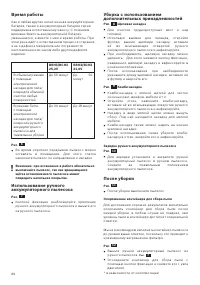
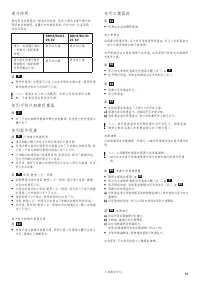
Batter y state indicator
Operating status
LED indicator
Normal mode
White LED lit
Batter y capacity below
20%
Red LED flashing slowly
Batter y flat
LED off
Charging
White LED flashing slow-
ly
Batter y is fully charged
White LED remains lit
continuously for 2 minu-
tes, then goes out
Over-/under temperature
protection
Red LED remains lit
continuously for 10 se -
conds, then goes out
* Depending on model


