
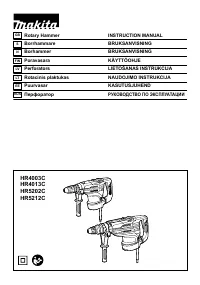
Перфораторы Makita HR4003C - инструкция пользователя по применению, эксплуатации и установке на русском языке. Мы надеемся, она поможет вам решить возникшие у вас вопросы при эксплуатации техники.
Если остались вопросы, задайте их в комментариях после инструкции.
"Загружаем инструкцию", означает, что нужно подождать пока файл загрузится и можно будет его читать онлайн. Некоторые инструкции очень большие и время их появления зависит от вашей скорости интернета.


6
5.
Be sure the bit is secured in place before
operation.
6.
Under normal operation, the tool is designed
to produce vibration. The screws can come
loose easily, causing a breakdown or accident.
Check tightness of screws carefully before
operation.
7.
In cold weather or when the tool has not been
used for a long time, let the tool warm up for a
while by operating it under no load. This will
loosen up the lubrication. Without proper
warm-up, hammering operation is difficult.
8.
Always be sure you have a firm footing.
Be sure no one is below when using the tool
in high locations.
9.
Hold the tool firmly with both hands.
10.
Keep hands away from moving parts.
11.
Do not leave the tool running. Operate the tool
only when hand-held.
12.
Do not point the tool at any one in the area
when operating. The bit could fly out and
injure someone seriously.
13.
Do not touch the bit or parts close to the bit
immediately after operation; they may be
extremely hot and could burn your skin.
14.
Some material contains chemicals which may
be toxic. Take caution to prevent dust
inhalation and skin contact. Follow material
supplier safety data.
SAVE THESE INSTRUCTIONS.
WARNING:
DO NOT let comfort or familiarity with product
(gained from repeated use) replace strict adherence
to safety rules for the subject product. MISUSE or
failure to follow the safety rules stated in this
instruction manual may cause serious personal
injury.
FUNCTIONAL DESCRIPTION
CAUTION:
•
Always be sure that the tool is switched off and
unplugged before adjusting or checking function
on the tool.
Switch action
CAUTION:
•
Before plugging in the tool, always check to see
that the switch trigger actuates properly and
returns to the "OFF" position when released.
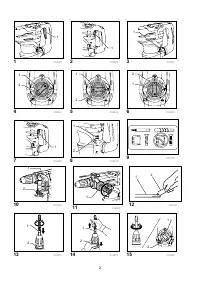
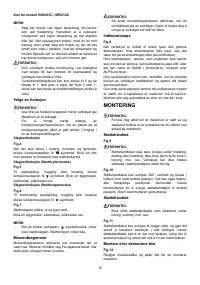
Switch trigger
This switch functions when setting the tool in
symbol
and
symbol modes.
Fig.1
To start the tool, simply pull the switch trigger. Release
the switch trigger to stop.
Switch button
This switch functions when setting the tool in
symbol mode.
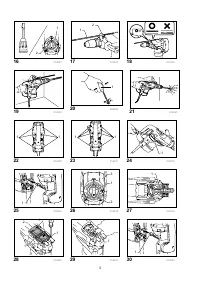
Fig.2
When the tool is in the
symbol mode, the switch
button projects out and lights in red.
To start the tool, press the switch button. The switch
light turns in green.
To stop the tool, press the switch button again.
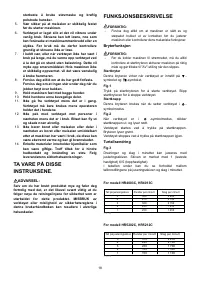
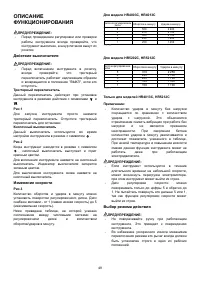
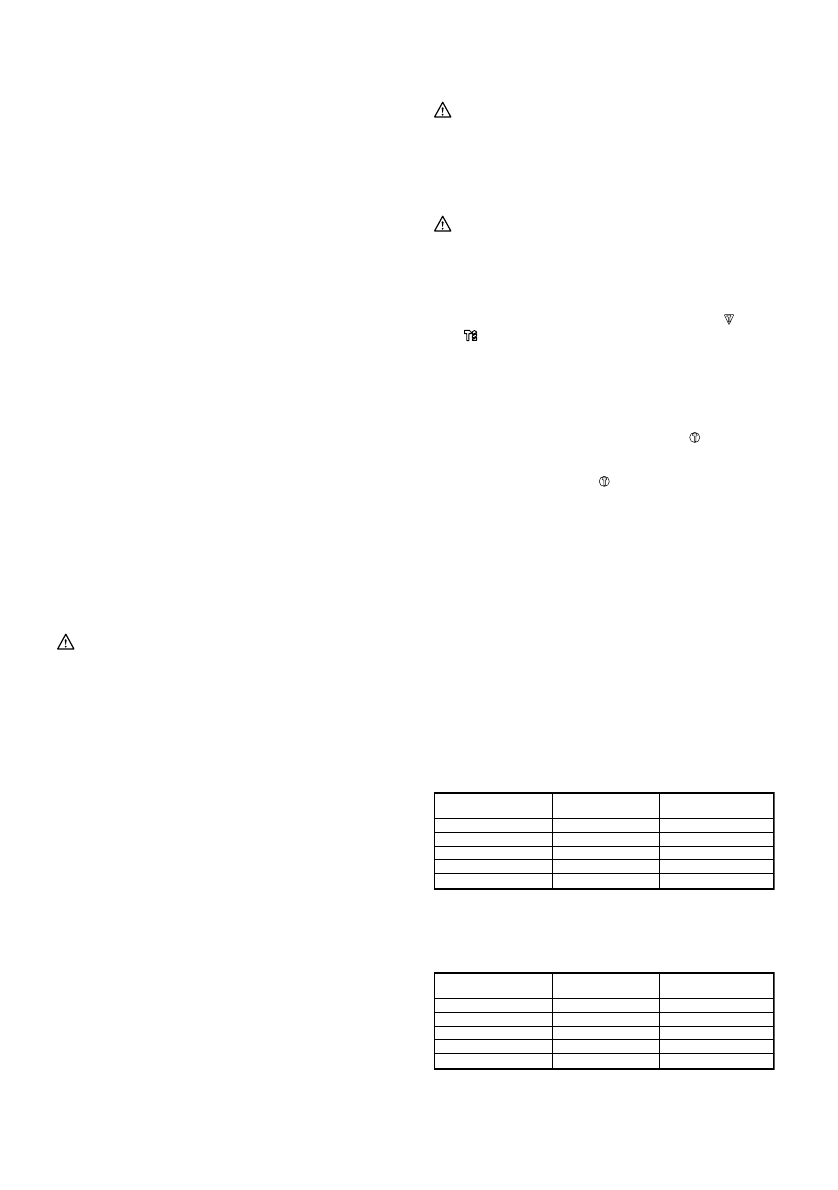
Speed change
Fig.3
The revolutions and blows per minute can be adjusted
just by turning the adjusting dial. The dial is marked 1
(lowest speed) to 5 (full speed).
Refer to the table below for the relationship between the
number settings on the adjusting dial and the
revolutions/blows per minute.
For Model HR4003C, HR4013C
Number on
adjusting dial
Revolutions per
minute
Blows per minute
5
500
2,900
4
470
2,700
3
380
2,150
2
290
1,650
1
250
1,450
014134
For Model HR5202C, HR5212C
N
umber
on
adjust
i
ng
d
i
a
l
Revo
l
ut
i
ons
per
m
i
nute
B
l
ows
per
m
i
nute
5
310
2,250
4
290
2,100
3
230
1,700
2
180
1,300
1
150
1,100
014872
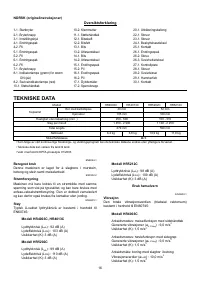
Характеристики

Остались вопросы?Не нашли свой ответ в руководстве или возникли другие проблемы? Задайте свой вопрос в форме ниже с подробным описанием вашей ситуации, чтобы другие люди и специалисты смогли дать на него ответ. Если вы знаете как решить проблему другого человека, пожалуйста, подскажите ему :)


