
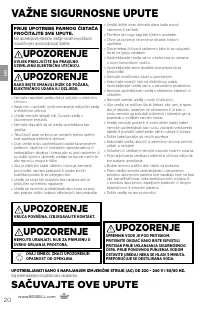
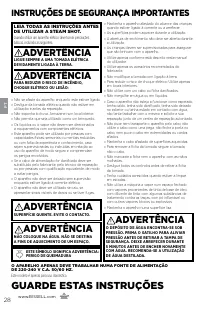
Пароочистители Bissell 2635J - инструкция пользователя по применению, эксплуатации и установке на русском языке. Мы надеемся, она поможет вам решить возникшие у вас вопросы при эксплуатации техники.
Если остались вопросы, задайте их в комментариях после инструкции.
"Загружаем инструкцию", означает, что нужно подождать пока файл загрузится и можно будет его читать онлайн. Некоторые инструкции очень большие и время их появления зависит от вашей скорости интернета.

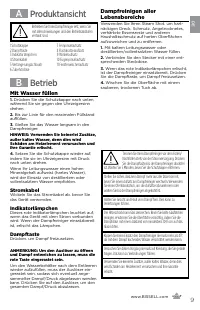
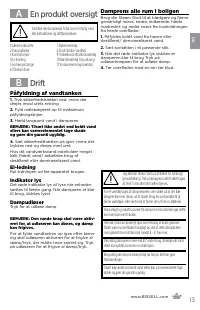


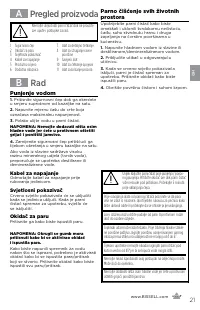
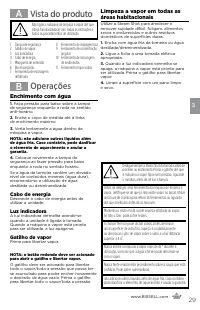

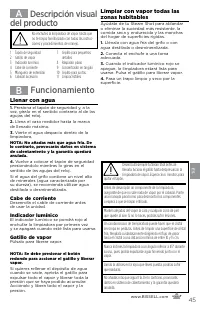
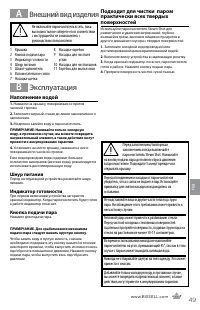

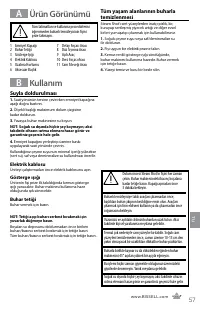
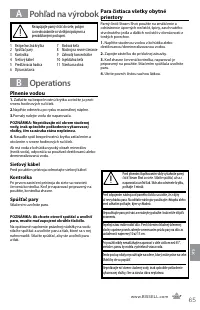


A
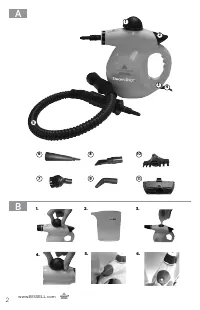
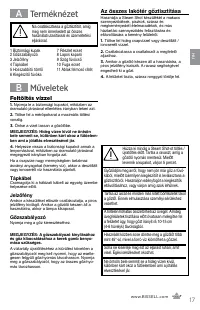
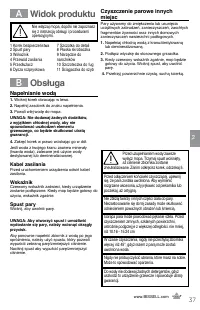
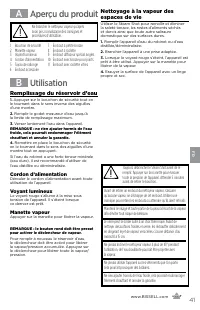
Product View
1 Safety Cap
2 Steam Trigger
3 Indicator Light
4 Power Cable
5 Extension Hose
6 Accessory Nozzle
7 Detail Brush Tool
8 Flat Scraping Tool
9 Angle Concentrator Tool
10 Grout Brush Tool
11 Window Squeegee Tool
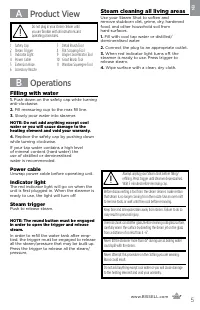
Steam cleaning all living areas
Use your Steam Shot to soften and
remove stubborn dirt, grime, dry, hardened
food, and other household soil from
hard surfaces.
1.
Fill with cool tap water or distilled/
demineralised water.
2.
Connect the plug to an appropriate outlet.
3.
When red indicator light turns off, the
steamer is ready to use. Press trigger to
release steam.
4.
Wipe surface with a clean, dry cloth.
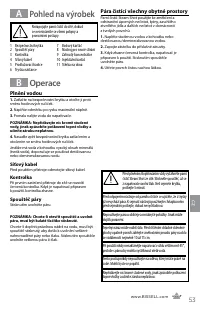
B
Operations
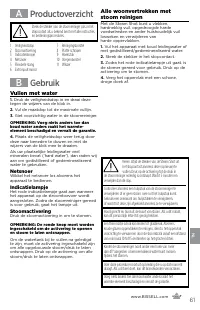
Filling with water
1.
Push down on the safety cap while turning
anti-clockwise.
2.
Fill measuring cup to the max fill line.
3.
Slowly pour water into steamer.
NOTE: Do not add anything except cool
water or you will cause damage to the
heating element and void your warranty.
4.
Replace the safety cap by pushing down
while turning clockwise.
If your tap water contains a high level
of mineral content (hard water) the
use of distilled or demineralised
water is recommended.
Power cable
Unwrap power cable before operating unit.
Indicator light
The red indicator light will go on when the
unit is first plugged in. When the steamer is
ready to use, the light will turn off.
Steam trigger
Push to release steam.
NOTE: The round button must be engaged
in order to open the trigger and release
steam.
In order to refill the water tank after emp-
tied, the trigger must be engaged to release
all the steam/pressure that may be built up.
Press the trigger to release all the steam/
pressure.
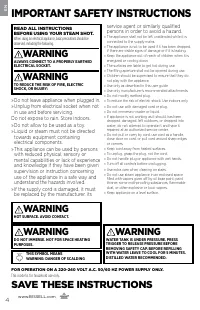
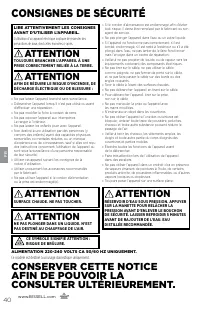
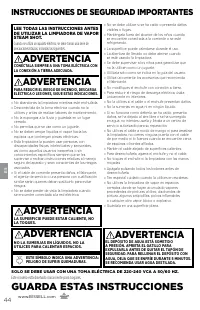
Do not plug in your steam cleaner until
you are familiar with all instructions and
operating procedures.
Always unplug your Steam Shot before filling/
refilling. Press trigger until steamer depressurises.
Wait 5 minutes before removing cap.
Before disconnecting a tool from the steam cleaner, make certain
that steam is no longer coming from the nozzle. Use an oven mitt
to remove tools, or wait until they cool before removing.
Keep face and all exposed skin away from steam. Failure to do so
may result in personal injury.
Thermal shock can shatter glass. Before cleaning cold glass surface,
carefully warm the surface by directing the steam jet on the glass
from a distance of no less than 4 - 6”.
Never tilt the steamer more than 45° during use as boiling water
could spill with the steam.
Never attempt this procedure on the clothing you are wearing.
Burns could result.
Do not add anything except cool water or you will cause damage
to the heating element and void your warranty.
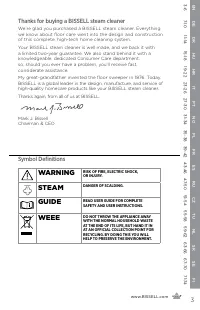
www.BISSELL.com
5
EN
Характеристики

Остались вопросы?Не нашли свой ответ в руководстве или возникли другие проблемы? Задайте свой вопрос в форме ниже с подробным описанием вашей ситуации, чтобы другие люди и специалисты смогли дать на него ответ. Если вы знаете как решить проблему другого человека, пожалуйста, подскажите ему :)


