
Отбойные молотки Bosch GSH 500 - инструкция пользователя по применению, эксплуатации и установке на русском языке. Мы надеемся, она поможет вам решить возникшие у вас вопросы при эксплуатации техники.
Если остались вопросы, задайте их в комментариях после инструкции.
"Загружаем инструкцию", означает, что нужно подождать пока файл загрузится и можно будет его читать онлайн. Некоторые инструкции очень большие и время их появления зависит от вашей скорости интернета.


12
| English
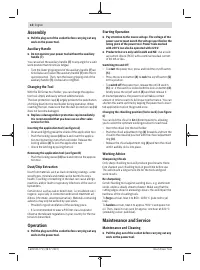
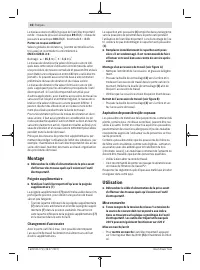
Assembly
u
Pull the plug out of the socket before carrying out any
work on the power tool.
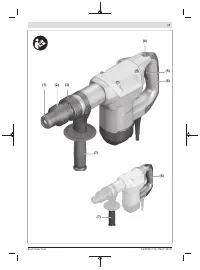
Auxiliary Handle
u
Do not operate your power tool without the auxiliary
handle
(7)
.
You can swivel the auxiliary handle
(7)
to any angle for a safe
work posture that minimises fatigue.
– Turn the lower gripping end of the auxiliary handle
(7)
an-
ticlockwise and swivel the auxiliary handle
(7)
into the re-
quired position. Then, turn the lower gripping end of the
auxiliary handle
(7)
clockwise to retighten.
Changing the Tool
With the SDS-max tool holder, you can change the applica-
tion tool simply and easily without additional aids.
The dust protection cap
(1)
largely prevents the penetration
of drilling dust into the tool holder during operation. When
inserting the tool, make sure that the dust protection cap
(1)
does not become damaged.
u
Replace a damaged dust protection cap immediately.
It is recommended that you have use an after-sales
service for this.
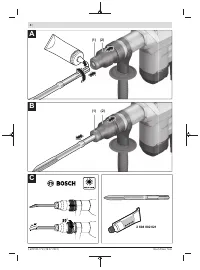
Inserting the application tool (see figure A)
– Clean and lightly grease the shank of the application tool.
– Push the locking sleeve
(2)
back and insert the applica-
tion tool by turning it into the tool holder. Release the
locking sleeve
(2)
to lock the application tool.
– Check the latching by pulling the tool.
Removing the application tool (see figure B)
– Push the locking sleeve
(2)
back and remove the applica-
tion tool.
Dust/Chip Extraction
Dust from materials such as lead-containing coatings, some
wood types, minerals and metal can be harmful to one’s
health. Touching or breathing-in the dust can cause allergic
reactions and/or lead to respiratory infections of the user or
bystanders.
Certain dust, such as oak or beech dust, is considered carci-
nogenic, especially in connection with wood-treatment ad-
ditives (chromate, wood preservative). Materials containing
asbestos may only be worked by specialists.
– Provide for good ventilation of the working place.
– It is recommended to wear a P2 filter-class respirator.
Observe the relevant regulations in your country for the ma-
terials to be worked.
Operation
u
Pull the plug out of the socket before carrying out any
work on the power tool.
Starting Operation
u
Pay attention to the mains voltage. The voltage of the
power source must match the voltage specified on the
rating plate of the power tool. Power tools marked
with 230 V can also be operated with 220 V.
u
Products that are only sold in AUS and NZ:
Use a resid-
ual current device (RCD) with a nominal residual current
of 30 mA or less.
Switching On and Off
– To
start
the power tool, press and hold the on/off switch
(5)
.
– Press the lock-on button
(4)
to
lock
the on/off switch
(5)
in this position.
– To
switch off
the power tool, release the on/off switch
(5)
; or, if the switch is locked with the lock-on button
(4)
,
briefly press the on/off switch
(5)
and then release it.
At low temperatures, the power tool will take a certain
amount of time to reach its full impact performance. You can
shorten this warm-up time by tapping the power tool's inser-
ted application tool on the ground once.
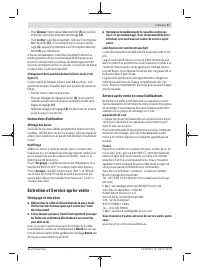
Changing the chiselling position (Vario-Lock) (see figure
C)
You can lock the chisel in
12
different positions, allowing
you to select the optimum working position for each task.
– Insert the chisel into the tool holder.
– Push the chisel adjustment ring
(3)
forwards and turn the
chisel to the required position with the chisel adjustment
ring
(3)
.
– Release the chisel adjustment ring
(3)
and turn the chisel
until it audibly clicks into place.
Working Advice
Sharpening Chisels
Only sharp chiselling tools will produce good results, there-
fore sharpen your chiselling tools in good time before use.
This will ensure a long service life for the tools and good
work results.
Re-sharpening
Grind chiselling tools against sanding discs, e.g. aluminium
oxide, under a steady stream of water. Make sure that the
cutting edges show no annealing colours; this will impair the
hardness of the chiselling tools.
To
forge
a chisel, heat it to 850–1050 °C (pale red to yel-
low).
To
harden
a chisel, heat it to approx. 900 °C and quench in
oil. Then, leave it in an oven for approx. one hour at 320 °C
(annealing colour: pale blue).
Maintenance and Service
Maintenance and Cleaning
u
Pull the plug out of the socket before carrying out any
work on the power tool.
1 609 92A 77U | (28.07.2022)
Bosch Power Tools
Содержание
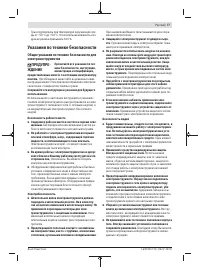
- 77 Указания по технике безопасности; ЖДЕНИЕ
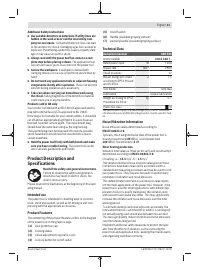
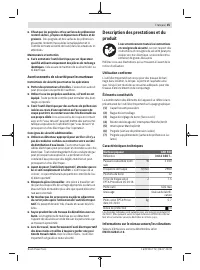
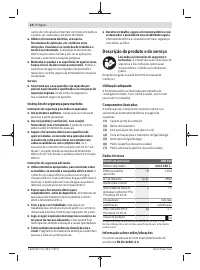
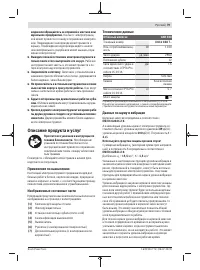
- 79 Описание продукта и услуг; Применение по назначению; Данные по шуму и вибрации
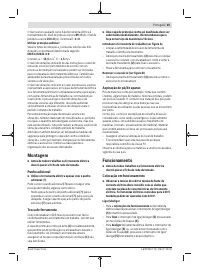
- 80 Сборка; Дополнительная рукоятка; Работа с инструментом; Включение электроинструмента; Указания по применению
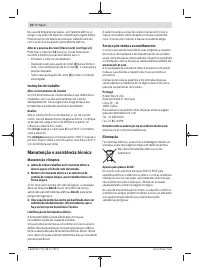
- 81 Техобслуживание и сервис; Техобслуживание и очистка
- 82 Утилизация; Українська; Вказівки з техніки безпеки; ДЖЕННЯ
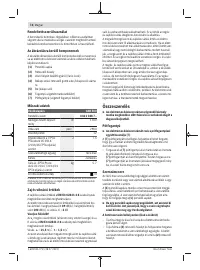
Характеристики

Остались вопросы?Не нашли свой ответ в руководстве или возникли другие проблемы? Задайте свой вопрос в форме ниже с подробным описанием вашей ситуации, чтобы другие люди и специалисты смогли дать на него ответ. Если вы знаете как решить проблему другого человека, пожалуйста, подскажите ему :)


