
Обогреватели Master B 3,3 EPB 4012.021 - инструкция пользователя по применению, эксплуатации и установке на русском языке. Мы надеемся, она поможет вам решить возникшие у вас вопросы при эксплуатации техники.
Если остались вопросы, задайте их в комментариях после инструкции.
"Загружаем инструкцию", означает, что нужно подождать пока файл загрузится и можно будет его читать онлайн. Некоторые инструкции очень большие и время их появления зависит от вашей скорости интернета.


AL
BG
CN
CZ
DE
DK
EE
ES
FI
FR
en
GR
HR
HU
IT
LT
LV
NL
NO
PL
PT
RO
RU
SE
SI
SK
TR
UA
YU
►
Unplug the heater when not used in order to
avoid accidental damages.
►
Before you dismantle the casing check if the
feeder cable has been pulled out of the wall so-
cket. Internal components may be live.
►►
2.
UNPACKING AND TRANSPORT
►
Open the package and take the heater out in-
cluding all the safety locks installed for the period
of transport.
►
Should the appliance seem damaged, notify
immediately the seller of the same.
►
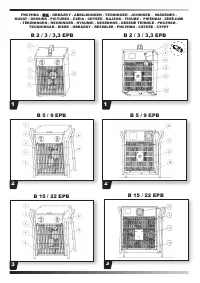
Transport the heater using the lifting eyes No.
1 shown in Figs. 1-2-3 page 2.
►
The heater should be transported in original
package including the safety locks.
►►
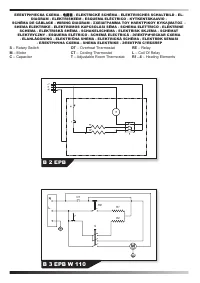
3.
DESCRIPTION OF INDIVIDUAL
COMPONENTS
See Fig. 1-2-3 Page. 2.
1) Lifting eye
8) Back protective grid
2) Thermostat
9) Power supply cable
3) Front protective grid 10) Base foot
4) Heating element
11) Fan
5) Casing
12) Motor
6) Switch
13) Plug
7) Cable penetration
►►
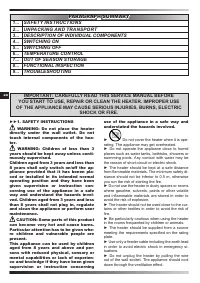
4.
SWITCHING ON
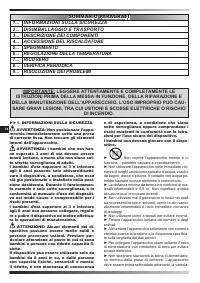
WARNING: Carefully read this servi-
ce manual before you start to use the
heater. The instructions contained he-
rein will allow you to use the appliance
in a safe manner.
Make sure the power supply cable has not been
damaged. If the supply cord is damaged, it must
be replaced by the manufacturer, its service agent
or similarly qualified persons in order to avoid a
hazard. Moreover, check if the technical para
-
meters of power supply source comply with the
requirements specified on the rating plate. Place
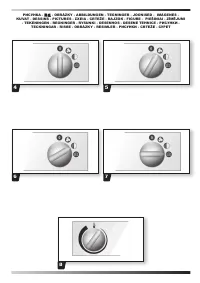
the appliance in its upright position. Make sure the
switch is in its ”0” position shown in Fig. 4. Con
-
nect the heater to the power supply source. Turn
the switch and leave it for 5 seconds in the posi-
tions as follows:
►
Fan only: Fig. 5.
►
1st degree of heating: Fig. 6.
►
2nd degree of heating: Fig. 7.
►►
5.
SWITCHING OFF
Turn the switch to its ”0” position. Once the hea
-
ting is off, leave the fan operating for 3 minutes.
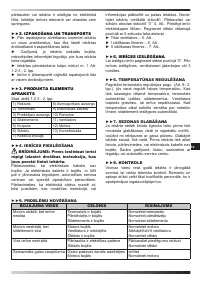
►►6. TEMPERATURE CONTROL
The temperature in the room may be set by me-
ans of the control knob (Fig. 8, page 2). Once the
pre-set temperature is produced, the thermostat
will automatically switch the heating elements off
while the fan will continue to operate thus protec-
ting the appliance from overheating. If the tem-
perature falls down beyond the pre-set value, the
system will switch the heating elements on again.
►►7. OUT OF SEASON STORAGE
Should the appliance remain idle for a long pe-
riod of time, clean it before shoving by blowing
the inside with compressed air. The heater should
be kept in a dry and clean place. Before you start
using it again make sure the power supply cable
has not been damaged. In the case of any doubts
contact the seller or approved service centre.
►►8. FUNCTIONAL INSPECTION
The appliance should be checked at least once
a year by competent service personnel approved
by the manufacturer. Any inspections or repairs
should be conducted by competent personnel
only.
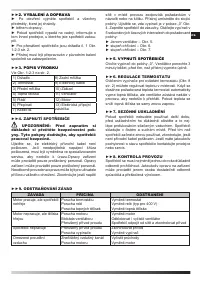
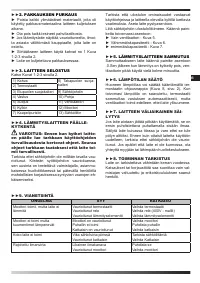
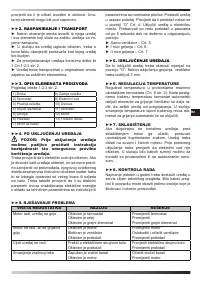
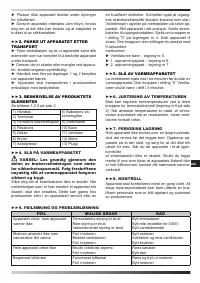
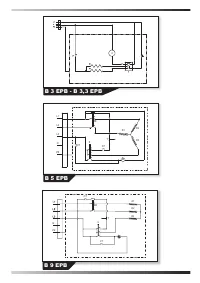
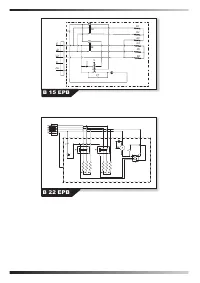
►►9. TROUBLESHOOTING
PROBLEM
REASON
SOLUTION
The motor operates while the
appliance does not heat
Thermostat has been damaged
Relay has been damaged
Heating element has been damaged
Replace the thermostat
Replace the relay (400 V models)
Replace the heating element
The motor does not operate
while the heating elements
are hot
Motor has been damaged
Fan has been stopped
Switch has been damaged
Replace the motor
Unlock / clean the fan
Replace the switch
The whole appliance does not
operate
Electric circuit open
Switch has been damaged
Check power supply connection
Replace the switch
Reduced air flow
Foul air duct
Motor has been damaged
Open the air duct
Replace the motor


