
Обогреватели Hyundai H-HV7-20-UI643 - инструкция пользователя по применению, эксплуатации и установке на русском языке. Мы надеемся, она поможет вам решить возникшие у вас вопросы при эксплуатации техники.
Если остались вопросы, задайте их в комментариях после инструкции.
"Загружаем инструкцию", означает, что нужно подождать пока файл загрузится и можно будет его читать онлайн. Некоторые инструкции очень большие и время их появления зависит от вашей скорости интернета.


8.
Electric convector
EN
4. CONNECTING TO THE MAINS
1. Convector is designed for connection to the plug with single-phase на 220-240~V, 50Hz.
2. Before connecting, make sure that the voltage is correct as speciied on the nameplate with the
technical data of the device.
3. Convector when connected to the plug must comply with applicable electrical codes.
4. Electric outlet must be properly grounded. The receptacle must be rated for at least 10A.
Electrical plug and socket must always be kept dry to prevent electrical leakage. Regularly check
that the electrical plug is irmly connected to the outlet. Veriication is performed in the following
order: Insert the mains plug into the socket. Ater half an hour, turn of the convector and unplug
the power cord, check with the hand , whether the plug is not heated.
If the plug is heated to a temperature above 50 °C, in order to avoid damage, accidents, ire, due
to poor electrical contact replace the socket with help of a specialist.
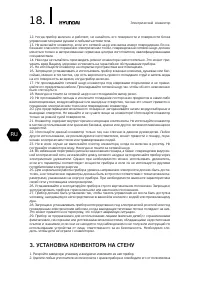
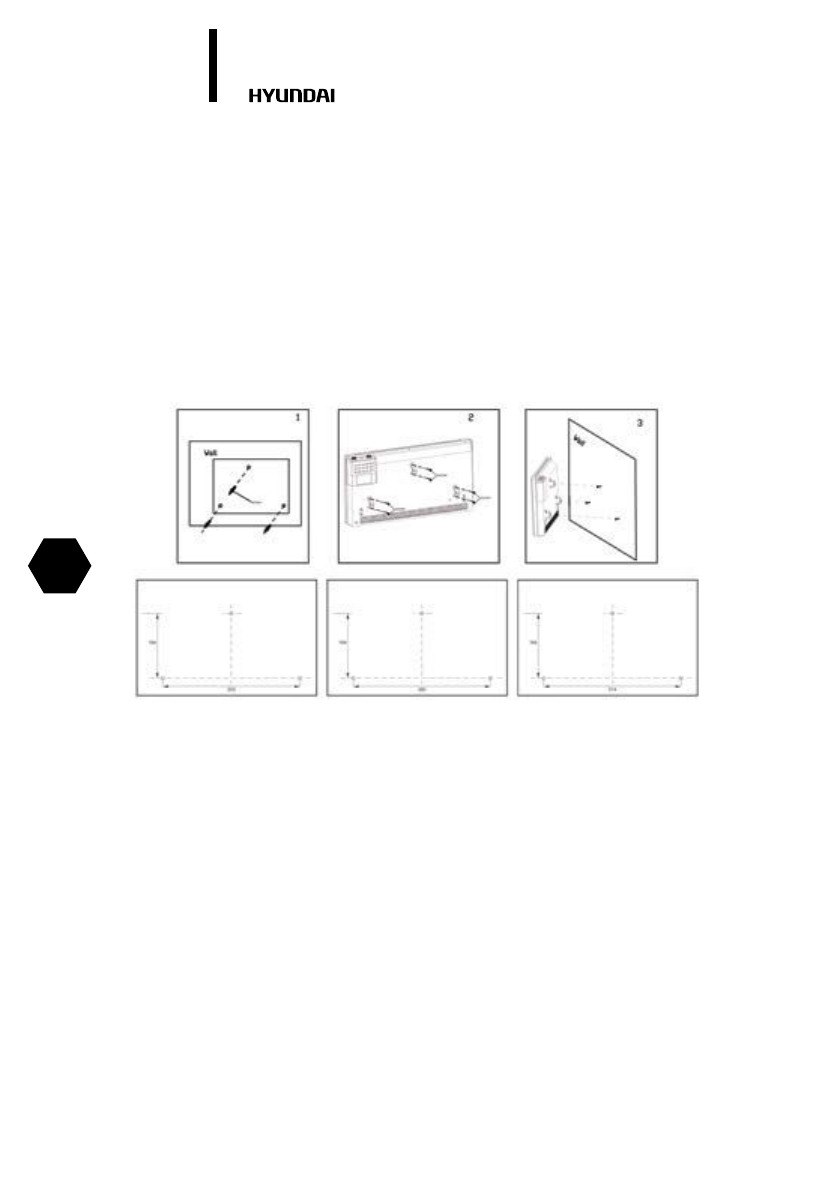
3. WALL INSTALLATION
1. Uncover the original packaging and carefully remove device from it.
2. Remove any foam seals on the edges of the device and release it from polyethylene.
3. Determine the location for the convector in compliance with the minimum distance from the
object and the loor.
4. Mark the height at which you must install the convector and put labels in visible ixing holes.
5. Drill holes in the wall of the required diameter, insert the dowels*, tighten the set screws*.
6. Attach the mounting brackets to the cover of the unit with the mounting screws.
7. Perform installation on the wall convector, setting the screws installed in the wall brackets with
the holes that are installed on the device.
8. Check the installation. Convector should it snugly against the wall.
* May not be included in delivery set
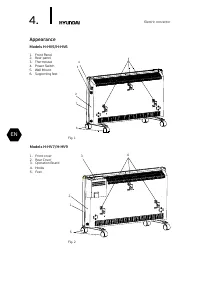
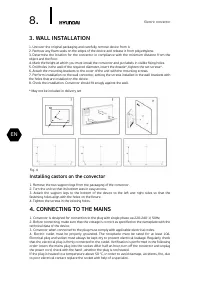
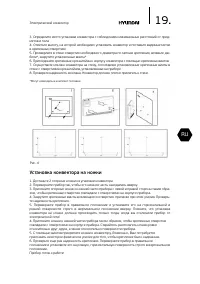
Installing castors on the convector
1. Remove the two support legs from the packaging of the convector.
2. Turn the unit so that its bottom was in easy access.
3. Attach the support legs to the bottom of the device to the let and right sides so that the
fastening holes align with the holes on the ixture.
4. Tighten the screws in the existing holes.
Fig. 4
Содержание
- 13 Содержание
- 14 Описание
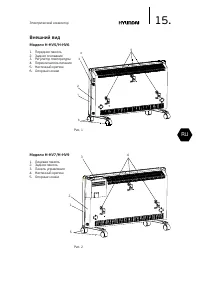
- 15 Внешний вид
- 16 Технические параметры
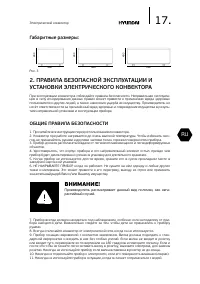
- 17 ПРАВИЛА БЕЗОПАСНОЙ ЭКСПЛУАТАЦИИ И; ОБЩИЕ ПРАВИЛА БЕЗОПАСНОСТИ
- 18 УСТАНОВКА КОНВЕКТОРА НА СТЕНУ
- 19 Установка конвектора на ножки
- 20 ПОДКЛЮЧЕНИЕ К ЭЛЕКТРИЧЕСКОЙ СЕТИ
- 21 Включение
- 22 Выбор режима мощности нагрева
- 24 ПОИСК И УСТРАНЕНИЕ НЕИСПРАВНОСТЕЙ; Неисправность
- 25 УВАЖАЕМыЙ ПОКУПАТЕЛь!
- 27 Гарантийные обязательства
- 28 Изготовитель оставляет за собой право:; Досрочное прекращение гарантийного обслуживания.; Гарантийный срок действителен для изделий, произведен
- 29 Гарантийные обязательства не распространяются на
- 30 Изготовитель не несет гарантийных обязательств за изделие; Гарантийные обязательства Изготовителя не
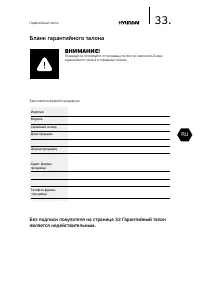
- 33 Бланк гарантийного талона; Без подписи покупателя на странице 32 Гарантийный талон
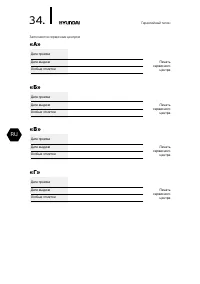
- 36 Отрывной талон «A»; Отрывной талон «В»; Отрывной талон «Г»
- 37 Вниманию покупателей!


