Мясорубки Saturn ST-FP8095 - инструкция пользователя по применению, эксплуатации и установке на русском языке. Мы надеемся, она поможет вам решить возникшие у вас вопросы при эксплуатации техники.
Если остались вопросы, задайте их в комментариях после инструкции.
"Загружаем инструкцию", означает, что нужно подождать пока файл загрузится и можно будет его читать онлайн. Некоторые инструкции очень большие и время их появления зависит от вашей скорости интернета.


7
♦
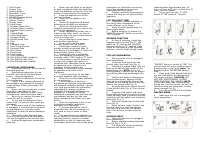
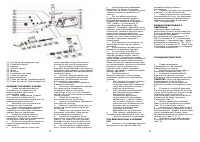
Position the kebbe attachments A
and B onto the feed screw. Be sure the
kebbe attachments A and B fit into the
slots in the grinder tube (fig. 9).
♦
Securely attach the cap to the end
of the grinder tube (fig. 10). Do not
over tighten.
♦
Place the hopper tray on the feed
tube (fig. 11).
♦
When you are ready to operating,
use the food pusher to push food gently
one piece at a time into the feeding
tube. Do not force the food into the tube
(fig. 11, 12).
♦
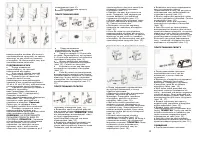
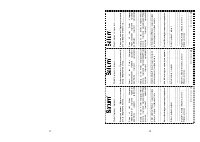
MAKING SAUSAGE
♦
Make sure the unit is unplugged while
assembling.
♦
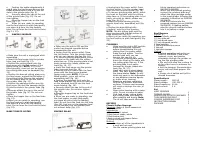
Insert the feed screw into the grinder
tube, long end first (fig. 13).
♦
Position the cutting blade onto the
feed screw with the flat surface of the
blade facing you.
NOTE
: If it is not
fitted properly, meat will not be ground
the cutting plate may be damaged (fig.
13).
♦
Position the desired cutting plate onto
the feed screw, against the flat sides of
the cutting blade. Be sure the notched
on the cutting plate fit into the slots in
the grinder tube (fig. 13).
♦
Position the sausage stuffer onto the
feed screw. Be sure the sausage stuffer
fit into the slots in the grinder tube (fig.
13).
♦
Securely attach the cap to the end of
the grinder tube (fig. l4). Do not over
tighten.
♦
Place the hopper tray on the feed tube
(fig. 15).
♦
When you are ready to operating, use
the food pusher to push food gently,
one piece at a time into the feeding
tube. Do not force the food into the tube
(fig. 15).
MAKE TOMATO JUICER
♦
Make sure the unit is OFF and the
motor has stopped complete before
disassembling the unit.
♦
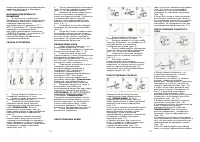
Unplug from the power outlet. Press
the lock button. Turn the grinder head
until you can remove the cap (fig. 16).
♦
To remove grinding plate easily, knock
the head on the table with the cutting
plate face up. If the grinding plate is not
easily removed by hands, please use
tools (fig. 16, 17).
♦
Insert the feed screw into the grinder
tube, long end first (fig. 18).
♦
Position the wire frame onto the feed
screw with the frew screw bracket
facing bulgy seat.
NOTE:
If it is not
fitted properly, juicer will not be
assembling well (fig. 18).
♦
Position the standard level onto the
feed screw bracket. Be sure the notched
on the standard level fit into the feed
screw bracket (fig. 18).
♦
Securely attach the cap to the end of
the grinder tube. Do not over tighten
(fig. 18).
♦
Place the hopper tray on the feed tube
(fig. 18).
♦
When you are ready to operating, use
the food pusher to push food gently,
one piece at a time into the feeding
tube. Do not force the food into the tube
(fig. 18). And turn on the standard level
for the tomato juice and tomato push
out without delay (fig. 19).
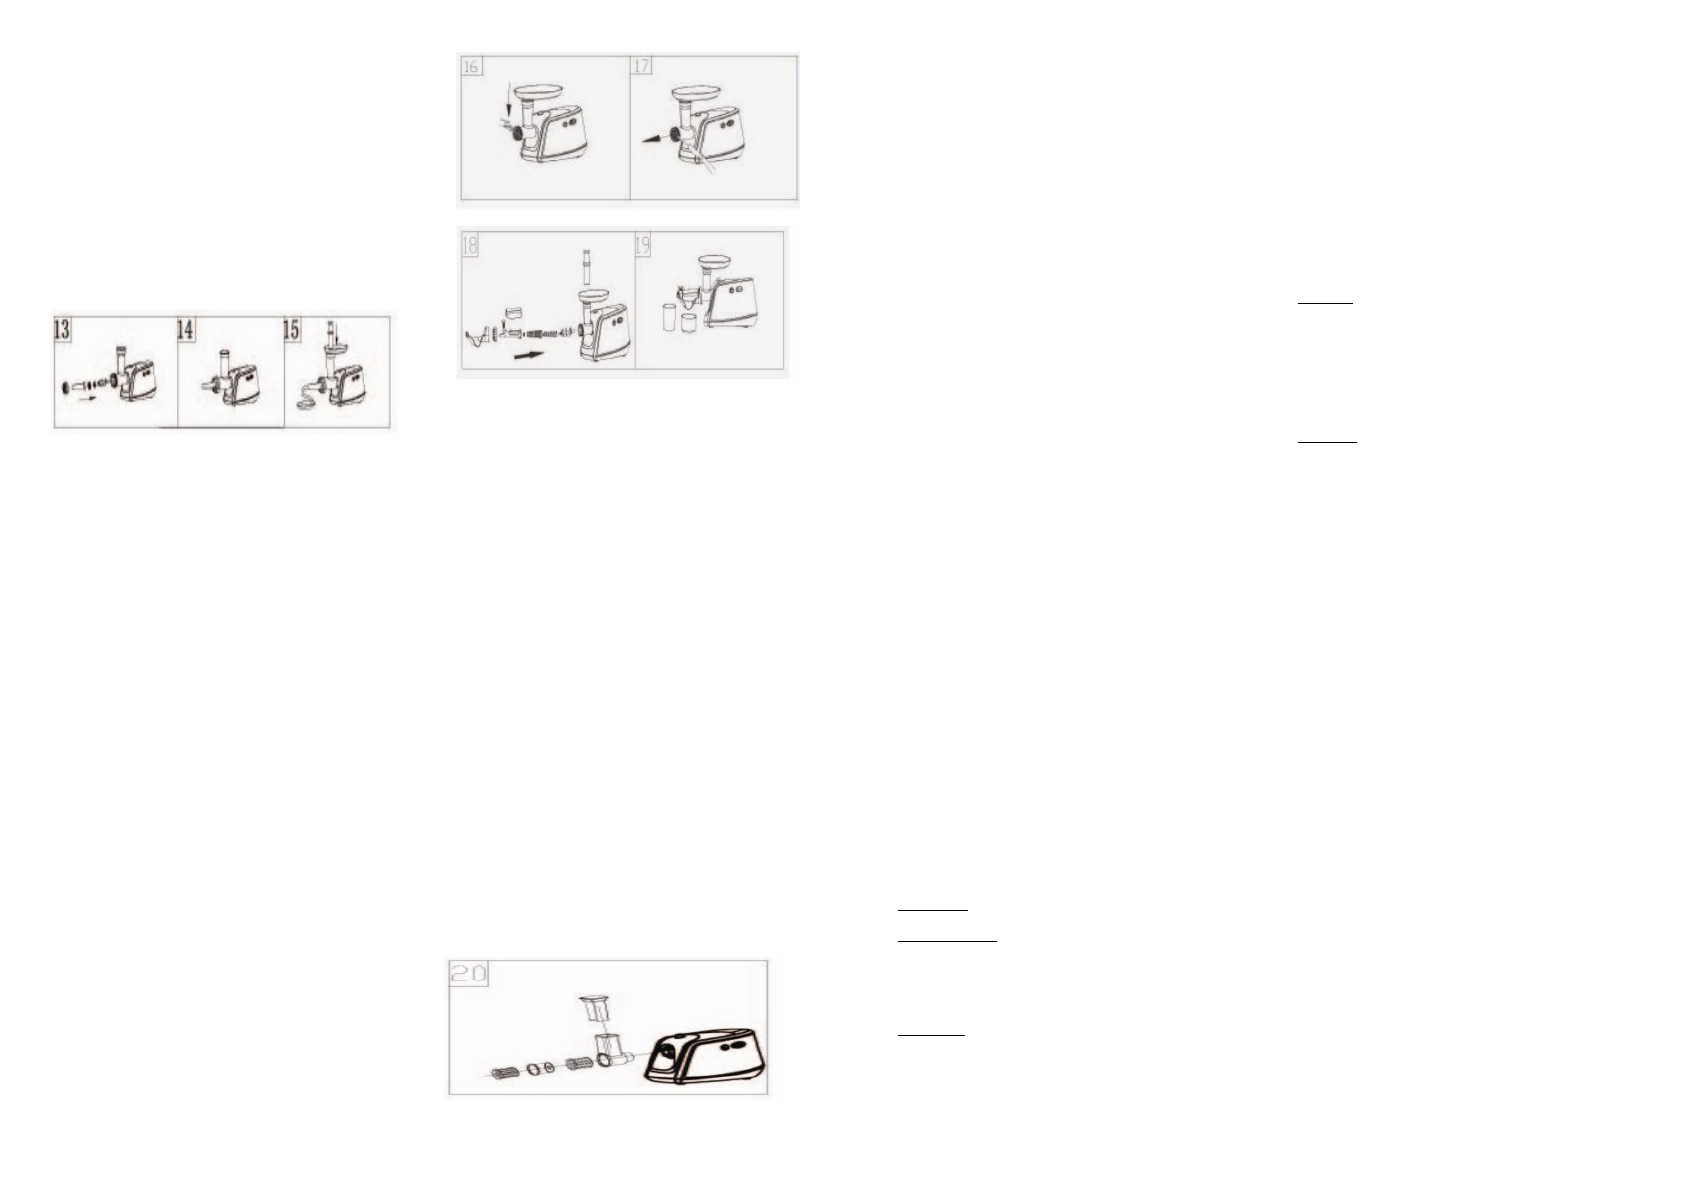
MAKING SALAD
♦
Make sure the unit is OFF and the
motor has stopped complete before
disassembling the unit.
8
♦
Unplug from the power outlet. Press
the lock button. Turn the grinder head
until you can remove the cap (fig. 16).
♦
To remove grinding plate easily, knock
the head on the table with the cutting
plate face up. If the grinding plate is not
easily removed by hands, please use
tools (fig. 16, 17).
♦
Insert the slicer housing into the
grinder head inlet, assembled well (fig.
20).
♦
Position the dise slitting knife
(medium) onto the slicer housing.
NOTE
: The die slitting knift onto the
slicer housing with the flat surface of
knife facing you (fig. 20).
♦
When you are ready for operating, use
the food pusher to push food gently (fig.
20).
CLEANING
♦
Make sure the unit is OFF and the
motor has stopped complete
before disassembling the unit.
♦
Unplug from the power outlet.
Press the lock button. Turn the
grinder head until you can
remove the cap (fig. 6).
♦
To remove grinding plate easily,
knock the head on the table with
the cutting plate face up. If the
grinding plate is not easily
removed by hands, please use
tools (fig. 16, 17).
♦
Wash each part in warm soapy
water .Use care when handling
the sharp blades.
Note
: Do not
wash any parts in the dishwasher
or use abrasive cleaning agents
or cloths when cleaning.
Bleaching solutions containing
chlorine will discolor aluminum
surfaces. Thinners and benzenes
will crack or change the color of
the unit.
♦
Wipe motor housing with a damp
cloth. Do not immerse in water.
♦
Coat feed screw, cutting blade
and cutting plate with salad oil
after washing and drying.
Note
:
The oil will keep parts lubricated.
RECIPES
Classic Italian Sausage
Servings: Makes 4 lbs of sausage or
16,4 oz patties
Ingredients:
4 lbs pork butt, cubed
3 tbsp fennel seeds, whole
2 tbsp kosher salt
l tbsp crushed red pepper flakes
1/2 cup cold water
Method:
♦
Combine all of the ingredients in
a bowl and mix well.
♦
Use the coarse grinding plate and
follow operating instruction on
MAKING SAUSAGE.
♦
When you are finished grinding,
remove the grinding plate and
attach the large sausage stuffer
to the meat grinder following the
assembly instruction on MAKING
SAUSAGE.
♦
Feed the mixture into the
prepared casings (see as MAKING
SAUSAGE). If making patties,
take the ground meat and shape
into 4 oz patties or large.
Beef Burgers
Serves: 4
1 lb beef chuck, cubed
1/2 cup oatmeal
1/2 cup diced onion
1/2 cup chopped parsley
3 tbsp ketchup
2 tsp Worcestershire sauce
2 tsp salt
1 tsp black pepper
Method:
♦
Follow operating instruction on
MAKING SAUSAGE. Feed meat,
oatmeal, onion, and parsley
alternately through the grinder us-
ing the fine grinding plate.
♦
Mix well and allow the mixture to
sit for a few hours to enhance the
flavors.
♦
Add the ketchup, Worcestershire
sauce, salt and black pepper. Mix
well.
♦
Shape into 4 patties and grill to
desired doneness.
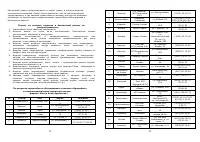
Specifications
Power supply: 1200 W
Rated voltage: 220-230 V
Rated frequency: 50 Hz
Rated current:
2
A
Set
MEAT GRINDER
1
TOMATO JUICER
1
GRATER FOR POTATO PANCAKES 1
THIN SHREDDING DISC
1
COARSE SHREDDING DISC
1
INSTRUCTION MANUAL
1
PACKAGE
1

