Микроволновые печи VITEK VT-2452 W - инструкция пользователя по применению, эксплуатации и установке на русском языке. Мы надеемся, она поможет вам решить возникшие у вас вопросы при эксплуатации техники.
Если остались вопросы, задайте их в комментариях после инструкции.
"Загружаем инструкцию", означает, что нужно подождать пока файл загрузится и можно будет его читать онлайн. Некоторые инструкции очень большие и время их появления зависит от вашей скорости интернета.


7
ENGLISH
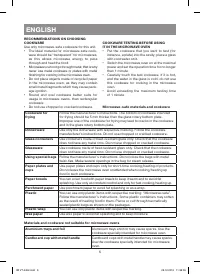
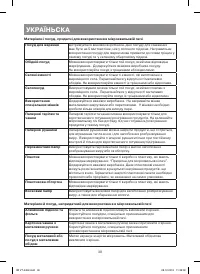
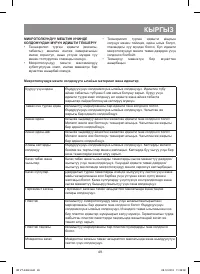
Metal cookware or cookware with
metal rim
Microwaves can not go through metal. Metal rim may
cause sparks.
Metal twist-ties
Metal twist-ties may cause sparks and ignition of the
package during cooking/heating up food.
Paper bags
Paper bags may cause fire in the microwave oven.
Soap
Soap may melt and make the oven cavity dirty.
Wood
Wooden cookware may dry out, crack and inflame.
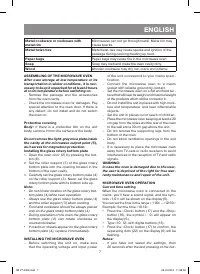
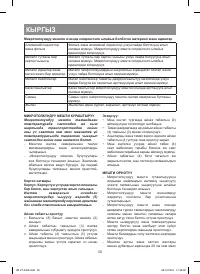
ASSEMBLING OF THE MICROWAVE OVEN
After oven storage at low temperature or its
transportation in winter conditions, it is nec-
essary to keep it unpacked for at least 3 hours
at room temperature before switching on.
–
Remove the package and the accessories
from the oven cavity.
–
Check the microwave oven for damages. Pay
special attention to the oven door. If there is
any defect, do not install and do not switch
the oven on.
Protective covering
Body:
If there is a protective film on the unit
body, remove it from the surface of the body.
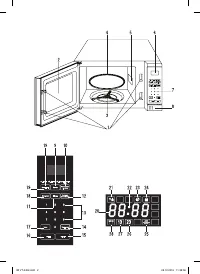
Do not remove the light-gray mica plate inside
the cavity at the microwave output point (5),
as it serves for magnetron protection.
Installing the glass rotary bottom plate
1.
Open the oven door (2) by pressing the but-
ton (8).
2.
Set the roller support (3) of the glass rotary
bottom plate into the opening located in the
bottom of the oven cavity.
3.
Carefully set the glass rotary bottom plate (4)
on the roller support (3). Never set the glass
rotary bottom plate with its bottom side up.
Note:
•
Do not hinder rotation of the glass rotary bot-
tom plate (4) while oven operation.
•
Always use the glass rotary bottom plate (4)
and the roller support (3) when cooking.
•
Food and cookware should be always placed
only on the glass rotary bottom plate (4).
•
During operation of the oven the glass rotary
bottom plate (4) can rotate clockwise or
counterclockwise.
•
If cracks or shears appear on the glass rotary
bottom plate (4), replace it immediately.
INSTALLING THE MICROWAVE OVEN
–
Before switching the unit on, make sure
that the operating voltage and input power
of the unit correspond to your mains speci-
fication.
–
Connect the microwave oven to a mains
socket with reliable grounding contact.
–
Set the microwave oven on a flat and hard sur-
face that will bear its weight and maximal weight
of the products which will be cooked in it.
–
Do not install the unit in places with high mois-
ture and temperature, and near inflammable
objects.
–
Set the unit in places out of reach of children.
–
Place the microwave oven keeping at least a 20
cm gap from the sides and the rear of the oven
to the wall and a 30 cm gap above the unit.
–
Do not remove the supporting legs from the
bottom of the oven.
–
Do not block ventilation openings in the unit
body.
–
It is necessary to place the microwave oven
away from TV-sets or radio receivers to avoid
interferences in the reception of TV and radio
signals.
WARNING:
In case the oven is damaged due to the user,
the user is deprived of the right for free war-
ranty maintenance and repair of the unit.
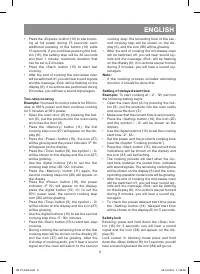
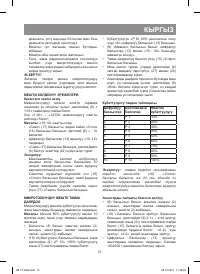
MICROWAVE OVEN OPERATION
Current time setting
When the microwave oven is connected to the
mains, you’ll hear a sound signal, and the sym-
bols «1:01» will be shown on the display (6).
You can set the time in the range « 1:00» – «12:59»;
Example: Set the time «10:12».
•
Press the «Clock» button (17) and the «Stop»
button (16), the symbol « : 0» will appear on
the display (6).
•
Type «10, 12» with digital buttons (13).
•
Press the «Clock» button (17) to confirm, the
separating dots (22) on the display (6) will be
flashing.
Notes:
–
If you have not saved the settings, then
20 seconds after the last pressing of the but-
IM VT-2452.indd 7
28.12.2016 11:38:59
Содержание
- 13 Прибор не должен размещаться в шкафу.; МЕРЫ БЕЗОПАСНОСТИ; Не включайте печь без продуктов.
- 14 Не разрешайте детям играть с по-; УК АЗАНИЯ ПО ЗАЗЕМЛЕНИЮ ПЕЧИ
- 15 ПРЕ ДУПРЕЖДЕНИЕ; РЕКОМЕНДАЦИИ ПО ВЫБОРУ ПОСУДЫ
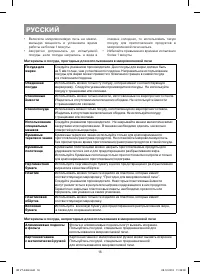
- 16 Стеклопосуда
- 17 Металлические закрутки; Бумажные пакеты могут вызвать возгорание в микроволновой печи.; Мыло; Не снимайте опорные ножки с днища печи.
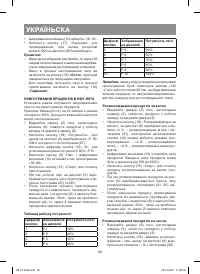
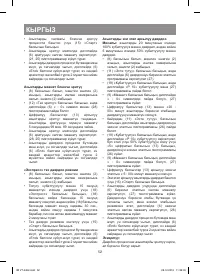
- 18 Включить печь на 10 минут с уровнем; Размораживание продуктов по весу
- 19 Размораживание продуктов по времени; приготовить продукты в течение
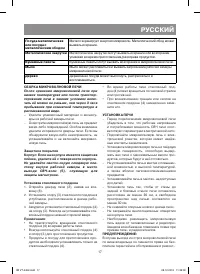
- 20 Функция блокировки
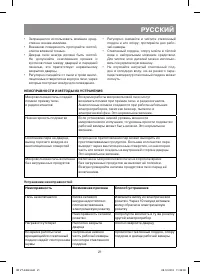
- 21 НЕИСПРАВНОСТИ И МЕТОДЫ ИХ УСТРАНЕНИЯ; Низкая яркость подсветки; Устранение неисправностей; Печь не включается
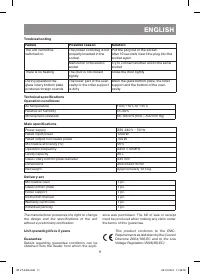
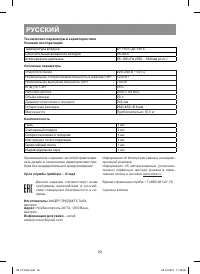
- 22 Основные параметры; Срок службы прибора – 3 года; Информация для связи –
- 56 RUS


