Микроволновые печи VITEK VT-1695 BK - инструкция пользователя по применению, эксплуатации и установке на русском языке. Мы надеемся, она поможет вам решить возникшие у вас вопросы при эксплуатации техники.
Если остались вопросы, задайте их в комментариях после инструкции.
"Загружаем инструкцию", означает, что нужно подождать пока файл загрузится и можно будет его читать онлайн. Некоторые инструкции очень большие и время их появления зависит от вашей скорости интернета.


8
ENGLISH
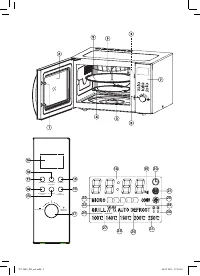
2. Select the «G» mode pressing the
«Grill/Combi/
Convection»
button (12). The «Grill» mode symbol
(26) will appear on the display.
3. Turn the knob (17) to set the cooking time. The set
time will appear on the display.
4. Press the «Start/Quick start» button (16) to start
cooking, the countdown of the remaining time will
start on the display and the «Grill» mode icon (27)
will light up.
5. After the end of cooking the microwave oven will
be switched off, the message
«End»
will appear on
the display (10) and you’ll hear three sound signals.
Note:
•
For the best grill results turn over the products dur-
ing cooking.
•
Open the door, turn over the products, close the
door and press the «Start/Quick start» button (16)
to continue cooking. But you can also cook without
turning over the products.
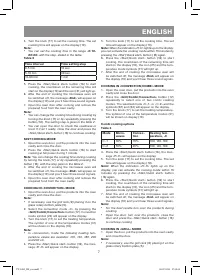
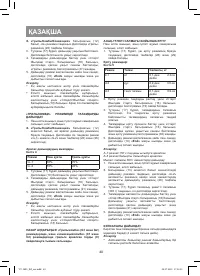
COOKING IN «GRILL/COMBI» MODE
1. Open the oven door, put the products into the oven
cavity and close the door.
2. Press the
«Grill/Combi/Convection»
button (12)
repeatedly to select one of two combi cooking
modes. The selected mode «G-1» or «G-2» and the
symbols (22) and (26) will appear on the display.
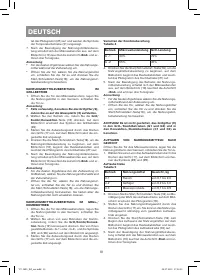
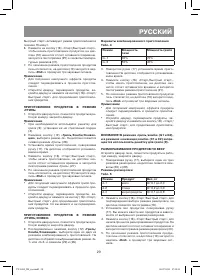
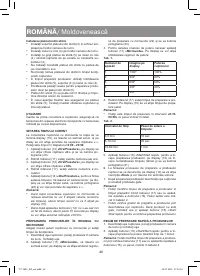
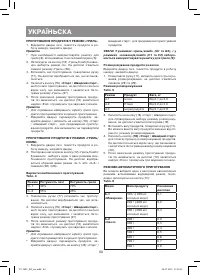
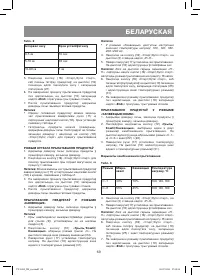
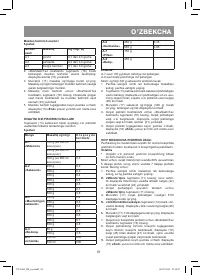
Combi cooking options
Table 4
Mode
Power of the oven
Grill power
G -1
30%
70%
G -2
55%
45%
1. Turn the knob (17) to set the cooking time. The set
time will appear on the display.
2. Press the «Start/Quick start» button (16) to start
cooking, the countdown of the remaining time will
start on the display and the cooking mode icon (21)
will light up.
3. After the end of cooking the microwave oven will
be switched off, the message
«End»
will appear on
the display (10) and you’ll hear three sound signals.
Note:
•
For the best results turn over the products during
cooking.
•
Open the door, turn over the products, close the
door and press the «Start/Quick start» button (16)
to continue cooking.
AT TENTION! Do not use the grill rack (9) in «grill/
combi» (G1 and G2) and «convection/combi» (C1
and C2) modes.
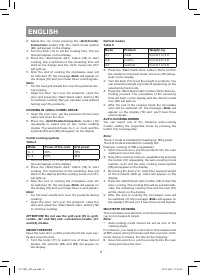
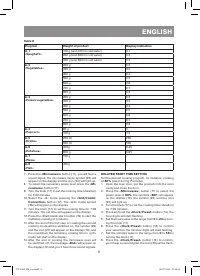
WEIGHT DEFROST
Open the oven door, put the products into the oven cav-
ity and close the door.
1. Turn the knob (17) to select one of three defrost
modes, the symbols (28) and (29) will appear on
the display.
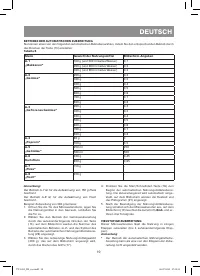
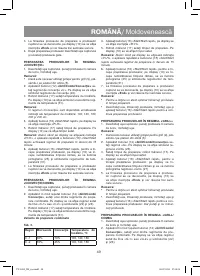
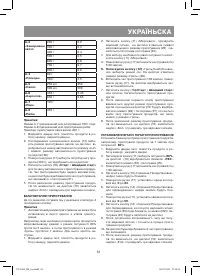
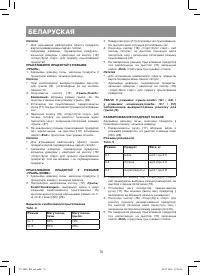
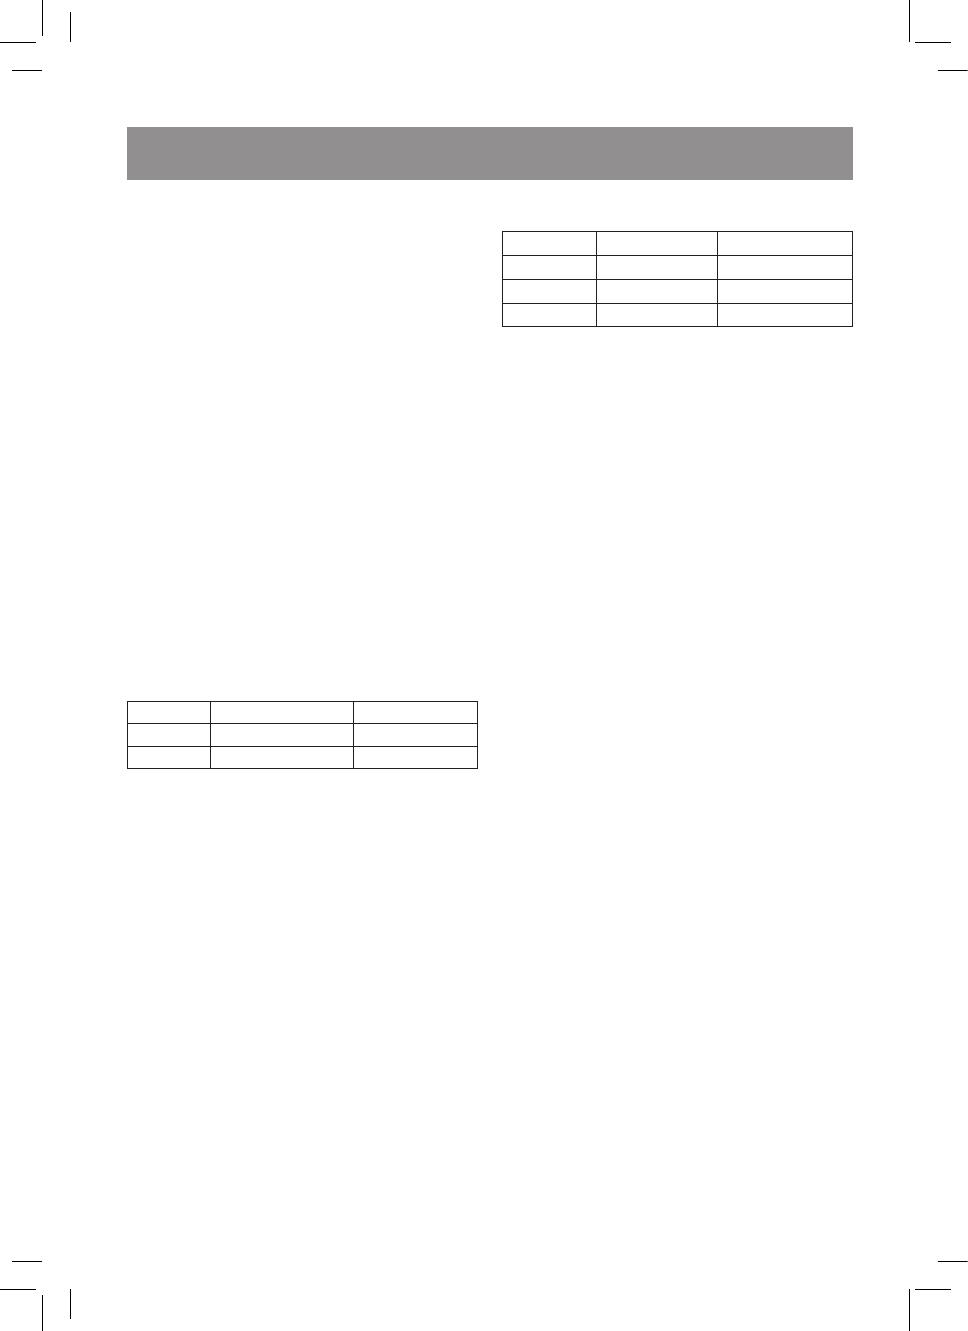
Defrost modes
Table 5
Mode
Product
Weight, kg
d-1
meat
from 0.1 to 2.0
d-2
poultry
from 0.2 to 3.0
d-3
seafood
from 0.1 to 0.9
2. Press the «Start/Quick start» button (16) to confirm
the selection of defrost mode, the icon (19) will ap-
pear on the display.
3. Turn the knob (17) to set the weight of products. You
can select the weight of products depending on the
selected defrost mode.
4. Press the «Start/Quick start» button (16) to start de-
frosting process. The countdown of the remaining
time will start on the display and the defrost mode
icon (30) will light up.
5. After the end of the cooking mode the microwave
oven will be switched off, the message
«End»
will
appear on the display (10) and you’ll hear three
sound signals.
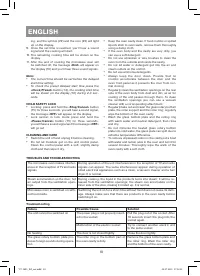
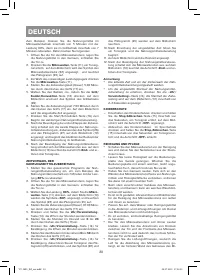
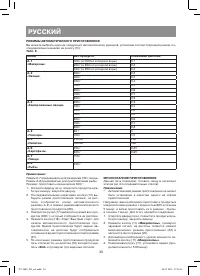
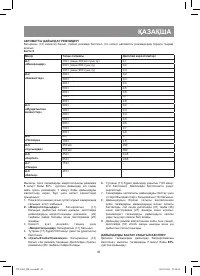
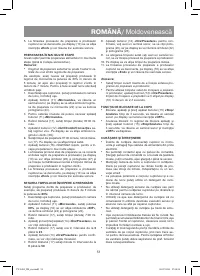
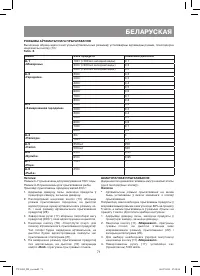
AUTO-COOKING MODES
You can select one of the following auto-cooking
modes, setting the respective mode by pressing the
button (13) consequently:
Note:
The A-7 mode is intended for heating up 150 g pizza.
The A-8 mode is intended for cooking fish.
Example: cooking of 300 g vegetables:
1. Open the oven door, put the products into the oven
cavity and close the door.
2. Select the cooking mode for vegetables by pressing
the button (13) repeatedly, the auto-cooking mode
number «A-2» and the auto-cooking mode symbol
(28) will appear on the display.
3. By turning the knob (17), select the required weight
of the products (300 g), which will appear on the
display.
4. Press the «Start/Quick start» button (16) to start the
auto-cooking. The cooking time will be set automati-
cally, the remaining cooking time and the icon (21)
will be shown on the display.
5. After the end of cooking the microwave oven will
be switched off, the message
«End»
will appear on
the display (10) and you’ll hear three sound signals.
MULTISTEP COOKING
This microwave oven allows to cook food in several steps
(up to 4 consequent steps).
Note:
•
Auto-cooking mode cannot be set as one of the
cooking steps.
For instance, you need to cook food in microwave mode
at 80% power during 5 minutes and then cook it in «Grill»
mode during 7 minutes. For this do the following:
6. Open the oven door, put the products into the oven
cavity and close the door.
VT-1695_IM_rus.indd 8
08.07.2013 17:38:31
Содержание
- 23 русский; МИКРОВОЛНОВАЯ ПЕЧЬ; пература»; Дисплей; щего времени; ВАЖНЫЕ ПРАВИЛА БЕЗОПАСНОСТИ
- 24 При работе печи в комбинирован-; Не включайте печь без продуктов.
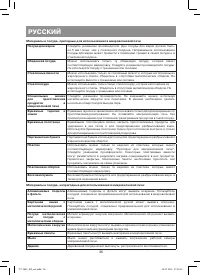
- 25 УК АЗАНИЯ ПО ЗАЗЕМЛЕНИЮ ПЕЧИ; ПРЕ ДУПРЕЖДЕНИЕ; РЕКОМЕНДАЦИИ ПО ВЫБОРУ ПОСУДЫ
- 26 Бумажные пакеты могут вызвать возгорание в микроволновой печи.
- 27 СБОРК А МИКРОВОЛНОВОЙ ПЕЧИ; Установка стеклянного поддона; Примечание; «Микроволны»
- 30 приготовления будет задано ав-
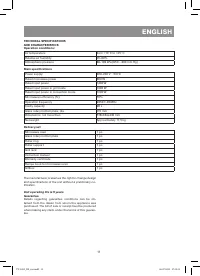
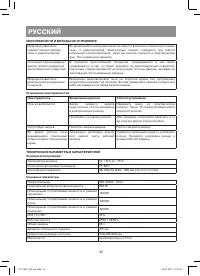
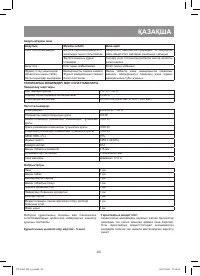
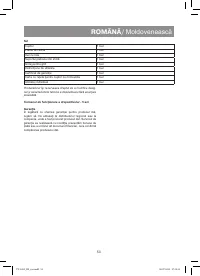
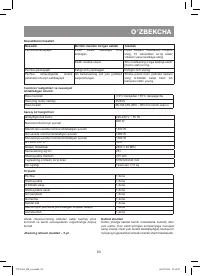
- 33 Комплектность; Срок службы устройства – 5 лет
- 84 Сведения о сертификации


