Микроволновые печи VITEK VT-1651 W - инструкция пользователя по применению, эксплуатации и установке на русском языке. Мы надеемся, она поможет вам решить возникшие у вас вопросы при эксплуатации техники.
Если остались вопросы, задайте их в комментариях после инструкции.
"Загружаем инструкцию", означает, что нужно подождать пока файл загрузится и можно будет его читать онлайн. Некоторые инструкции очень большие и время их появления зависит от вашей скорости интернета.


6
ENGLISH
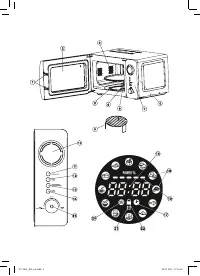
Protective covering
Body:
if there is a protective film, remove it from
the surface of the body.
Do not remove the light-grey mica plate inside
the chamber at the microwave output point
(6), as it serves for magnetron protection.
Installing the glass rotary bottom plate
•
Set the roller support (4) in the opening on
the oven cavity bottom.
•
Set the roller ring (5) on the oven cavity bot-
tom.
•
Carefully set the glass rotary bottom plate (3)
on the roller ring (5), matching its ledges with
the grooves on the support (4).
•
Never set the glass rotary bottom plate with
its bottom side up.
•
Do not prevent rotation of the glass rotary
bottom plate while oven operation.
•
Always use the glass bottom plate (3), roller
support (4) and the roller ring (5) when cook-
ing.
•
Cookware should be always set only on the
glass rotary bottom plate (3).
•
The glass rotary bottom plate (3) can rotate
clockwise or counterclockwise.
•
If cracks or chops appear on the glass rotary
bottom plate (3), stop using the unit immedi-
ately and replace the bottom plate.
OPERATION
Before switching the unit on, make sure that the
mains voltage corresponds to the voltage speci-
fied on the unit body.
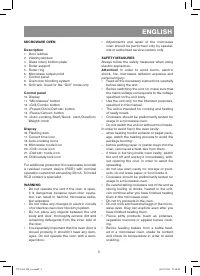
Current time setting
When the microwave oven is connected to the
mains, you’ll hear a sound signal and the flashing
dots (16) «:» will appear on the display (10). You
can set the time in the range from
0:00
to
23:59
.
1.
Press and hold the «
Preset/Clock/Defrost
»
button (13), flashing figures «0:00» will appear
on the display and the icon (17) will light up.
2.
Set the digital hours value by turning the knob
(15).
3.
Press the «
Preset/Clock/Defrost
» button
(13), flashing figures «:00» will appear on the
display.
4.
Set the digital minutes value by turning the
knob (15).
5.
Press the «
Preset/Clock/Defrost
» button
(13) to finish time setting. The set time will be
shown on the display, the icon (17) will light
up and dots (16) «:» will be flashing.
Note:
If the digital time value is not set, the current time
will not be shown on the display (10).
Cooking in the microwave oven
Select the power level of the microwave oven and
set the cooking time.
1.
Open the door, put the products into the oven
cavity and close the door.
2.
Press the «Microwaves» button (11), you will
hear a sound signal, «POWER %» and «100P»
will appear on the display and the icon (19)
will light up.
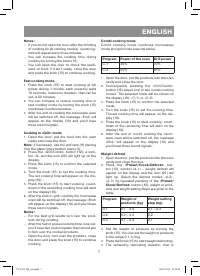
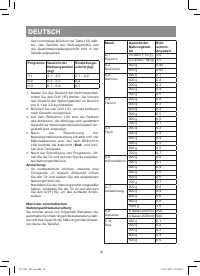
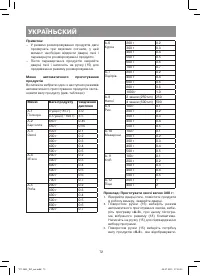
Note
:
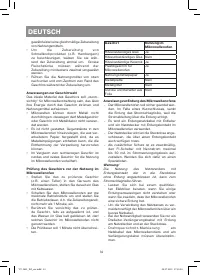
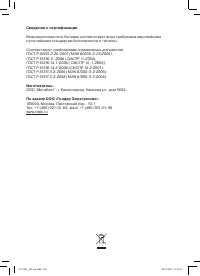
To select the necessary power level press the
«Microwaves» button (11). The following power
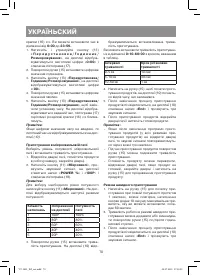
modes will be displayed:
Number
of
pressings
Display indi-
cation
Power of the
oven
1
100P
100%
2
80P
80%
3
60P
60%
4
40P
40%
5
20P
20%
3.
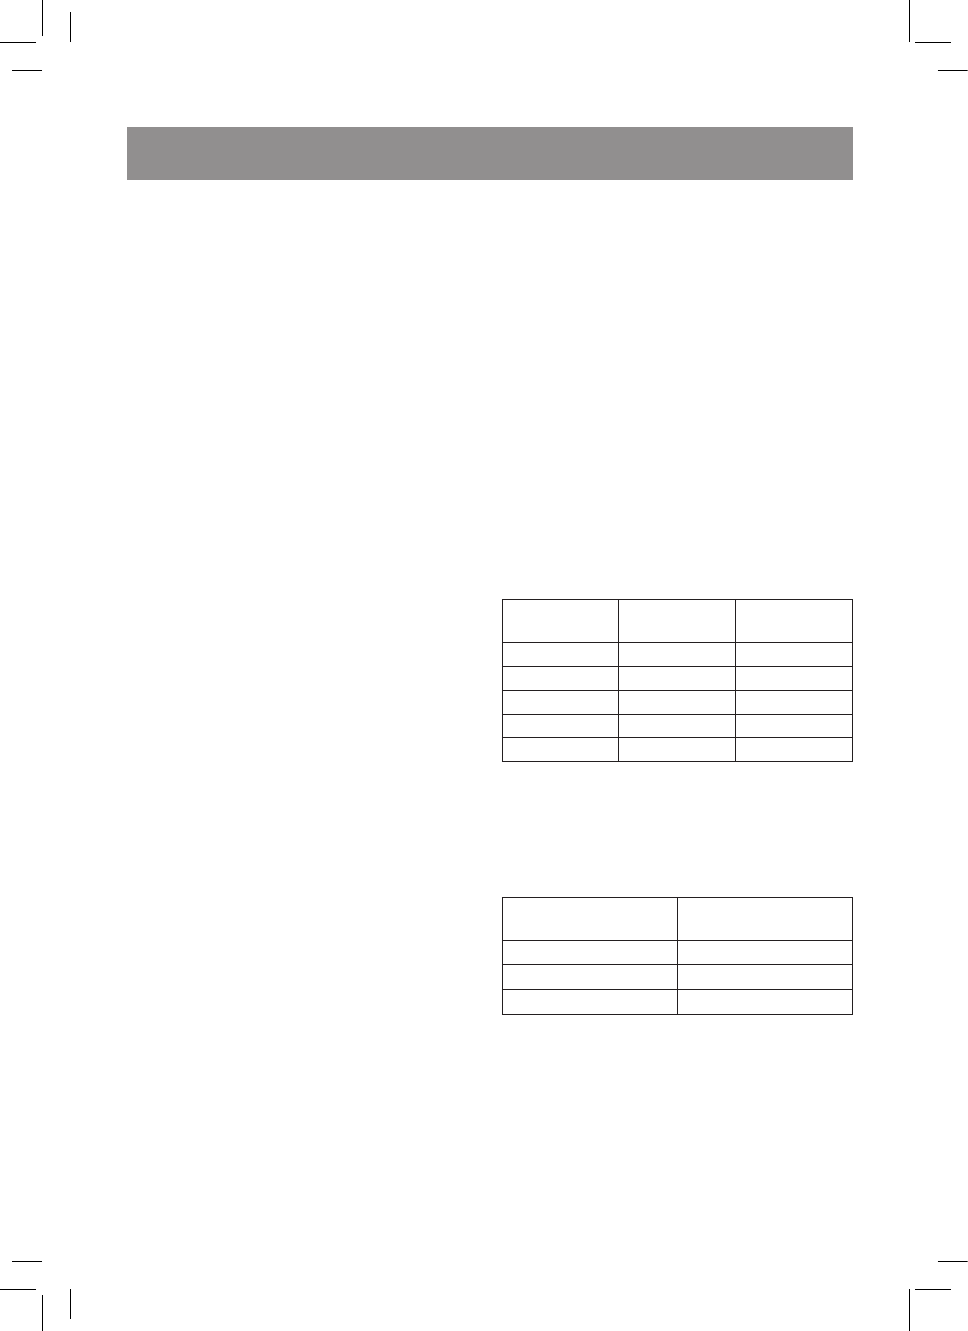
Turn the knob (15) to set the cooking time.
The preset cooking time will appear on the
display (10).
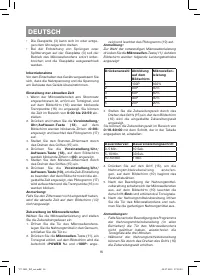
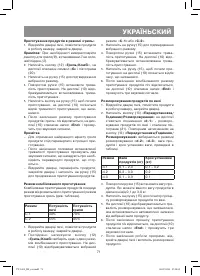
You can set the cooking time in the range
00:10-
60:00
with the step, stated in the table.
Duration interval
Duration setting
step
0-5 min
10 sec.
5-10 min
30 sec.
10-60 min
1 min
4.
Press the knob (15) to start cooking; count-
down of the remaining time will start on the
display (10).
5.
After the end of cooking the microwave oven
will be switched off, the message «End» will
appear on the display (10) and you›ll hear
three sound signals.
6.
Open the oven door after cooking and remove
the prepared food from the oven cavity.
VT-1651_IM_rus.indd 6
08.07.2013 17:19:49
Содержание
- 24 Запрещается жарить продукты в печи.
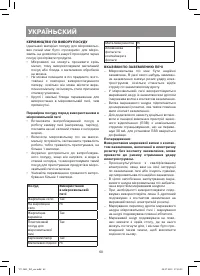
- 25 РУКОВОДСТВО ПО ВЫБОРУ ПОСУДЫ; Предупреждение
- 26 УСТАНОВК А; Убедитесь в отсутствии меха-; СБОРК А МИКРОВОЛНОВОЙ ПЕЧИ; лите ее с поверхности корпуса.; Установка стеклянного поддона
- 27 Примечание
- 29 размораживания продуктов по весу.; «End»; и прозвучит; Меню; , который отобразится
- 30 Разморозка»
- 31 оставшегося времени.
- 32 Плотно закройте дверцу.
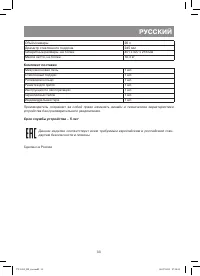
- 33 Комплект поставки; Срок службы устройства – 5 лет


