Микрофоны Vaddio (999-85100) - инструкция пользователя по применению, эксплуатации и установке на русском языке. Мы надеемся, она поможет вам решить возникшие у вас вопросы при эксплуатации техники.
Если остались вопросы, задайте их в комментариях после инструкции.
"Загружаем инструкцию", означает, что нужно подождать пока файл загрузится и можно будет его читать онлайн. Некоторые инструкции очень большие и время их появления зависит от вашей скорости интернета.


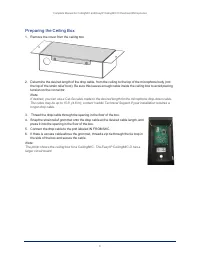


Preparing the Ceiling Box
1. Remove the cover from the ceiling box.
2. Determine the desired length of the drop cable, from the ceiling to the top of the microphone body (not
the top of the strain relief boot). Be sure this leaves enough cable inside the ceiling box to avoid placing
tension on the connector.
Note
If desired, you can use a Cat-5e cable made to the desired length for the microphone drop-down cable.
The cable may be up to 15 ft. (4.6 m); contact Vaddio Technical Support if your installation requires a
longer drop cable.
3.
Thread the drop cable through the opening in the floor of the box.
4. Snap the strain relief grommet onto the drop cable at the desired cable length, and
press it into the opening in the floor of the box.
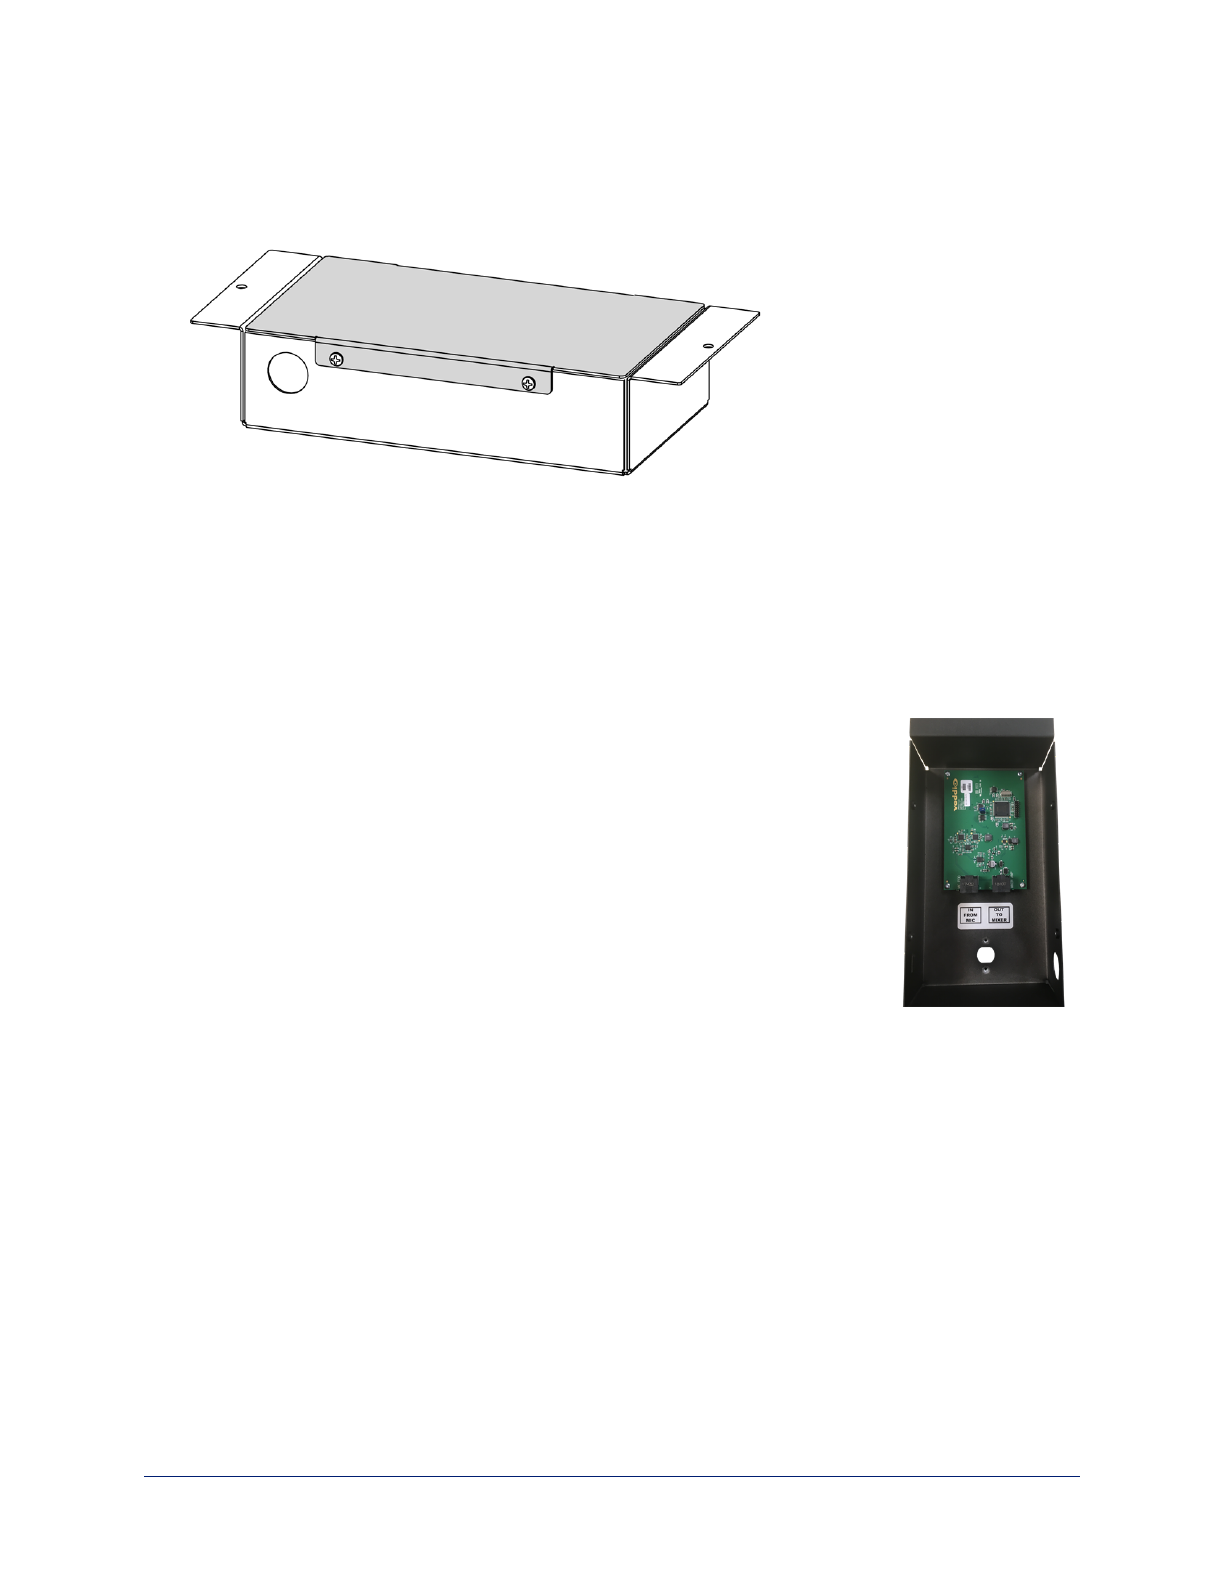
5. Connect the drop cable to the port labeled IN FROM MIC.
6. If there is excess cable above the grommet, thread a zip tie through the tie loop in
the side of the box and secure the cable.
Note
The photo shows the ceiling box for a CeilingMIC. The EasyIP CeilingMIC D has a
larger circuit board.
6
Complete Manual for CeilingMIC and EasyIP CeilingMIC D Overhead Microphones
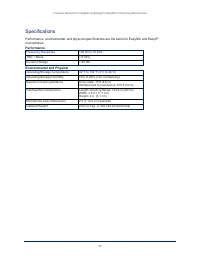
Характеристики

Остались вопросы?Не нашли свой ответ в руководстве или возникли другие проблемы? Задайте свой вопрос в форме ниже с подробным описанием вашей ситуации, чтобы другие люди и специалисты смогли дать на него ответ. Если вы знаете как решить проблему другого человека, пожалуйста, подскажите ему :)

