Машинки для стрижки Remington HC500 - инструкция пользователя по применению, эксплуатации и установке на русском языке. Мы надеемся, она поможет вам решить возникшие у вас вопросы при эксплуатации техники.
Если остались вопросы, задайте их в комментариях после инструкции.
"Загружаем инструкцию", означает, что нужно подождать пока файл загрузится и можно будет его читать онлайн. Некоторые инструкции очень большие и время их появления зависит от вашей скорости интернета.


8
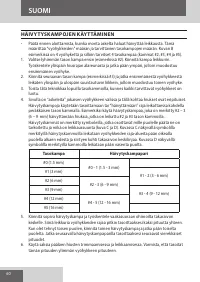
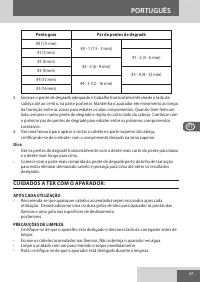
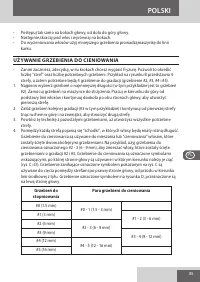
Tips
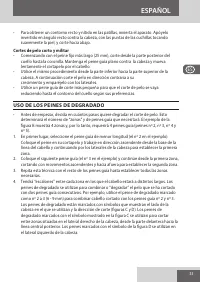
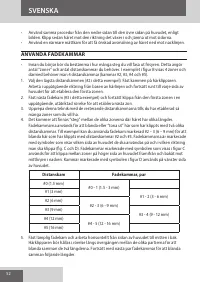
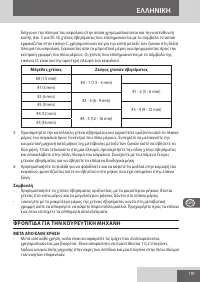
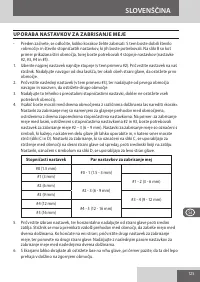
• Use the fade combs horizontally with the shortest comb tooth at the bottom down and
longest tooth at the top.
• Start with the longer part of the fade comb near the transition line to prevent taking off
too much hair, move upwards until desired results are achieved.
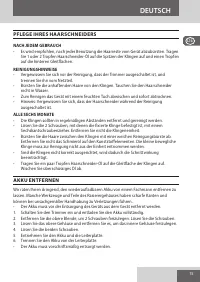
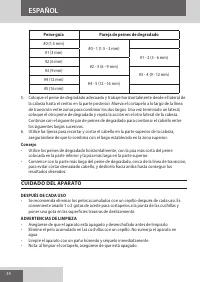
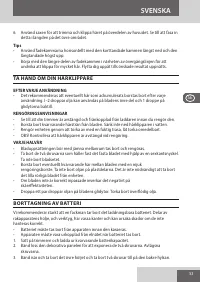
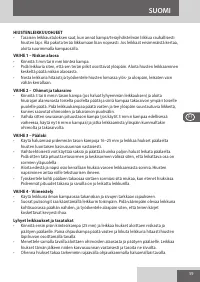
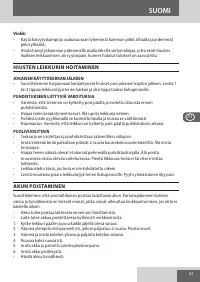
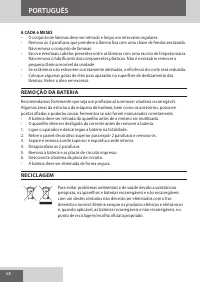
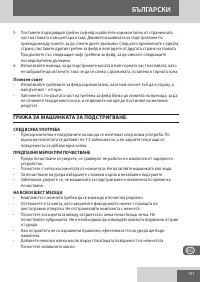
CARE FOR YOUR HAIRCLIPPER
AFTER EACH USE
• It is recommended that any accumulated hair be brushed out after each use. 1 or 2
drops of clipper oil should be added to tip of blades, and a drop on the back gliding
surfaces.
CLEANING CAUTIONS
• Ensure your clipper is switched off and disconnected from the charger before cleaning.
• Brush the accumulated hair from the blades. Do not submerge the clipper in water.
• To clean the unit, wipe with a damp cloth and dry immediately.
• Note: Ensure the clipper is turned off when cleaning.
EVERY SIX MONTHS
• At regular intervals the blade set should be removed and cleaned.
• Remove the 2 screws retaining the fixed blade with a hex screwdriver. Do not remove
blade set.
• Brush out hairs from between the blades with soft cleaning brush. Do not remove the
lubricating grease on the plastic components. It is not necessary to remove the small
moving blade from the unit.
• If the blades are not correctly aligned, cutting efficiency will be impaired.
• Place a few drops of oil onto the blade’s gliding surface. Wipe off excess oil.
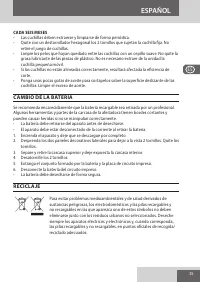
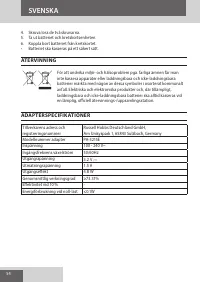
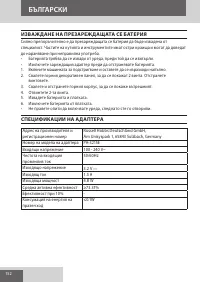
BATTERY REMOVAL
We strongly recommend that a professional removes the rechargeable battery. Parts of the
shaver case, and tools have sharp edges and may cause injury if not handled correctly.
• The rechargeable battery must be removed from the appliance before it is scrapped.
• Disconnect the charging adapter before removing the battery.
1. Turn the trimmer on and discharge all remaining power.
2. Pry off the upper decorative panel to expose 2 screws. Remove the screws.
3. Pry and remove the top housing and expose the inner housing.
4. Unscrew the 2 screws.
5. Take out the battery and printed circuit board assembly.
6. Disconnect the battery from the circuit board.
• The battery is to be disposed of safely.
ENGLISH
Содержание
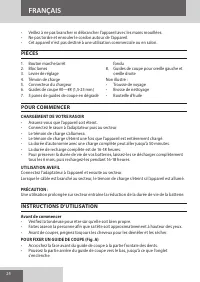
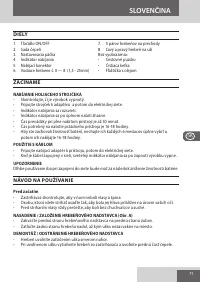
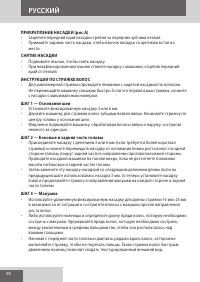
- 97 КОМПОНЕНТЫ; ЗАРЯДКА БРИТВЫ; ИНСТРУКЦИИ ПО ЭКСПЛУАТАЦИИ; Перед стрижкой
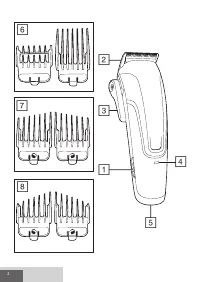
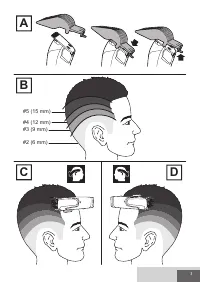
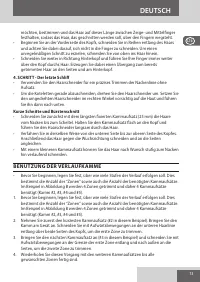
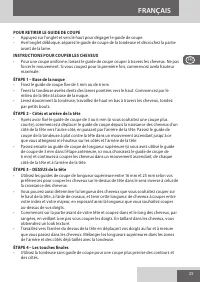
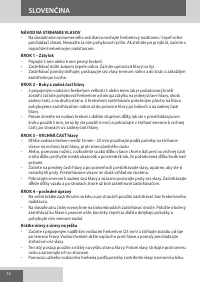
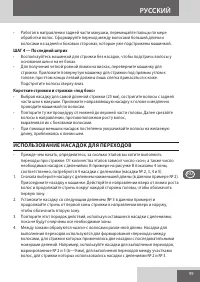
- 98 СНЯТИЕ НАСАДКИ; • Поднимите язычок, чтобы снять насадку.; ИНСТРУКЦИИ ПО СТРИЖКЕ ВОЛОС; с насадки с максимальным номером.; ШАГ 1 — Основание шеи; • Установите фиксированную насадку 3 или 6 мм; ШАГ 2 — Боковые и задняя часть головы; высоты на боковых и задней частях головы.; ШАГ 3 — Макушка
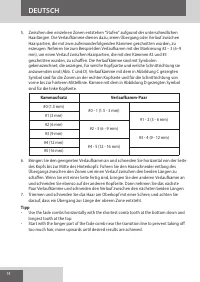
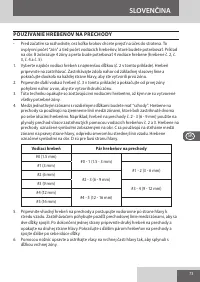
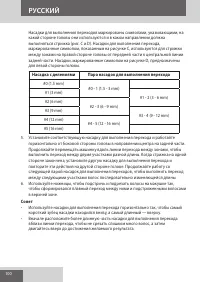
- 99 ШАГ 4 — Последний штрих; ИСПОЛЬЗОВАНИЕ НАСАДОК ДЛЯ ПЕРЕХОДОВ
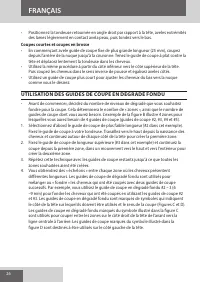
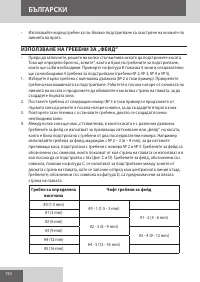
- 100 для левой стороны головы.; Насадка с делениями; короткий зубец насадки находился внизу, а самый длинный — вверху.
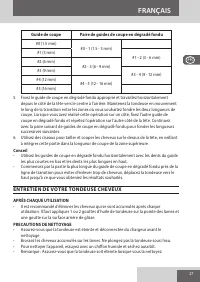
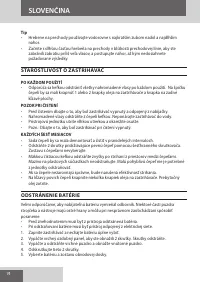
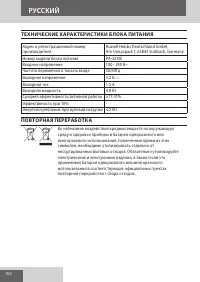
- 101 УХОД ЗА МАШИНКОЙ ДЛЯ СТРИЖКИ ВОЛОС; ПОСЛЕ КАЖДОГО ПРИМЕНЕНИЯ; ИЗВЛЕЧЕНИЕ БАТАРЕИ
Характеристики

Остались вопросы?Не нашли свой ответ в руководстве или возникли другие проблемы? Задайте свой вопрос в форме ниже с подробным описанием вашей ситуации, чтобы другие люди и специалисты смогли дать на него ответ. Если вы знаете как решить проблему другого человека, пожалуйста, подскажите ему :)


