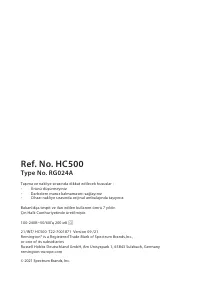
Машинки для стрижки Remington HC500 - инструкция пользователя по применению, эксплуатации и установке на русском языке. Мы надеемся, она поможет вам решить возникшие у вас вопросы при эксплуатации техники.
Если остались вопросы, задайте их в комментариях после инструкции.
"Загружаем инструкцию", означает, что нужно подождать пока файл загрузится и можно будет его читать онлайн. Некоторые инструкции очень большие и время их появления зависит от вашей скорости интернета.


5
ENGLISH
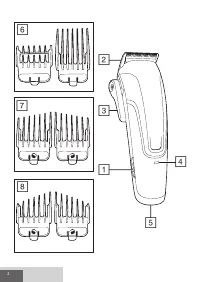
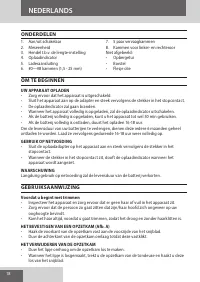
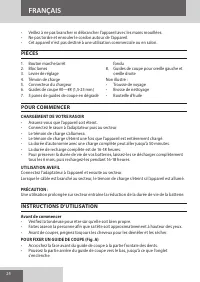
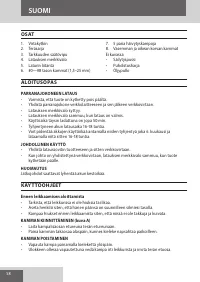
PARTS
1. On/off switch
2. Blade set
3. Taper lever
4. Charging indicator
5. Charger connector
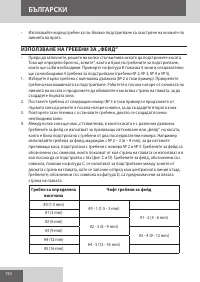
6. #0—#8 grade combs (1.5 - 25mm)
7. 5 pairs of fade combs
8. Left and right ear combs
Not shown:
• Travel pouch
• Cleaning brush
• Oil bottle
GETTING STARTED
CHARGING YOUR APPLIANCE
• Ensure the product is switched off.
• Connect the shaver to the adapter and then to the mains.
• The charging indicator will illuminate.
• The charging indicator will turn off once fully charged.
• Run time from fully charged is up to 50 minutes.
• Charge time from empty is 16-18 hours.
• To preserve the life of your batteries, let them run out every 6 months then recharge for
16-18 hours.
CORDED USE
• Connect the charging adaptor to the product then to the mains.
• When the cord is connected to the mains, the charging indicator light will turn off if the
product is turned on.
CAUTION
Extended mains only use will result in the reduction of the battery life.
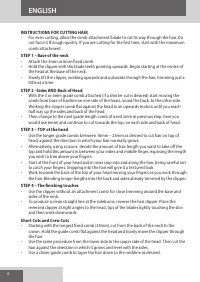
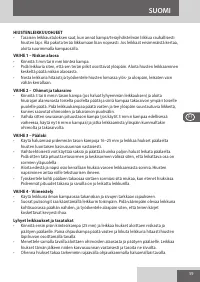
INSTRUCTIONS FOR USE
Before starting the cut
• Inspect the clipper making sure that it is free from hair and dirt.
• Seat the person so that their head is approximately at your eye level.
• Before cutting, always comb the hair so it is tangle free and dry.
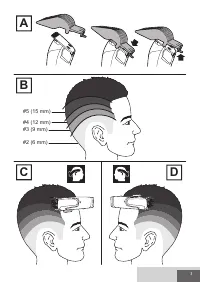
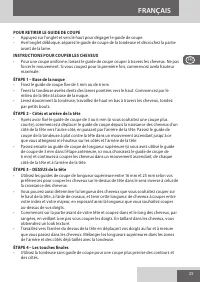
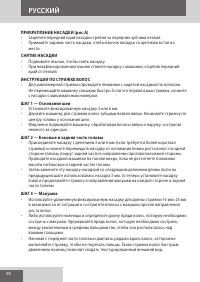
TO ATTACH A COMB (Fig A)
• Hook front side of attachment comb on front side of teeth.
• Press back side of comb downwards, until the tab clicks into place.
TO REMOVE THE COMB
• Press upward on the tab to release the comb.
• With tab released, pull comb away from clipper and unhook front of the blade.
GB
DE
NL
FR
ES
IT
DK
SE
FI
NO
PT
SK
CZ
PL
HU
RU
TR
RO
GR
SI
HR
UA
SR
BG
AE
Содержание
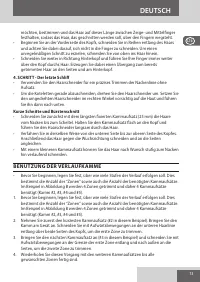
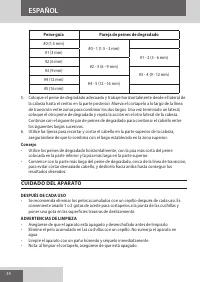
- 97 КОМПОНЕНТЫ; ЗАРЯДКА БРИТВЫ; ИНСТРУКЦИИ ПО ЭКСПЛУАТАЦИИ; Перед стрижкой
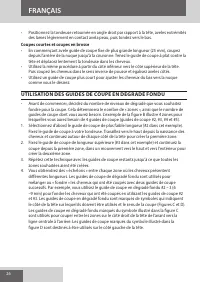
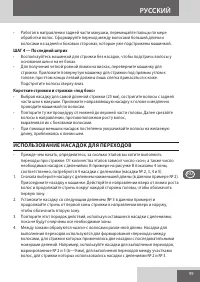
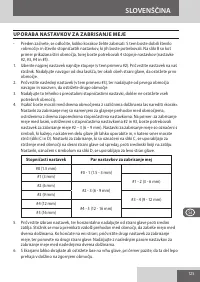
- 98 СНЯТИЕ НАСАДКИ; • Поднимите язычок, чтобы снять насадку.; ИНСТРУКЦИИ ПО СТРИЖКЕ ВОЛОС; с насадки с максимальным номером.; ШАГ 1 — Основание шеи; • Установите фиксированную насадку 3 или 6 мм; ШАГ 2 — Боковые и задняя часть головы; высоты на боковых и задней частях головы.; ШАГ 3 — Макушка
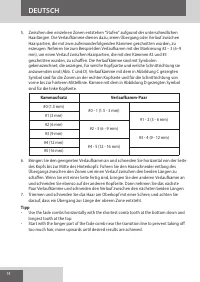
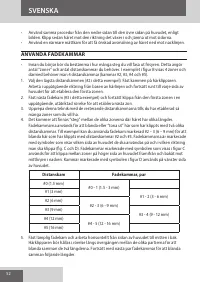
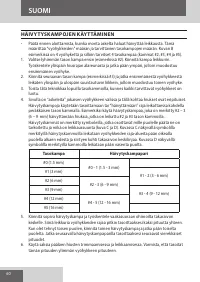
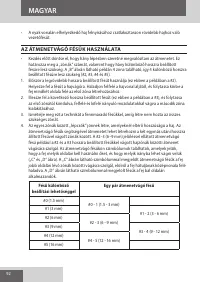
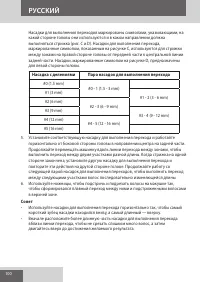
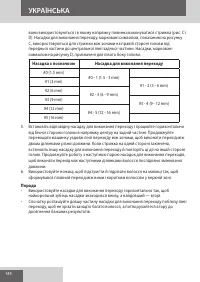
- 99 ШАГ 4 — Последний штрих; ИСПОЛЬЗОВАНИЕ НАСАДОК ДЛЯ ПЕРЕХОДОВ
- 100 для левой стороны головы.; Насадка с делениями; короткий зубец насадки находился внизу, а самый длинный — вверху.
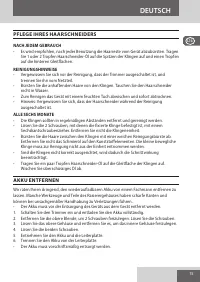
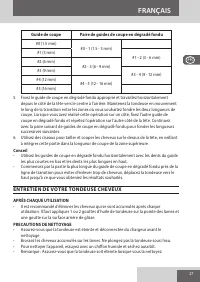
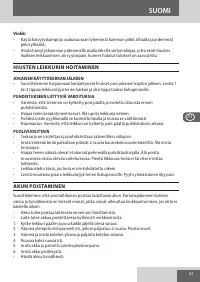
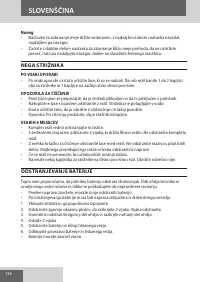
- 101 УХОД ЗА МАШИНКОЙ ДЛЯ СТРИЖКИ ВОЛОС; ПОСЛЕ КАЖДОГО ПРИМЕНЕНИЯ; ИЗВЛЕЧЕНИЕ БАТАРЕИ
Характеристики

Остались вопросы?Не нашли свой ответ в руководстве или возникли другие проблемы? Задайте свой вопрос в форме ниже с подробным описанием вашей ситуации, чтобы другие люди и специалисты смогли дать на него ответ. Если вы знаете как решить проблему другого человека, пожалуйста, подскажите ему :)


