Магнитолы Sony CDX-R3350EE - инструкция пользователя по применению, эксплуатации и установке на русском языке. Мы надеемся, она поможет вам решить возникшие у вас вопросы при эксплуатации техники.
Если остались вопросы, задайте их в комментариях после инструкции.
"Загружаем инструкцию", означает, что нужно подождать пока файл загрузится и можно будет его читать онлайн. Некоторые инструкции очень большие и время их появления зависит от вашей скорости интернета.

4
Getting Started
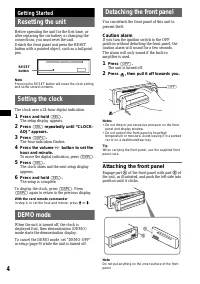
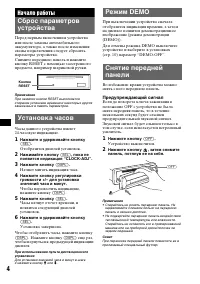
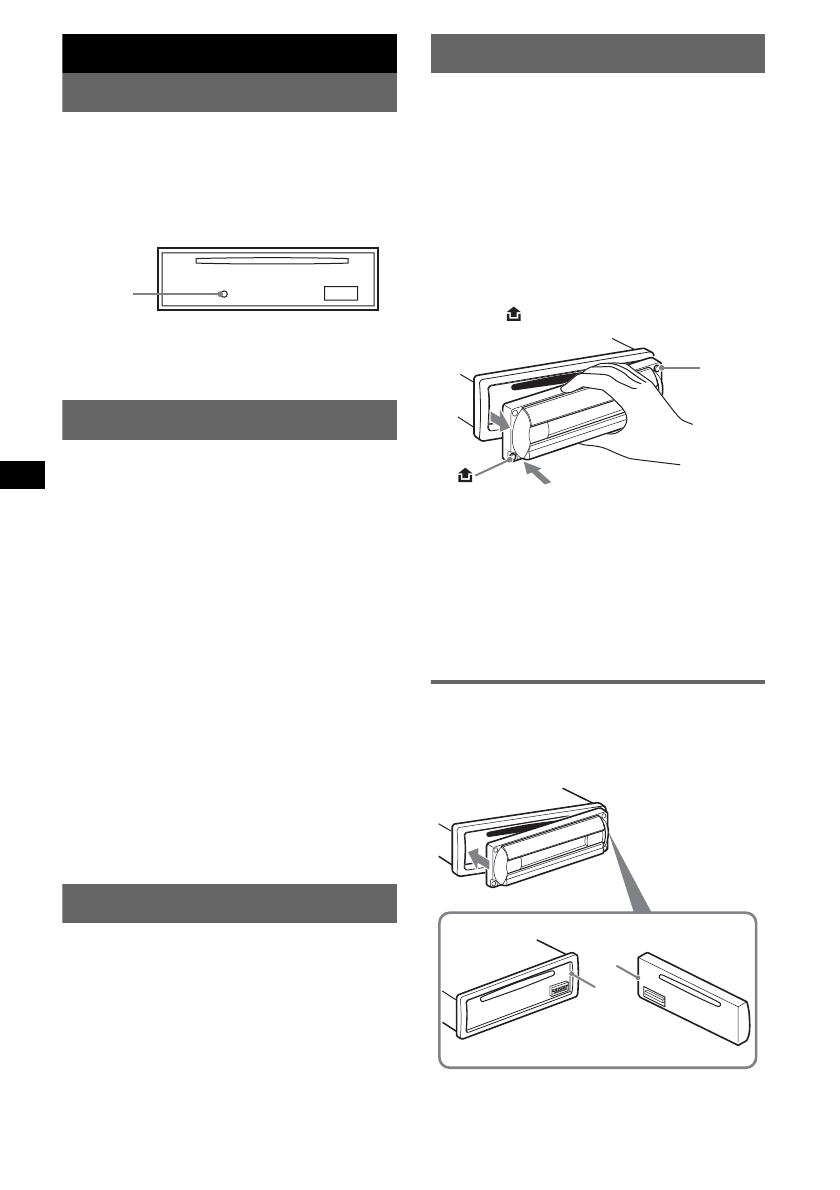
Resetting the unit
Before operating the unit for the first time, or
after replacing the car battery or changing the
connections, you must reset the unit.
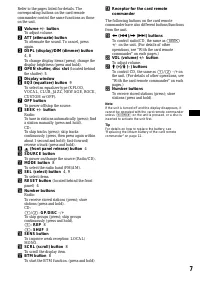
Detach the front panel and press the RESET
button with a pointed object, such as a ballpoint
pen.
Note
Pressing the RESET button will erase the clock setting
and some stored contents.
Setting the clock
The clock uses a 24-hour digital indication.
1
Press and hold
(SEL)
.
The setup display appears.
2
Press
(SEL)
repeatedly until “CLOCK-
ADJ” appears.
3
Press
(DSPL)
.
The hour indication flashes.
4
Press the volume +/– button to set the
hour and minute.
To move the digital indication, press
(DSPL)
.
5
Press
(SEL)
.
The clock starts and the next setup display
appears.
6
Press and hold
(SEL)
.
The setup is complete.
To display the clock, press
(DSPL)
. Press
(DSPL)
again to return to the previous display.
With the card remote commander
In step 4, to set the hour and minute, press
M
or
m
.
DEMO mode
When the unit is turned off, the clock is
displayed first, then demonstration (DEMO)
mode starts the demonstration display.
To cancel the DEMO mode, set “DEMO-OFF”
in setup (page 9) while the unit is turned off.
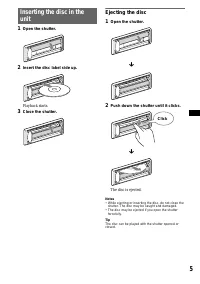
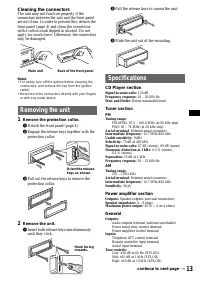
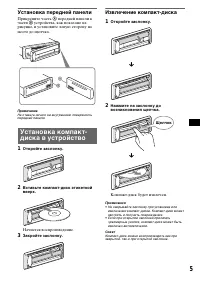
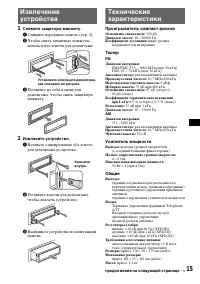
Detaching the front panel
You can detach the front panel of this unit to
prevent theft.
Caution alarm
If you turn the ignition switch to the OFF
position without detaching the front panel, the
caution alarm will sound for a few seconds.
The alarm will only sound if the built-in
amplifier is used.
1
Press
(OFF)
.
The unit is turned off.
2
Press
, then pull it off towards you.
Notes
• Do not drop or put excessive pressure on the front
panel and display window.
• Do not subject the front panel to heat/high
temperature or moisture. Avoid leaving it in a parked
car or on a dashboard/rear tray.
Tip
When carrying the front panel, use the supplied front
panel case.
Attaching the front panel
Engage part
A
of the front panel with part
B
of
the unit, as illustrated, and push the left side into
position until it clicks.
Note
Do not put anything on the inner surface of the front
panel.
RESET
button
(OFF)
B
A
Содержание
- 17 Содержание; Начало работы
- 18 Установка часов; Отобразится дисплей установок.; Режим DEMO; Предупреждающий сигнал; Устройство выключится.
- 19 Установка передней панели; Прикрепите часть; Начнется воспроизведение.; Извлечение компакт-диска; Щелчок
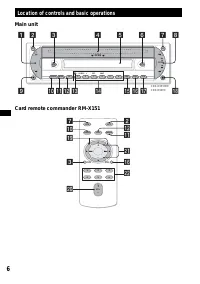
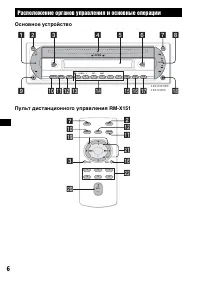
- 20 Расположение органов управления и основные операции; Основное устройство
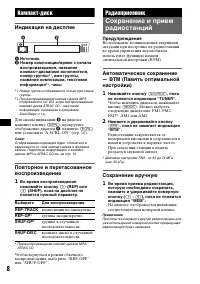
- 22 Индикация на дисплее; Для смены индикаций; Радиоприемник; Предупреждение; Автоматическое сохранение; Выберите
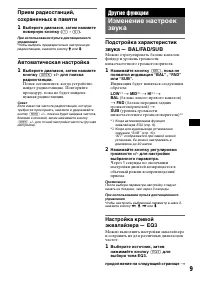
- 23 Автоматическая настройка; Другие функции
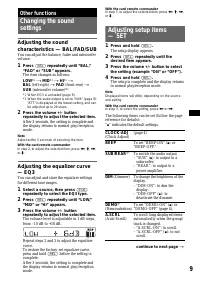
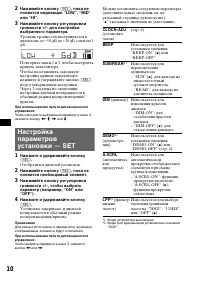
- 24 ” указывает значения по умолчанию.; – “REAR”: для вывода на
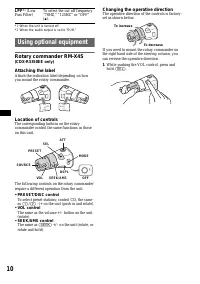
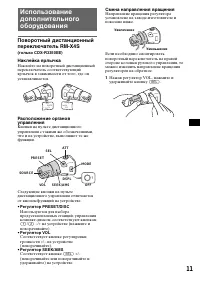
- 25 Наклейка ярлычка; • Регулятор PRESET/DISC; Соответствует кнопке; Смена направления вращения
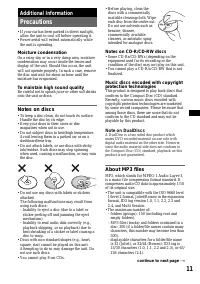
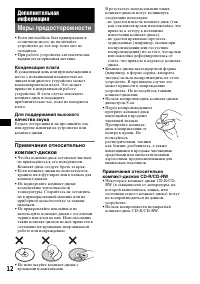
- 26 Меры предосторожности; Конденсация влаги
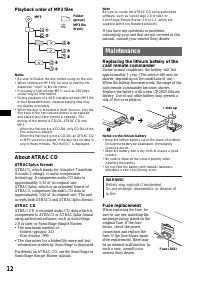
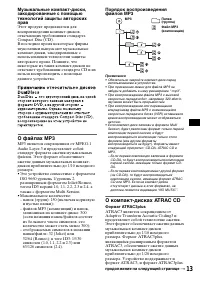
- 27 О файлах MP3; • Максимальное количество:; О компакт-дисках ATRAC CD; Формат ATRAC3plus
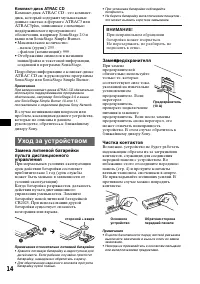
- 28 Компакт-диск ATRAC CD; • Отображение символов в названии; Уход за устройством; Замена
- 29 Проигрыватель компакт-дисков; Тюнер; AM; Усилитель мощности; Общие; продолжение на следующей странице
- 30 На устройство не подается питание.; Воспроизведение компакт-дисков
- 31 Прием радиостанций


