Магнитолы Sony CDX-F5550EE - инструкция пользователя по применению, эксплуатации и установке на русском языке. Мы надеемся, она поможет вам решить возникшие у вас вопросы при эксплуатации техники.
Если остались вопросы, задайте их в комментариях после инструкции.
"Загружаем инструкцию", означает, что нужно подождать пока файл загрузится и можно будет его читать онлайн. Некоторые инструкции очень большие и время их появления зависит от вашей скорости интернета.


10
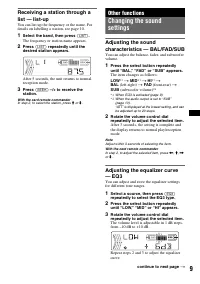
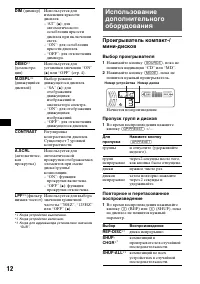
To restore the factory-set equalizer curve,
press and hold the select button before the
setting is complete.
After 3 seconds, the setting is complete and
the display returns to normal play/reception
mode.
With the card remote commander
In step 3, to adjust the selected item, press
<
,
M
,
,
or
m
.
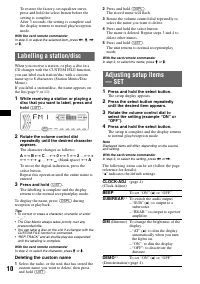
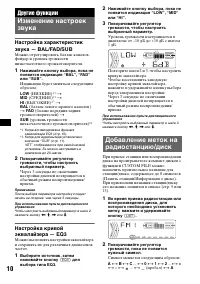
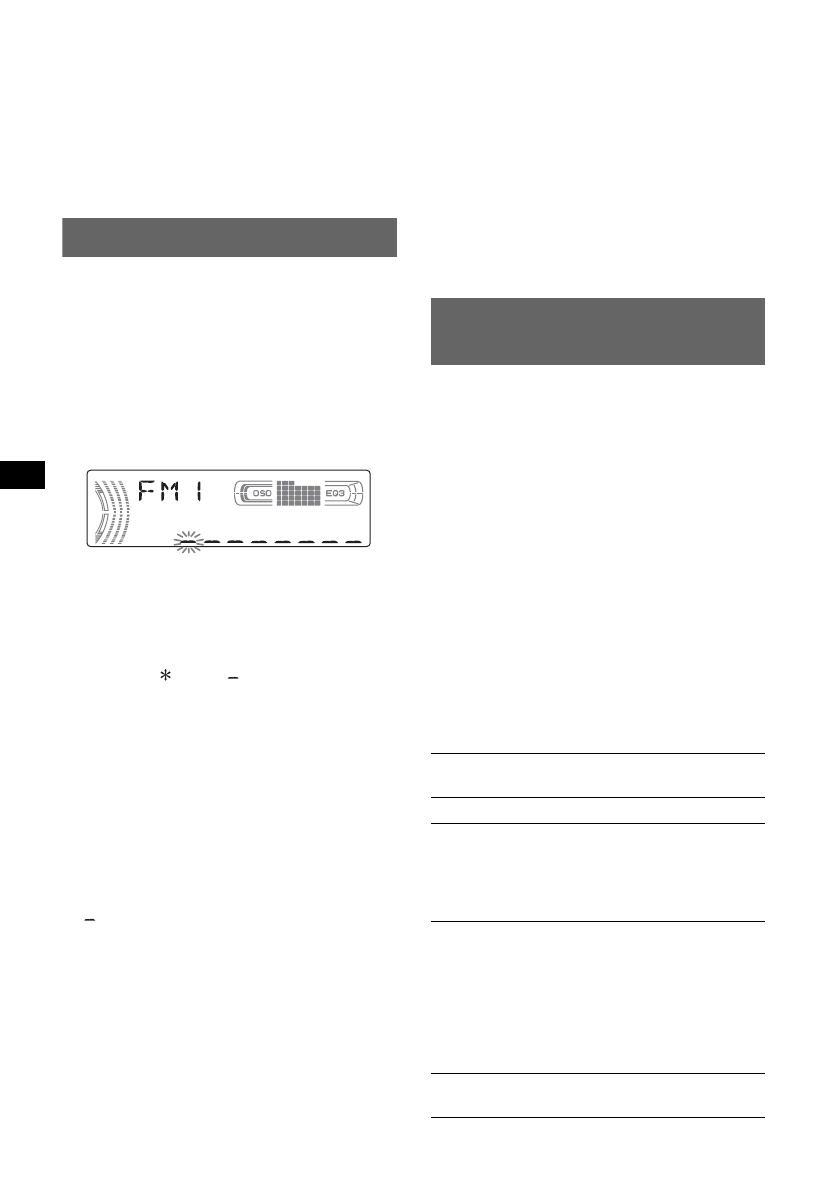
Labelling a station/disc
When you receive a station, or play a disc in a
CD changer with the CUSTOM FILE function,
you can label each station/disc with a custom
name up to 8 characters (Station Memo/Disc
Memo).
If you label a station/disc, the name appears on
the list (page 9 or 11).
1
While receiving a station or playing a
disc that you want to label, press and
hold
(LIST)
.
2
Rotate the volume control dial
repeatedly until the desired character
appears.
The character changes as follows:
A
y
B
y
C
...
y
0
y
1
y
2
...
y
+
y
–
y
...
y
(blank
space)
y
A
To move the digital indication, press the
select button.
Repeat this operation until the entire name is
entered.
3
Press and hold
(LIST)
.
The labelling is complete and the display
returns to the normal reception/play mode.
To display the name, press
(DSPL)
during
reception or playback.
Tips
•
To correct or erase a character, overwrite or enter
“
.”
•
The Disc Memo always takes priority over any
prerecorded title.
•
You can label a disc on the unit if a changer with the
CUSTOM FILE function is connected.
•
“REP-TRACK” and all shuffle play are suspended
until the labelling is complete.
With the card remote commander
In step 2, to select the character, press
M
or
m
.
Deleting the custom name
1
Select the radio, or the unit that has stored the
custom name you want to delete, then press
and hold
(LIST)
.
2
Press and hold
(DSPL)
.
The stored name will flash.
3
Rotate the volume control dial repeatedly to
select the name you want to delete.
4
Press and hold the select button.
The name is deleted. Repeat steps 3 and 4 to
delete other names.
5
Press and hold
(LIST)
.
The unit returns to normal reception/play
mode.
With the card remote commander
In step 3, to select the name, press
M
or
m
.
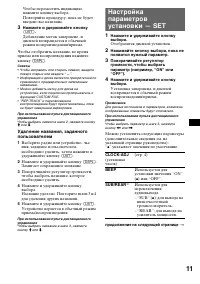
Adjusting setup items
— SET
1
Press and hold the select button.
The setup display appears.
2
Press the select button repeatedly
until the desired item appears.
3
Rotate the volume control dial to
select the setting (example “ON” or
“OFF”).
4
Press and hold the select button.
The setup is complete and the display returns
to normal play/reception mode.
Note
Displayed items will differ, depending on the source
and setting.
With the card remote commander
In step 3, to select the setting, press
<
or
,
.
The following items can be set (follow the page
reference for details):
“
z
” indicates the default settings.
CLOCK-ADJ
(Clock Adjust)
BEEP
To set “ON” (
z
) or “OFF.”
SUB/REAR
*
1
To switch the audio output.
– “SUB” (
z
): to output to a
subwoofer.
– “REAR”: to output to a power
amplifier.
DIM
(Dimmer) To change the brightness of the
display.
– “AT” (
z
): to dim the display
automatically when you turn
the lights on.
– “ON”: to dim the display.
– “OFF”: to deactivate the
dimmer.
DEMO
*
1
(Demonstration)
To set “ON” (
z
) or “OFF”
(page 4).
Содержание
- 19 Содержание; Начало работы
- 20 Установка часов; Режим DEMO; Предупреждающий сигнал; Нажмите кнопку
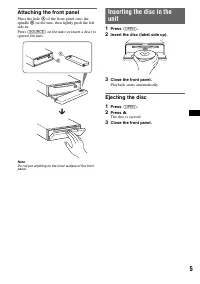
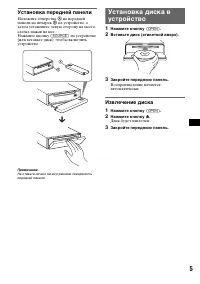
- 21 Установка передней панели; Извлечение диска
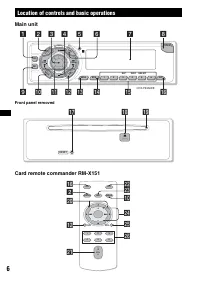
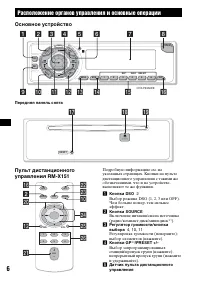
- 22 Расположение органов управления и основные операции; Основное устройство; Передняя панель снята
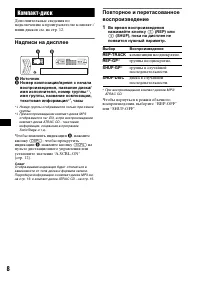
- 24 Надписи на дисплее; Источник; появится нужный параметр.; Выбор
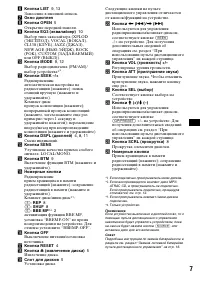
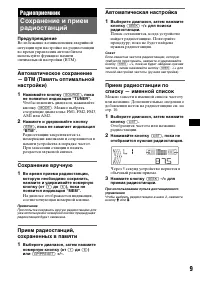
- 25 Радиоприемник; Предупреждение; Сохранение вручную; Автоматическая настройка
- 26 Другие функции
- 27 Нажмите и удерживайте кнопку; BEEP
- 28 Выбор проигрывателя; DIM
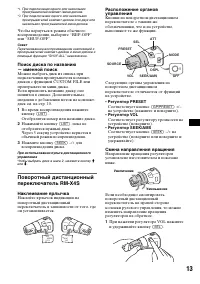
- 29 Наклеивание ярлычка; Регулятор PRESET; Смена направления вращения
- 30 Конденсация влаги
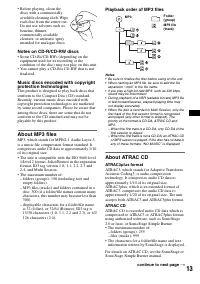
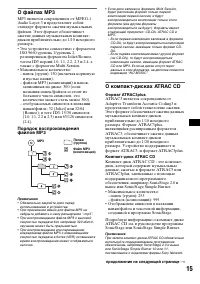
- 31 О файлах MP3; О компакт-дисках ATRAC CD; Формат ATRAC3plus; продолжение на следующей странице
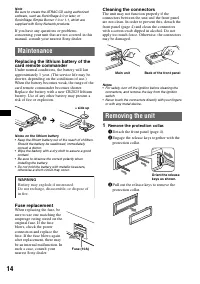
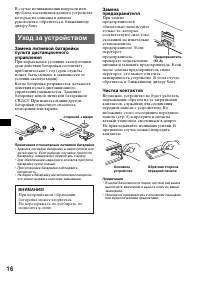
- 32 Уход за устройством; Чистка контактов
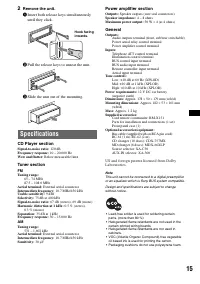
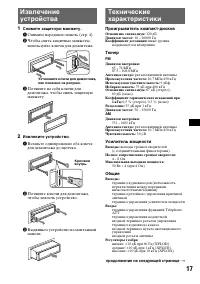
- 33 Проигрыватель компакт-дисков; Усилитель мощности
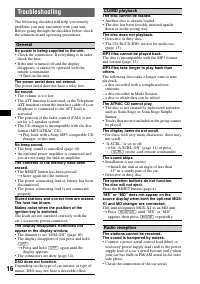
- 34 Общие; На устройство не подается питание.
- 36 Прием радиостанций


