Лобзики Makita JV102DZ - инструкция пользователя по применению, эксплуатации и установке на русском языке. Мы надеемся, она поможет вам решить возникшие у вас вопросы при эксплуатации техники.
Если остались вопросы, задайте их в комментариях после инструкции.
"Загружаем инструкцию", означает, что нужно подождать пока файл загрузится и можно будет его читать онлайн. Некоторые инструкции очень большие и время их появления зависит от вашей скорости интернета.

10 ENGLISH
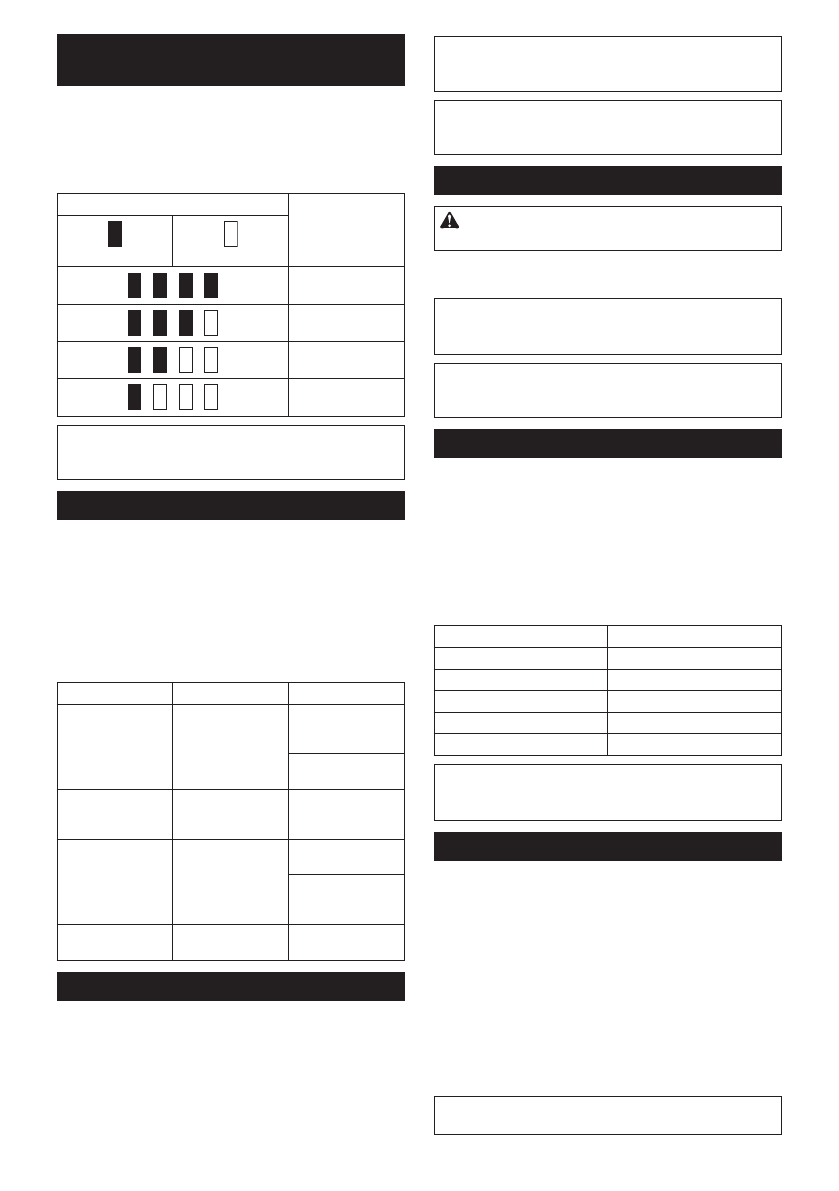
Indicating the remaining battery
capacity
Only for battery cartridges with the indicator
►
Fig.2:
1.
Indicator lamps
2.
Check button
Press the check button on the battery cartridge to indi
-
cate the remaining battery capacity. The indicator lamps
light up for a few seconds.
Indicator lamps
Remaining
capacity
Lighted
Off
75% to 100%
50% to 75%
25% to 50%
0% to 25%
NOTE:
Depending on the conditions of use and the
ambient temperature, the indication may differ slightly
from the actual capacity.
Selecting the cutting action
►
Fig.3:
1.
Cutting action changing lever
This tool can be operated with an orbital or a straight
line (up and down) cutting action. The orbital cutting
action thrusts the jig saw blade forward on the cutting
stroke and greatly increases cutting speed.
To change the cutting action, just turn the cutting action
changing lever to the desired cutting action position. Refer
to the table to select the appropriate cutting action.
Position
Cutting action
Applications
0
Straight line cutting
action
For cutting mild
steel, stainless
steel and plastics.
For clean cuts in
wood and plywood.
I
Small orbit cutting
action
For cutting mild
steel, aluminum
and hard wood.
II
Medium orbit
cutting action
For cutting wood
and plywood.
For fast cutting in
aluminum and mild
steel.
III
Large orbit cutting
action
For fast cutting in
wood and plywood.
Switch action
To turn on the tool, press the lock/unlock button. The
tool turns into the standby mode. To start the tool, press
the start/stop button in the standby mode. To stop the
tool, press the start/stop button again. The tool turns
into the standby mode. To turn off the tool, press the
lock/unlock button in the standby mode.
►
Fig.4:
1.
Lock/unlock button
2.
Start/stop button
NOTE:
If the tool is left for 10 seconds without any
operation in the standby mode, the tool automatically
turns off and the lamp goes off.
NOTE:
You can also stop and turn off the tool by
pressing the lock/unlock button while the tool is
operating.
Lighting up the front lamp
CAUTION:
Do not look in the light or see the
source of light directly.
To turn on the lamp, press the lock/unlock button. To
turn off the lamp, press the lock/unlock button again.
NOTICE:
When the tool is overheated, the lamp
flickers. Cool down the tool fully before operating
the tool again.
NOTE:
Use a dry cloth to wipe the dirt off the lens of
the lamp. Be careful not to scratch the lens of lamp, or
it may lower the illumination.
Speed adjusting dial
►
Fig.5:
1.
Speed adjusting dial
The tool speed can be adjusted by turning the speed
adjusting dial. You can get the highest speed at 5 and
the lowest speed at 1.
Refer to the table to select the proper speed for the
workpiece to be cut. However, the appropriate speed
may differ with the type or thickness of the workpiece. In
general, higher speeds will allow you to cut workpieces
faster but the service life of the blade will be reduced.
Workpiece
Number
Wood
4 - 5
Mild steel
3 - 5
Stainless steel
3 - 4
Aluminum
3 - 5
Plastics
1 - 4
NOTICE:
When changing the speed dial from "5"
to "1", turn the dial counterclockwise. Do not turn
the dial clockwise forcibly.
Electronic function
The tool is equipped with the electronic functions for
easy operation.
•
Soft start
The soft-start function minimizes start-up shock,
and makes the tool start smoothly.
•
Soft no-load rotation
To reduce the vibration and align the jig saw blade
with the cutting line easily, the tool automatically
reduces the rotation speed until the tool starts cut-
ting the workpiece when the speed adjusting dial
is set at 2 or higher. Once the tool starts cutting
the workpiece, the tool speed reaches the preset
speed and keeps the speed until the tool stops.
NOTE:
When the temperature is low, this function
may not be available.
Содержание
- 56 ТЕХНИЧЕСКИЕ ХАРАКТЕРИСТИКИ; Подходящий блок аккумулятора и зарядное устройство; Вибрация
- 57 МЕРЫ БЕЗОПАСНОСТИ; Сохраните брошюру с инструк
- 58 Важные правила техники; СОХРАНИТЕ ДАННЫЕ
- 59 ОПИСАНИЕ РАБОТЫ; Защита от перегрузки
- 60 Действие выключателя; Электронная функция
- 61 СБОРКА; Установка или снятие полотна; ЭКСПЛУАТАЦИЯ; Резка под скосом
- 63 Устройство против раскалывания; Крышка; Комплект адаптера для шины; ОБСЛУЖИВАНИЕ
Характеристики
Остались вопросы?Не нашли свой ответ в руководстве или возникли другие проблемы? Задайте свой вопрос в форме ниже с подробным описанием вашей ситуации, чтобы другие люди и специалисты смогли дать на него ответ. Если вы знаете как решить проблему другого человека, пожалуйста, подскажите ему :)


