Кронштейны для мониторов HAMA (00095819) - инструкция пользователя по применению, эксплуатации и установке на русском языке. Мы надеемся, она поможет вам решить возникшие у вас вопросы при эксплуатации техники.
Если остались вопросы, задайте их в комментариях после инструкции.
"Загружаем инструкцию", означает, что нужно подождать пока файл загрузится и можно будет его читать онлайн. Некоторые инструкции очень большие и время их появления зависит от вашей скорости интернета.


2
G
Operating instruction
Thank you for choosing a Hama product.
Take your time and read the following instructions and information completely. Please
keep these instructions in a safe place for future reference. If you sell the device, please
pass these operating instructions on to the new owner.
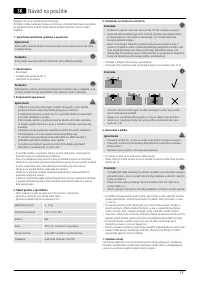
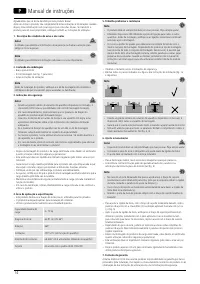
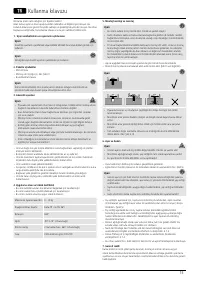
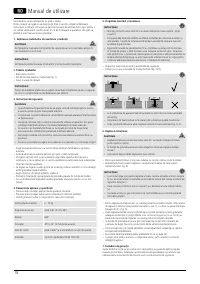
1. Explanation of Warning Symbols and Notes
W
arning
This symbol is used to indicate safety instructions or to draw your attention to specific
hazards and risks.
N
ote
This symbol is used to indicate additional information or important notes.
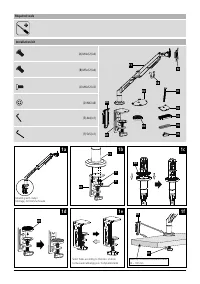
2. Package Contents
•
Monitor Arm
•
Installation kit (see contents, Fig. 1)
•
These operating instructions
N
ote
Please check that the installation kit is complete before installing the product and
ensure that none of the parts are faulty or damaged.
3. Safety Notes
W
arning
•
Given the multitude of terminal devices, the supplied mounting kit is unable to
cover every option.
•
In a few cases, the screws for attaching the terminal device to the product are
too long.
•
Read the operating instructions for your terminal device before attempting to
mount it. The instructions provide information about the type and measurements
of suitable fastening materials.
•
If the supplied mounting kit does not contain suitable fastening materials for
mounting the terminal device, purchase these from a specialised dealer.
•
Never apply force during mounting. This can damage your terminal device or the
product.
•
If in doubt, have this product mounted by a qualified technician - do not attempt
to mount it yourself!
•
Once you have mounted the product and the attached load, check that they are
sufficiently secure and safe to use.
•
You should repeat this check at regular intervals
(at least every three months).
•
When doing so, ensure that the product does not exceed its maximum permitted
carrying capacity and that no load exceeding the maximum permitted dimensions
is attached.
•
Make sure that the product is loaded symmetrically.
•
During adjustment, ensure that the product is loaded symmetrically and that the
maximum permitted carrying capacity is not exceeded.
•
Maintain the necessary safety clearance around the attached load (depending on
the model).
•
In the event of damage to the product, remove the attached load and stop using
the product.
4. Intended use and specifications
•
The product is used for mounting flat panel displays for private household use.
•
The product is intended for indoor use only.
•
Only use the product for the intended purpose.
Maximum load bearing
capacity:
3 - 12 kg
Screen size:
up to 91 cm (US: 36")
Rotation:
360°
Angles:
-90°/+15° (depends on the device)
Pivoting range
up to 360° on 3 joints (depends on the device)
Fixation:
conforme au standard VESA 100x100
5. Installation requirements and installation
N
ote
•
Only mount the product with the help of a second person. Get the support and
help you need.
•
Different end devices have different options for connecting cables and other
devices. Before installation, ensure that the necessary connections will still be
accessible after installation.
•
The same mounting kit is included with all of our TV wall brackets. Depending on
the product and mounting type, you may not need to use the entire mounting kit.
Unneeded screws and other small parts may be left over, even if the wall bracket
is properly mounted. Keep these leftover parts with the operating instructions in
a safe place, just in case you might need them later on (e.g. should you move,
sell the product).
•
Observe the other warnings and safety instructions.
•
Proceed step-for-step in accordance with the illustrated installation instructions
(Fig. 1a ff.).
N
ote
•
Given the multitude of terminal devices available on the market, we cannot
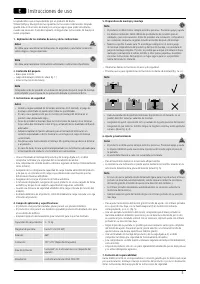
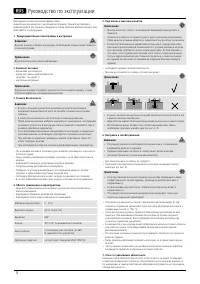
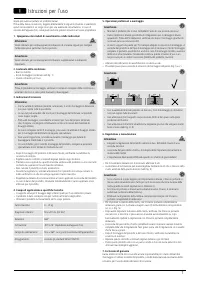
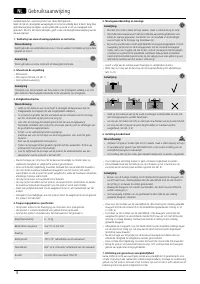
describe all possible mounting options here.
•
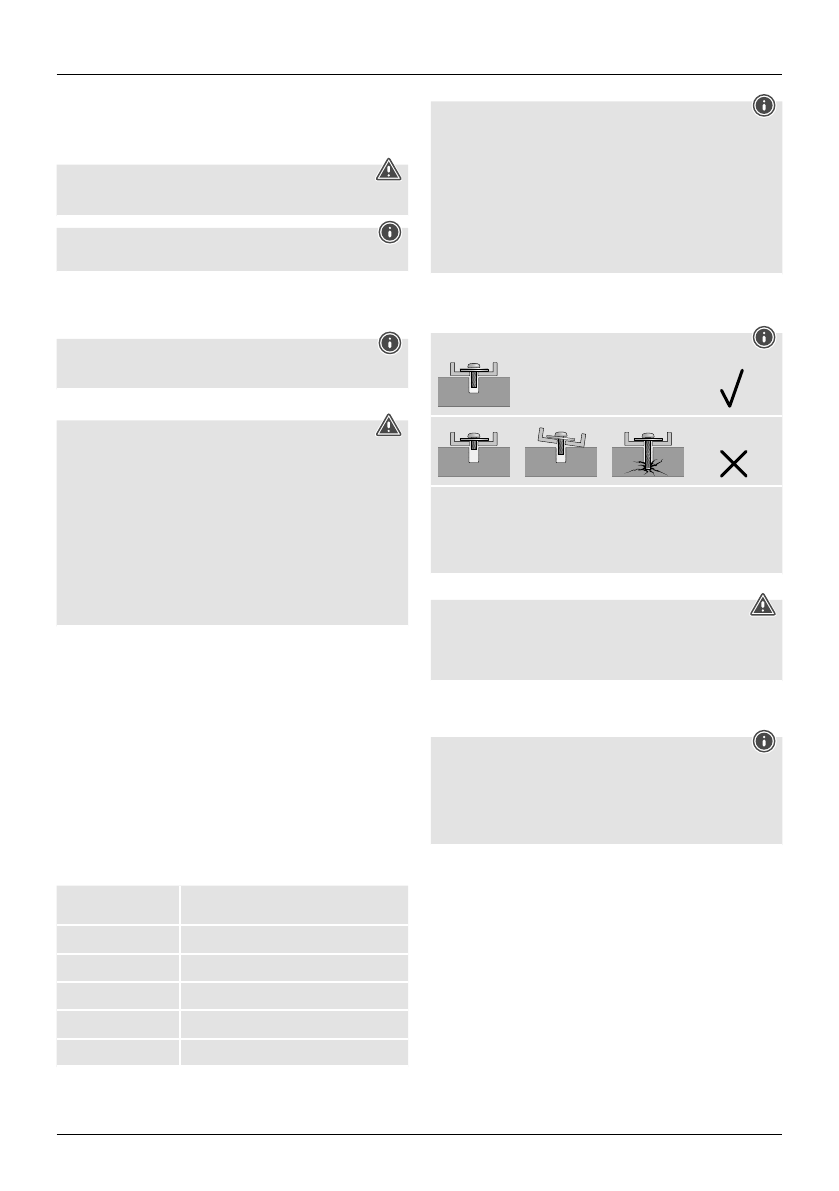
Please ensure that the bracket lays flat and evenly on the back of the monitor.
•
Ensure that all screws have the proper length and can be mounted until they are
hand-tight (see Fig. 3, 4).
6. Setting and maintenance
W
arning
•
Always adjust the product with the help of a second person. Get the support and
help you need.
•
The spring rate must be set precisely based on the weight of the screen.
•
The setting must be made when the screen is already installed.
•
Screws do not have to be loosened for lateral movement.
•
The tilting resistance can be adjusted using the screws on the front joint of the
monitor plate (see Figure 5).
N
ote
•
If the screen is too light for the current setting, the carrying arm will automatically
move upward. This means that the spring rate must be reduced by turning the
locking screw in the (-) direction.
•
If the carrying arm automatically moves downward, the spring rate must be
increased (+).
•
Only adjust the gas springs when the carrying arm is completely lowered.
•
To adjust the spring rate, use the Allen key (F) to turn the locking screw in the
appropriately marked direction (+) or (-) while the carrying arm is completely lowered.
(Fig. 5)
•
After adjusting the spring rate, check whether the carrying arm with the installed
load remains in various positions, or automatically moves up or down. If necessary,
repeat the adjustment process while the carrying arm is completely lowered.
•
Multiple full turns of the set screw may be required, depending on the weight of
the monitor. Do not overtighten the locking screw (screw suddenly becomes difficult
to move).
•
Once you have mounted the product and the attached load, check that they are
sufficiently secure and safe to use.
•
You should repeat this check at regular intervals (at least every three months).
•
Only clean this product with a slightly damp, lint-free cloth and do not use aggressive
cleaning agents.
7. Warranty Disclaimer
Hama GmbH & Co KG assumes no liability and provides no warranty for damage
resulting from improper installation/mounting, improper use of the product or from
failure to observe the operating instructions and/or safety notes.
Характеристики

Остались вопросы?Не нашли свой ответ в руководстве или возникли другие проблемы? Задайте свой вопрос в форме ниже с подробным описанием вашей ситуации, чтобы другие люди и специалисты смогли дать на него ответ. Если вы знаете как решить проблему другого человека, пожалуйста, подскажите ему :)


