
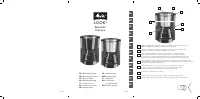
Кофеварка Melitta Look IV Therm Selection - инструкция пользователя по применению, эксплуатации и установке на русском языке. Мы надеемся, она поможет вам решить возникшие у вас вопросы при эксплуатации техники.
Если остались вопросы, задайте их в комментариях после инструкции.
"Загружаем инструкцию", означает, что нужно подождать пока файл загрузится и можно будет его читать онлайн. Некоторые инструкции очень большие и время их появления зависит от вашей скорости интернета.


8
Please note:
1
. Water hardness cannot be programmed while
brewing.
2. The last water hardness level chosen remains even
after removing the power cable.
4. Setting the hotplate
Keeping coffee warm on the hotplate affects the taste
of your coffee. To avoid this you should enjoy your
coffee fresh by drinking it as soon after brewing as
possible. Unnecessary warming also uses valuable
energy. The factory settings for the appliance are for
40 minutes of warming. After this the hotplate turns
off automatically. This time can be changed as needed:
• Press the START button
longer than two seconds.
• In the factory settings the START button
flashes
briefly twice with the following pause (…
…).
• There are two other settings for the warming time.
By briefly pressing the START button
the display
changes to flashing three times or once, each time
followed by a pause (…
…, …
…, …
…).
• The settings and display are shown in table 2.
• Once you have set the desired warming time,
confirm your settings by pressing the START button
for longer than two seconds. Your settings are
now saved
• The last setting chosen remains even after removing
the power cable.
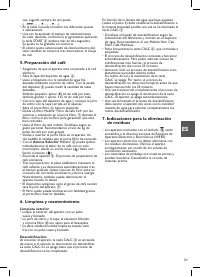
5. Making coffee
• Ensure that the appliance is connected to the power
source.
• Open the lid on the water tank.
• Fill the water tank with the desired amount of water
using the glass pot. With the help of the water level
display on the tank
you can choose the correct
number of cups. Small cup symbol = approx. 85ml
coffee per cup, large cup symbol = approx.
1
25 ml
coffee per cup.
• Close the lid on the water tank and place the glass
pot with closed lid in the appliance.
• Open the swivel filter
to the left.
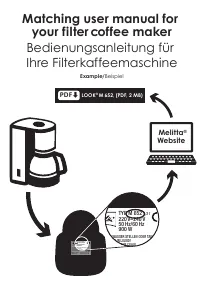
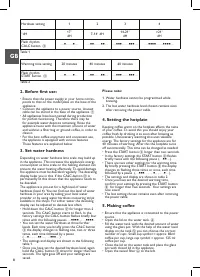
2. Before first use:
• Ensure that the power supply in your home corres-
ponds to that on the model plate on the base of the
appliance.
• Connect the appliance to a power source. Unused
cable can be stored in the base of the appliance.
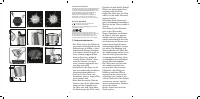
• All appliances have been tested during production
for perfect functioning. Therefore there may be
for example water deposits remaining. Rinse the
appliance twice with the maximum amount of water
and without a filter bag or ground coffee, in order to
clean it.
• For the best coffee enjoyment and convenient use,
the appliance is equipped with various features.
These features are explained below.
3. Set water hardness
Depending on water hardness lime scale may build up
in the appliance. This increases the appliance’s energy
consumption as lime scale on the heating element can
prevent the water heating effectively. To avoid damage
the appliance must be descaled regularly. The descaling
display helps you in this. If the CALC-button
is
permanently lit this shows that the appliance needs to
be descaled.
The appliance is pre-set for a high level of water
hardness (level 4). You can find out the level of water
hardness in your area by asking your local water
provider or by using water hardness measuring strips
available in the shops. For softer water the descaling
display can be adjusted to descale less often:
• Hold down the CALC button
for longer than 2
seconds. The CALC button starts to flash. In the
factory settings the CALC button flashes briefly four
times with the following pauses …
……
…
• You can set the water hardness at three further
levels. Each time you briefly press the CALC button
the display changes to flashing one, two or three
times, each time followed by a pause
(…
…, …
…, …
…).
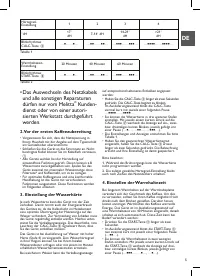
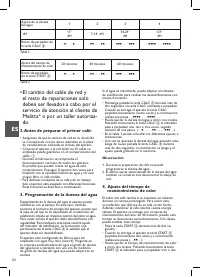
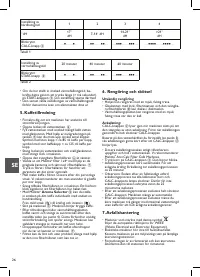
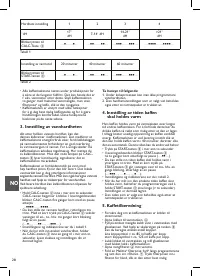
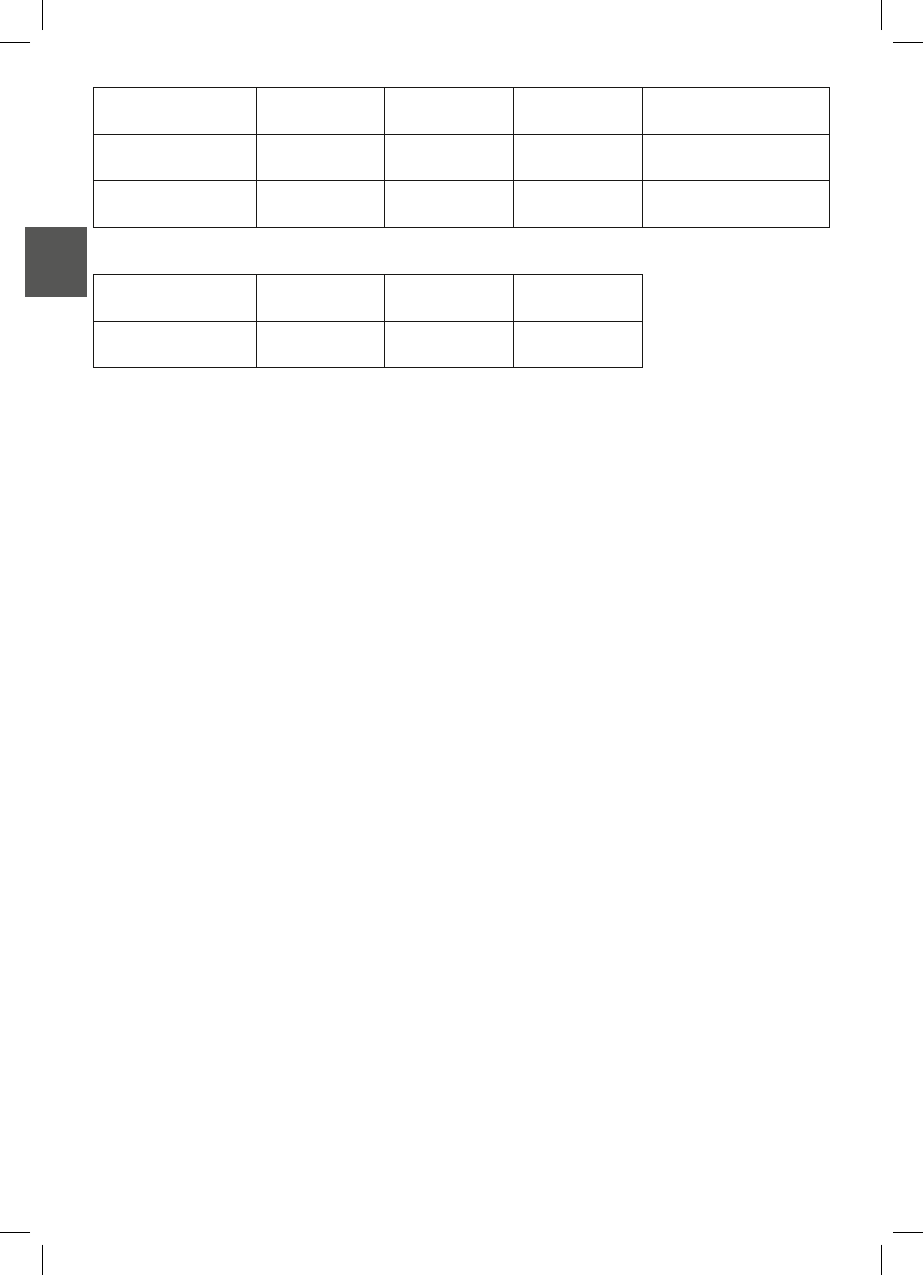
• The settings and display are shown in the following
table
1
.
• Once you have set the desired hardness level, again
hold the CALC button
down for longer than two
seconds. The light goes off and your settings are
saved.
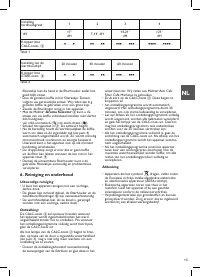
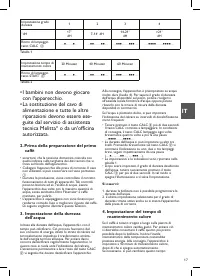
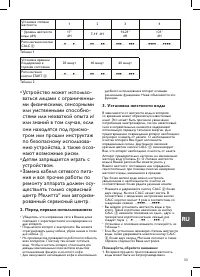
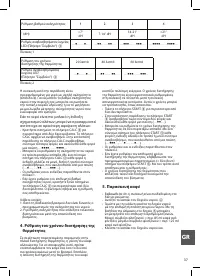
Hardness setting
1
2
3
4
°dH
<7°
dH
7-
1
4° dH
1
4-2
1
°
dH
>2
1
°
dH
Flash rhythm
CALC button
…
……
…
…
……
…
…
……
…
…
……
…
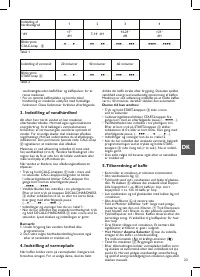
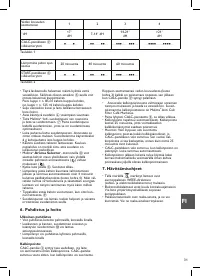
Warming time setting
20
minutes
40 minutes
60 minutes
Flash rhythm
START button
…
……
…
…
……
…
…
……
…
Table
1
Table 2
GB
Характеристики

Остались вопросы?Не нашли свой ответ в руководстве или возникли другие проблемы? Задайте свой вопрос в форме ниже с подробным описанием вашей ситуации, чтобы другие люди и специалисты смогли дать на него ответ. Если вы знаете как решить проблему другого человека, пожалуйста, подскажите ему :)


