
Холодильник Smeg FQ55FXDF - инструкция пользователя по применению, эксплуатации и установке на русском языке. Мы надеемся, она поможет вам решить возникшие у вас вопросы при эксплуатации техники.
Если остались вопросы, задайте их в комментариях после инструкции.
"Загружаем инструкцию", означает, что нужно подождать пока файл загрузится и можно будет его читать онлайн. Некоторые инструкции очень большие и время их появления зависит от вашей скорости интернета.


8 / 31 EN
Refrigerator / User Manual
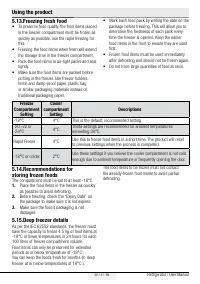
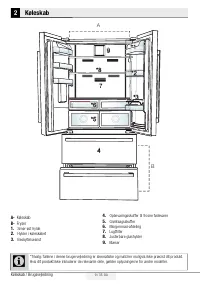
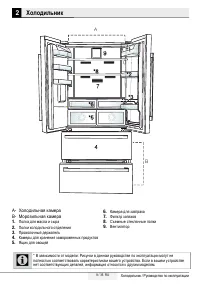
3
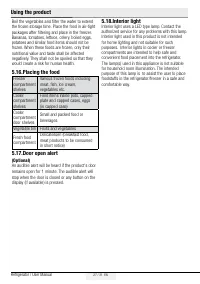
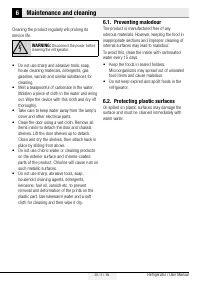
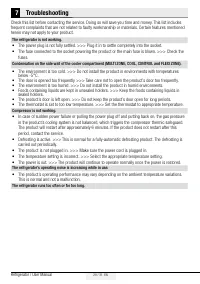
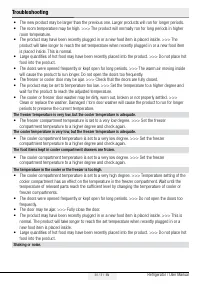
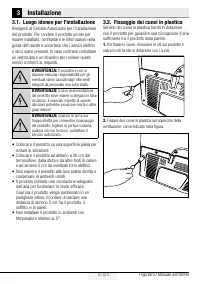
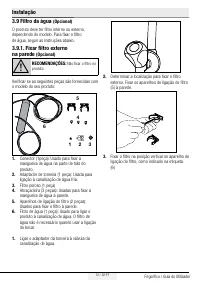
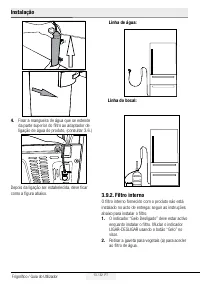
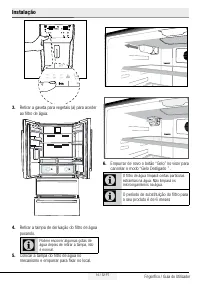
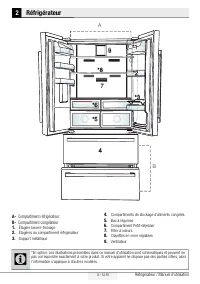
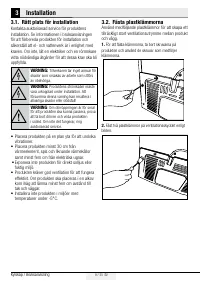
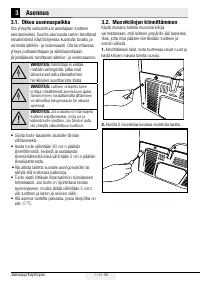
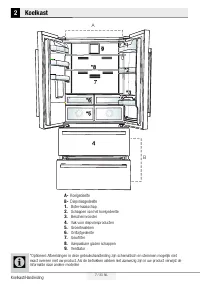
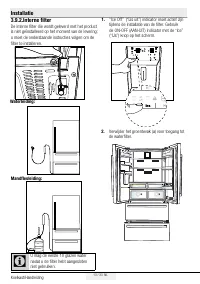
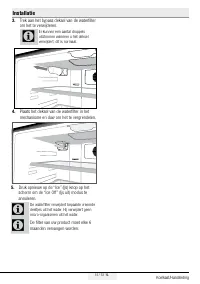
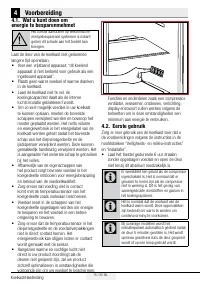
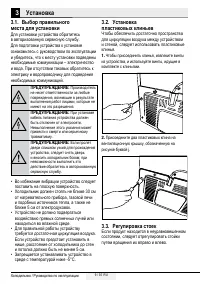
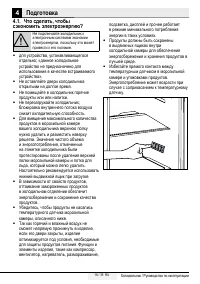
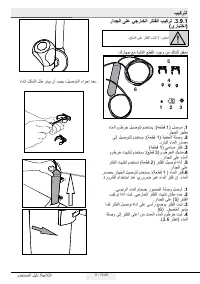
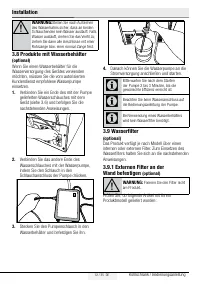
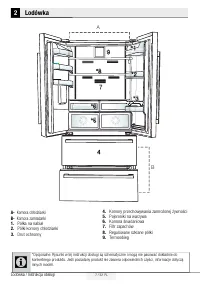
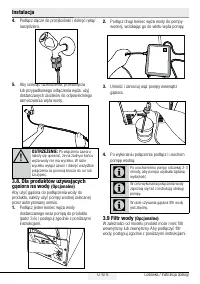
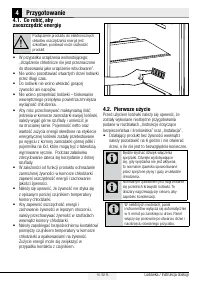
Installation
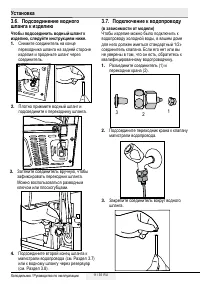
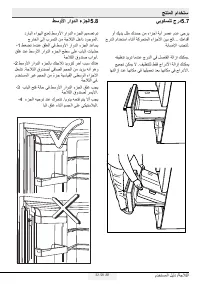
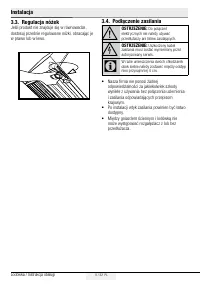
3.1. Right place for installation
Contact the Authorized Service for the product's
installation. To ready the product for installation,
see the information in the user guide and make
sure the electric and water utilities are as required.
If not, call an electrician and plumber to arrange
the utilities as necessary.
B
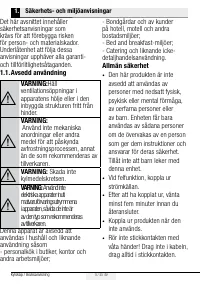
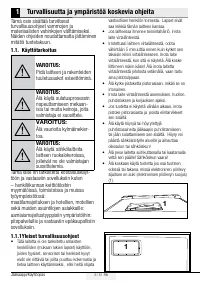
WARNING:
The manufacturer assumes
no responsibility for any damage caused
by the work carried out by unauthorized
persons.
B
WARNING:
The product’s power cable
must be unplugged during installation.
Failure to do so may result in death or
serious injuries!
A
WARNING
: If the door span is too narrow
for the product to pass, remove the door
and turn the product sideways; if this does
not work, contact the authorized service.
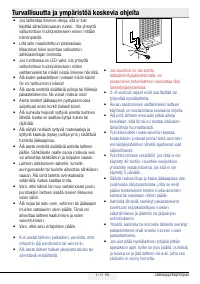
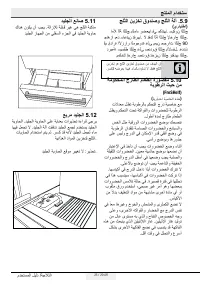
t 1MBDFUIFQSPEVDUPOBGMBUTVSGBDFUPBWPJE
vibration.
t 1MBDFUIFQSPEVDUBUMFBTUDNBXBZGSPNUIF
heater, stove and similar sources of heat and at
least 5 cm away from electric ovens.
t%POPUFYQPTFUIFQSPEVDUUPEJSFDUTVOMJHIUPS
keep in damp environments.
t 5IFQSPEVDUSFRVJSFTBEFRVBUFBJSDJSDVMBUJPOUP
function efficiently. If the product will be placed
in an alcove, remember to leave at least 5 cm
distance between the product and the ceiling
and the walls.
t %POPUJOTUBMMUIFQSPEVDUJOFOWJSPONFOUTXJUI
temperatures below -5°C.
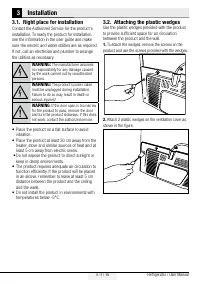
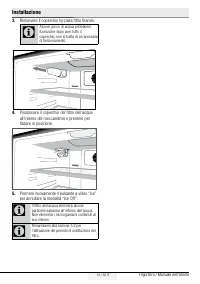
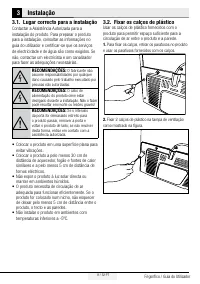
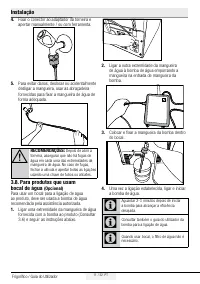
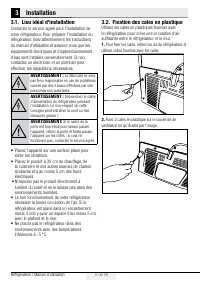
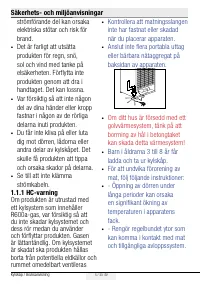
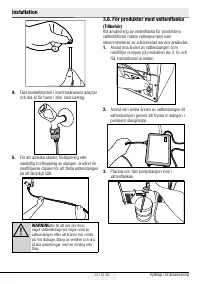
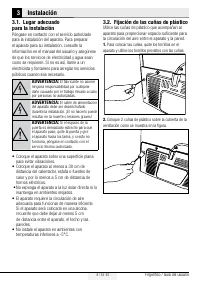
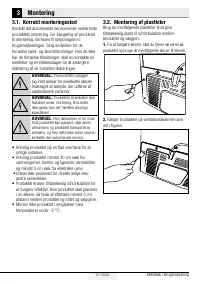
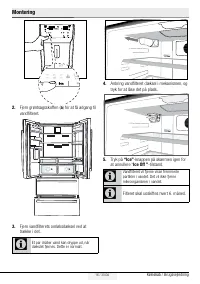
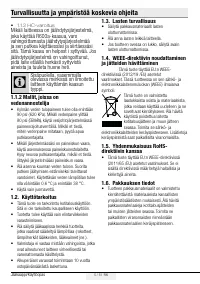
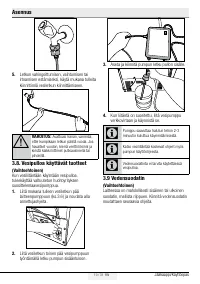
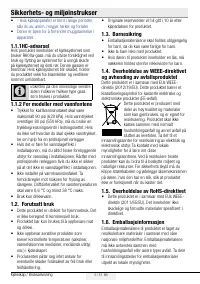
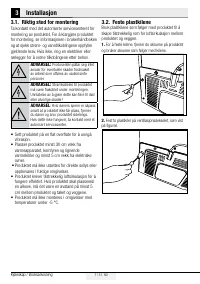
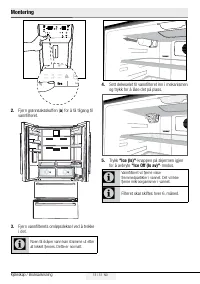
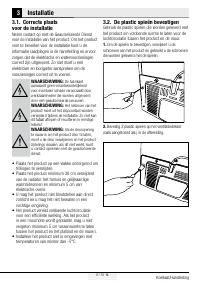
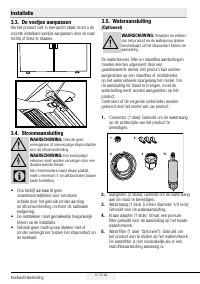
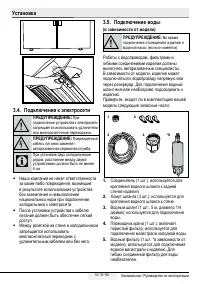
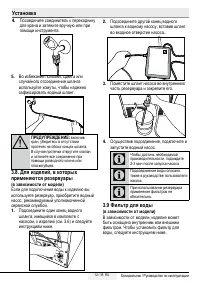
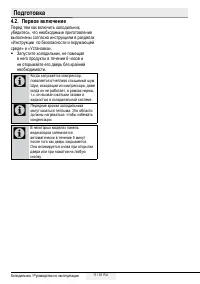
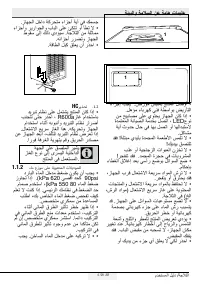
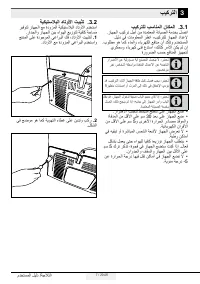
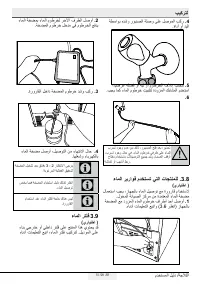
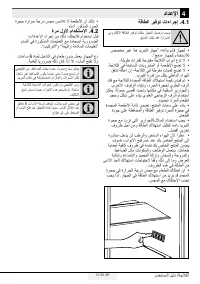
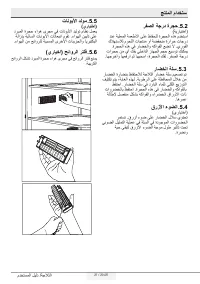
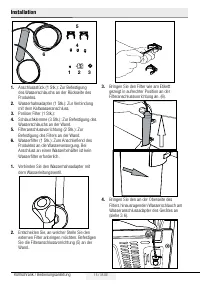
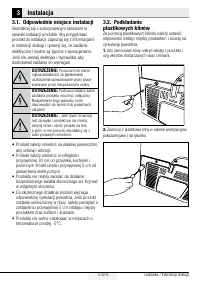
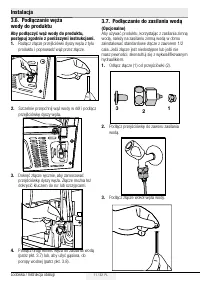
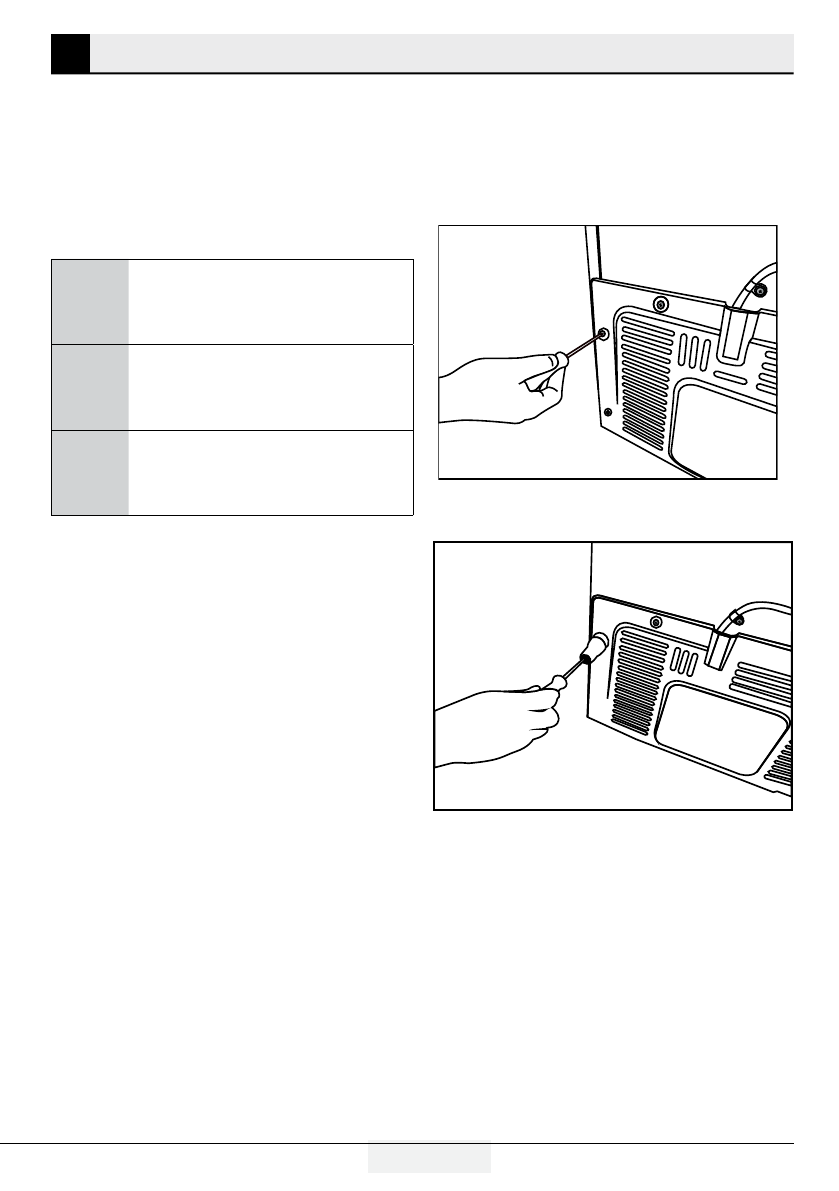
3.2. Attaching the plastic wedges
Use the plastic wedges provided with the product
to provide sufficient space for air circulation
between the product and the wall.
1.
To attach the wedges, remove the screws on the
product and use the screws provided with the wedges.
2.
Attach 2 plastic wedges on the ventilation cover as
shown in the figure.


