
Холодильник Kraft KF-FN240NFW - инструкция пользователя по применению, эксплуатации и установке на русском языке. Мы надеемся, она поможет вам решить возникшие у вас вопросы при эксплуатации техники.
Если остались вопросы, задайте их в комментариях после инструкции.
"Загружаем инструкцию", означает, что нужно подождать пока файл загрузится и можно будет его читать онлайн. Некоторые инструкции очень большие и время их появления зависит от вашей скорости интернета.

30
31
ХОЛОДИЛЬНИК
REFRIGERATOR FREEZER
ХОЛОДИЛЬНИК
REFRIGERATOR FREEZER
ИНСТРУКЦИЯ ПО ЭКСПЛУАТАЦИИ • USER GUIDE
ИНСТРУКЦИЯ ПО ЭКСПЛУАТАЦИИ • USER GUIDE
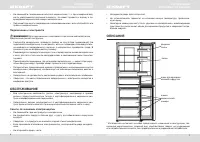
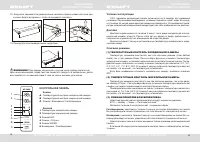
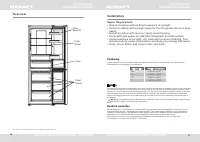
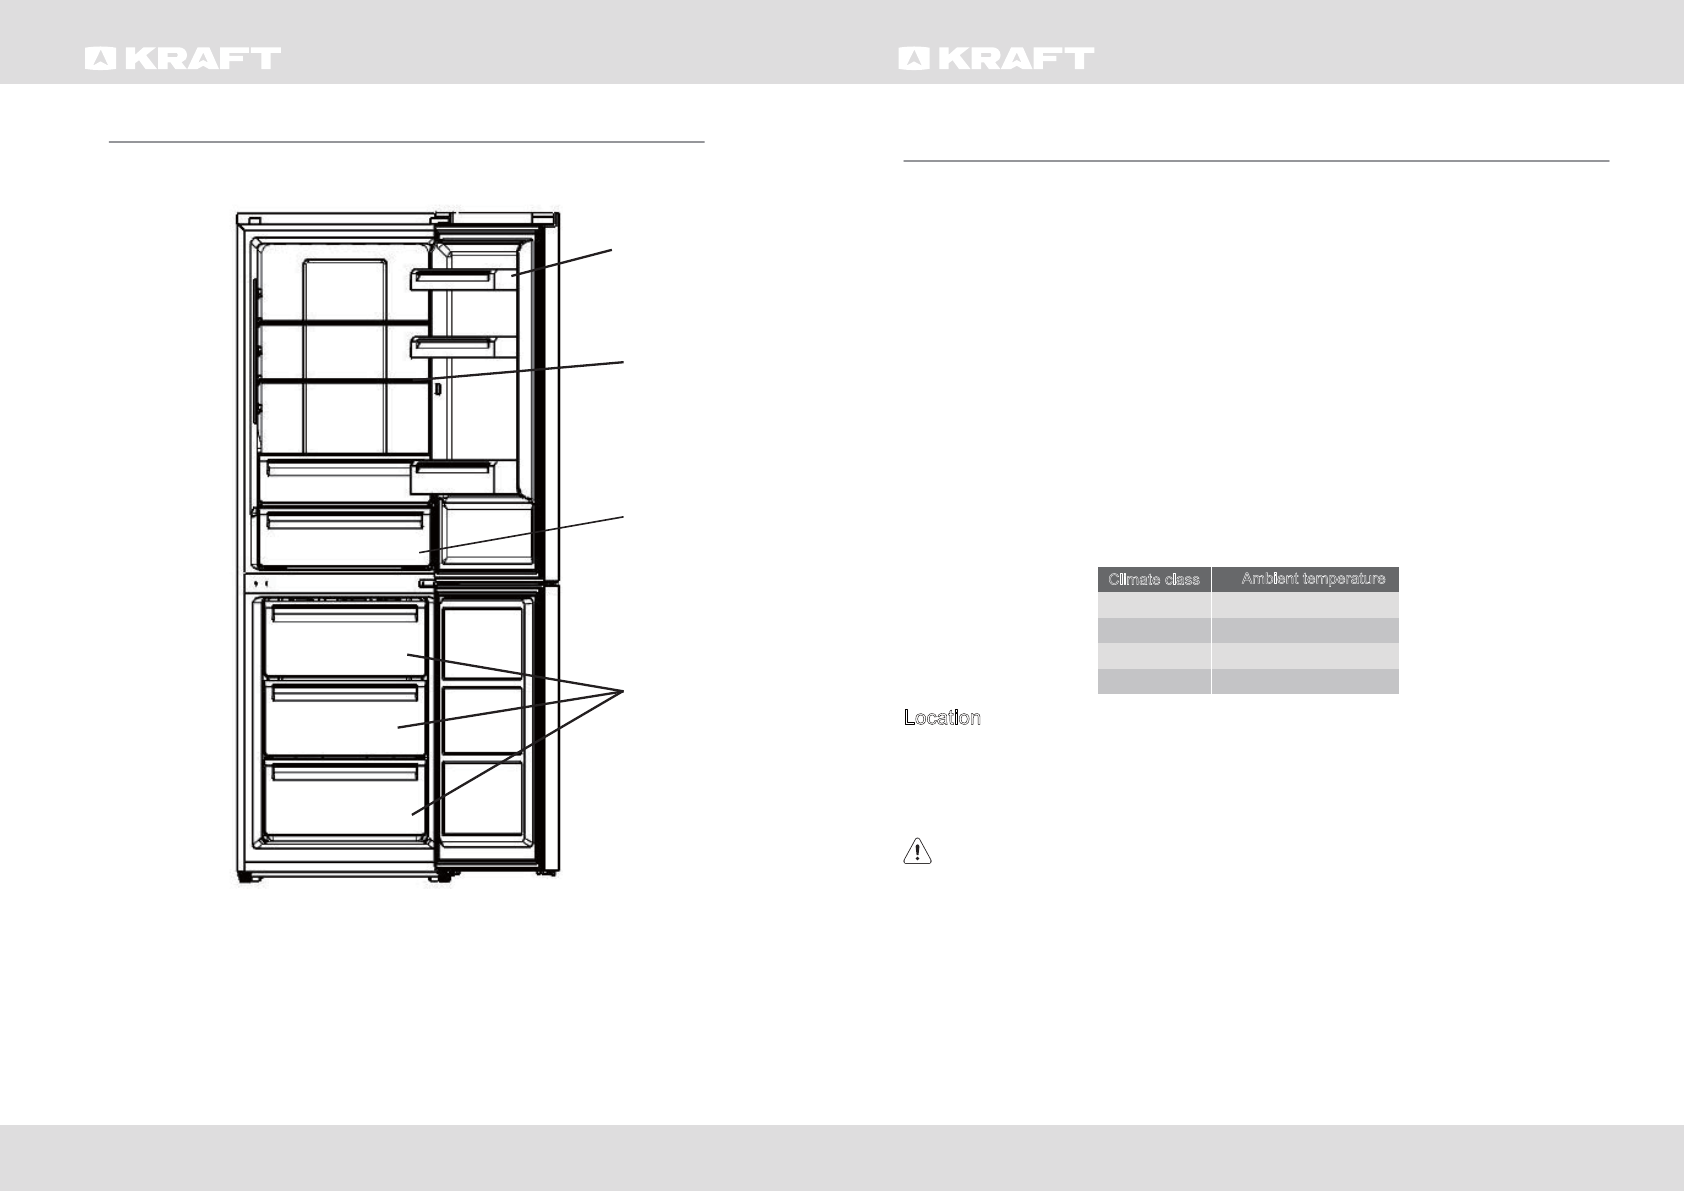
Overview
Note: Above picture is for reference on ly. Real appliance probably is different.
Freezer
Drawers
Fridge
Balconies
Fridge
Shelves
Crisper
6
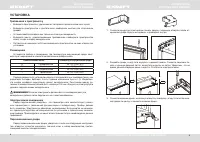
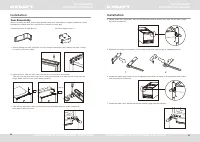
Installation
Space
Requirement
Select a location without direct exposure to sunlight;
Select a location with enough space for the refrigerator doors to open
easily;
Select a location with level (or nearly level) flooring;
Allow sufficient space to install the refrigerator on a flat surface;
Allow clearance to the right, left, back and top when installing. This
Keep at lest 50mm gap at two sides and back.
will help reduce power consumption and keep your energy bills lower.
Install this appliance at a location where the ambient temperature corresponds to the climate class
indicated on the rating plate of the appliance:
Positioning
Climate class
Ambient temperature
SN
N
ST
T
o
o
+10 C to +32 C
o
o
+16 C to +32 C
o
o
+16 C to +38 C
o
o
+16 C to +43 C
The appliance should be installed well away from s ources of heat such as radiat ors, boilers, direct sunlight
etc. Ensure that air can circulate freely around the ba ck of the cabinet. To ensure best performance, if the
appliance is positioned below an overhanging wall unit, the minimum d istance between the top of the cabi-
net and the wall unit must be at least 100 mm. Ideally, however, the appliance should not be positioned
below overhanging wall units. Accurate leveling is ensured by one or more adjustable feet at the base of
the cabinet.
Location
Warning!
It must be possible to disconnect the appliance from the mains power supply; the plug must
therefore be easily accessible after install ation.
Before plugging in, ensure that the voltage and frequency shown on the rating plate correspond to your
domestic power supply. The appliance must be earthed. The power supply cable plug is provided with a
contact for this purpose. If the domestic power supply socket is not earthed, connect the appliance to a
separate earth in compliance with current regulations, consulting a qualified electrician.
The manufacturer declines all responsibility if the above safety precautions are not observed.
This appliance complies with the E.E.C. Directives.
Electrical connection
7
Содержание
- 2 Уважаемый покупатель!; Поздравляем Вас с приобретением изделия торговой марки; шем домашнем хозяйстве.; Содержание
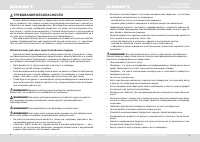
- 3 ТРЕБОВАНИЯ БЕЗОПАСНОСТИ; Использование детьми и недееспособными людьми
- 4 прямо из морозильника.; Подключение к электросети; Для подключения к электросети тщательно соблюдайте все; ОБСЛУЖИВАНИЕ; Советы по экономии электроэнергии; • Не открывайте дверь часто.; ОПИСАНИЕ; Overview; полки
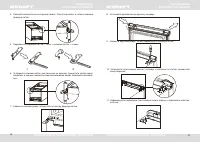
- 5 УСТАНОВКА; Требования к пространству; Климатический класс; Электрическое соединение; Door Reversibility; Door Reversibility; Installation; Door Reversibility; Installation; Door Reversibility
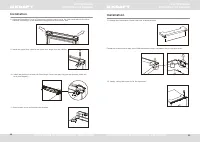
- 6 Переместите верхнюю петлю — вниз, а нижнюю петлю — вверх.; Навесьте нижнюю дверь, прикрутите по центру дверную петлю.; Установите декоративную крышку на дверь.; fix the plastic cover and connect the terminal.
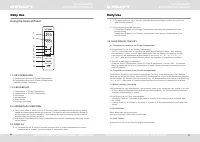
- 7 Прикрутите пластиковую панель шурупами.; При первом запуске или в случае, если прибор длительный; КОНТРОЛЬНАЯ ПАНЕЛЬ; Кнопки; - Температурный контроль холодильной камеры.; Дисплей; Daily Use; Using the Control Panel; OPERATING CONDITION; Условия эксплуатации; ТЕМПЕРАТУРНЫЙ КОНТРОЛЬ ХОЛОДИЛЬНОЙ КАМЕРЫ
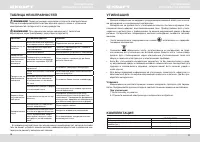
- 8 ЕЖЕДНЕВНОЕ ИСПОЛЬЗОВАНИЕ; Замораживание свежих продуктов; ПОЛЕЗНЫЕ СОВЕТЫ; Замечания по заморозке; ОЧИСТКА И УХОД; Перед уборкой убедитесь, что электропитание отключено.
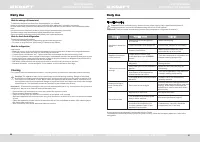
- 9 ТАБЛИЦА НЕИСПРАВНОСТЕЙ; Проблема; УТИЛИЗАЦИЯ; Упаковка; Модель; КОМПЛЕКТАЦИЯ
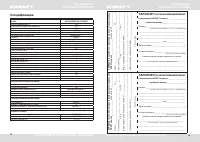
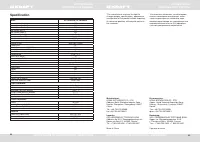
- 10 Спецификация; НА ГАРАНТИЙНЫЙ РЕМОНТ; холодильника KRAFT модель; НА ГАРАНТИЙНЫЙ РЕМОНТ
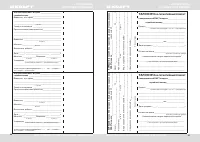
- 11 ТАЛОН No3; ТАЛОН No4
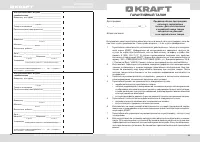
- 12 ские повреждения, возникшие в процессе эксплуатации.; Дата продажи; ГАРАНТИЙНЫЙ ТАЛОН
- 22 Specification; Model


