
Гравировальные машинки Bosch 0.601.9C5.001 - инструкция пользователя по применению, эксплуатации и установке на русском языке. Мы надеемся, она поможет вам решить возникшие у вас вопросы при эксплуатации техники.
Если остались вопросы, задайте их в комментариях после инструкции.
"Загружаем инструкцию", означает, что нужно подождать пока файл загрузится и можно будет его читать онлайн. Некоторые инструкции очень большие и время их появления зависит от вашей скорости интернета.


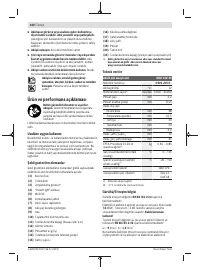


18
| English
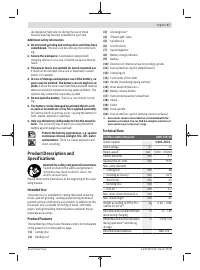
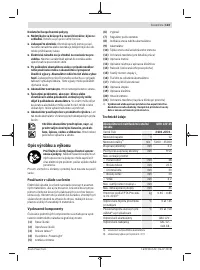
Cordless multi rotary tool
GRO 12V-35
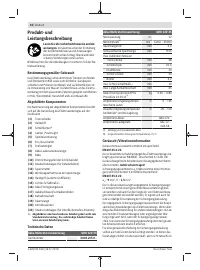
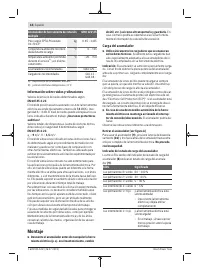
Recommended chargers
GAL 12...
GAX 18...
A) Depends on battery in use
B) Limited performance at temperatures <0 °C
Noise/vibration information
Noise emission values determined according to
EN 60745-2-23
.
Typically, the A-weighted sound pressure level of the power
tool is
74
dB(A). Uncertainty K = 3 dB. The noise level when
working can exceed the volume stated.
Wear hearing pro-
tection
Vibration total values a
h
(triax vector sum) and uncertainty K
determined according to
EN 60745-2-23
:
a
h
=
9
m/s
2
, K =
1.5
m/s
2
.
The vibration level given in these instructions has been
measured in accordance with a standardised measuring pro-
cedure and may be used to compare power tools. It can also
be used for a preliminary estimation of exposure to vibra-
tion.
The stated vibration level applies to the main applications of
the power tool. However, if the power tool is used for differ-
ent applications, with different application tools or poorly
maintained, the vibration level may differ. This can signific-
antly increase the exposure to vibration over the total work-
ing period.
To estimate the exposure to vibration accurately, the times
when the tool is switched off or when it is running but not ac-
tually being used should also be taken into account. This can
significantly reduce the exposure to vibration over the total
working period.
Implement additional safety measures to protect the oper-
ator from the effects of vibration, such as servicing the
power tool and application tools, keeping the hands warm,
and organising workflows correctly.
Fitting
u
Remove the battery from the power tool before carry-
ing out work on the power tool (e.g. maintenance,
changing tool, etc.). The battery should also be re-
moved for transport and storage.
There is risk of injury
from unintentionally pressing the on/off switch.
Charging the Battery
u
Use only the chargers listed in the technical data.
Only
these chargers are matched to the lithium-ion battery of
your power tool.
Note:
The battery is supplied partially charged. To ensure
full battery capacity, fully charge the battery in the charger
before using your power tool for the first time.
The lithium-ion battery can be charged at any time without
reducing its service life. Interrupting the charging process
does not damage the battery.
The lithium-ion battery is protected against deep discharge
by the "Electronic Cell Protection (ECP)". When the battery
is discharged, the power tool is switched off by means of a
protective circuit: The application tool no longer rotates.
u
Do not continue to press the On/Off switch after the
power tool has automatically switched off.
The battery
can be damaged.
Follow the instructions on correct disposal.
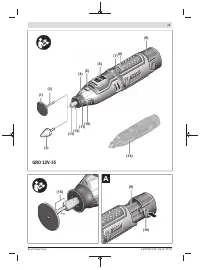
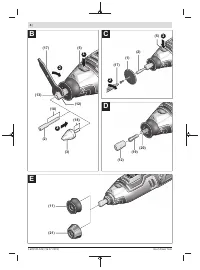
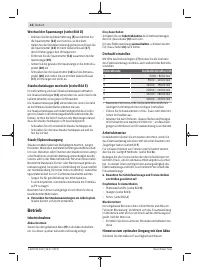
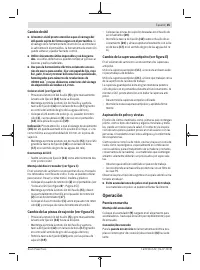
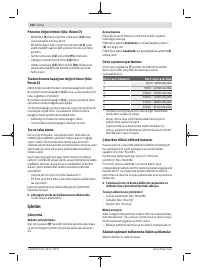
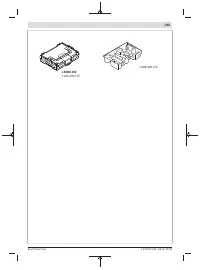
Removing the Battery (see figure A)
To remove the battery
(9)
, press the release button
(16)
and pull the battery to the rear and out of the power tool.
Do
not use force to do this.
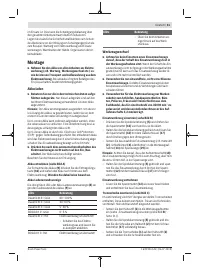
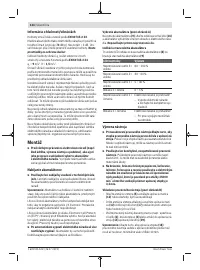
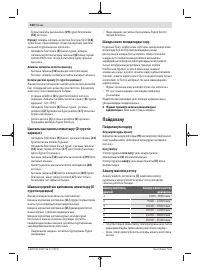
Battery charge indicator
The three green LEDs of the battery charge indicator
(8)
in-
dicate the state of charge of the battery
(9)
.
LEDs
Meaning
3 × continuous green light 60−100%
2 × continuous green light 30−60%
1 × continuous green light 5−30%
1 × flashing green light
0−5%
1 × continuous red light
Power tool has overheated!
– Switch the power tool off and
allow it to cool down com-
pletely.
1 × flashing red light
Power tool has overloaded!
– Exert less pressure on the
workpiece during work.
Changing the Tool
u
When inserting an application tool, ensure that the
shank of the application tool is firmly seated in the
tool holder.
When the shank of the application tool is not
inserted deep enough in the tool holder, the application
tool can become loose again and cannot be controlled.
u
Do not use application tools that are worn or in other-
wise less than perfect condition.
Defective application
tools can break, for example, causing material damage
and personal injury.
u
Only use brand accessories for grinding, sanding,
brushing, polishing, routing and cut-off grinding from
the dealer for the power tool, which are approved for
a speed of 35,000 min
-1
and which have a shank with
an outside diameter of 3.2 mm.
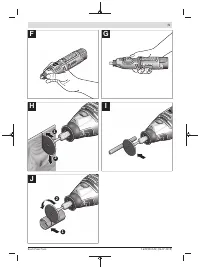
Inserting the Application Tool (see figure B)
– Press the spindle lock
(5)
and turn the clamping nut
(12)
by hand until locked.
– Press and hold the spindle lock and loosen the clamping
nut
(12)
with the open-ended spanner
(17)
by turning it
anticlockwise.
– Insert the dust-free application tool (e.g. holding rod
(2)
,
grinding accessory
(3)
or drill bit) into the tool holder
(13)
of the collet
(19)
.
1 609 92A 54U | (26.07.2019)
Bosch Power Tools
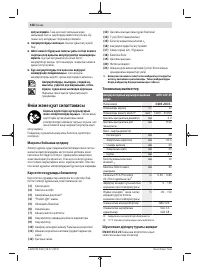
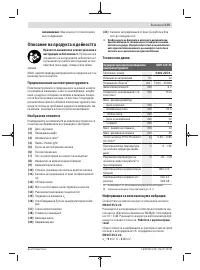
Характеристики

Остались вопросы?Не нашли свой ответ в руководстве или возникли другие проблемы? Задайте свой вопрос в форме ниже с подробным описанием вашей ситуации, чтобы другие люди и специалисты смогли дать на него ответ. Если вы знаете как решить проблему другого человека, пожалуйста, подскажите ему :)


