
Газонокосилки Makita LXT DLM382CM2 - инструкция пользователя по применению, эксплуатации и установке на русском языке. Мы надеемся, она поможет вам решить возникшие у вас вопросы при эксплуатации техники.
Если остались вопросы, задайте их в комментариях после инструкции.
"Загружаем инструкцию", означает, что нужно подождать пока файл загрузится и можно будет его читать онлайн. Некоторые инструкции очень большие и время их появления зависит от вашей скорости интернета.


15 ENGLISH
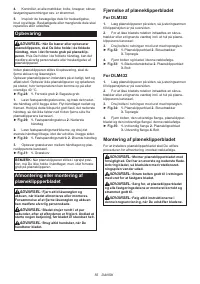
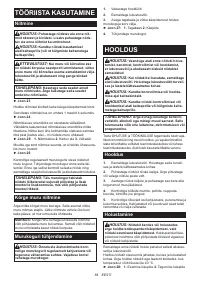
Storage
WARNING:
When carrying or storing the
mower, do not hold the folded handles but the
front grip of the mower.
Holding the folded handles
may cause a serious injury or damage to the mower.
Before storing the mower, remove the battery cartridge
and lock key.
Store mower indoors in a cool, dry and locked place.
Don't store the mower and charger in locations where
the temperature may reach or exceed 40 °C.
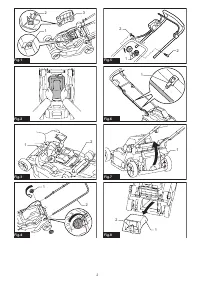
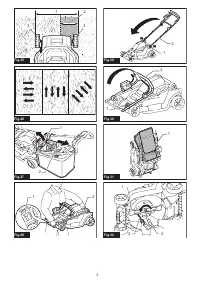
►
Fig.28:
1.
Front grip
2.
Rear grip
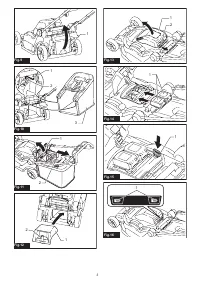
1.
Loosen the clamping screws and expand the
lower handle to both sides. Move down the handle for-
ward. At this time, keep a firm grip on the lower handle
so that the handle does not fall down to the far side from
the mower body.
►
Fig.29:
1.
Clamping screw
2.
Lower handle
2.
Loosen the clamping nuts and pivot the upper
handle back while expanding the both sides.
►
Fig.30:
1.
Clamping nut
2.
Upper handle
3.
Store the grass basket between the handle and
the mower body.
►
Fig.31:
1.
Grass basket
NOTE:
When putting the mower in the upright posi-
tion, do not hold the handle but use the front grip of
the mower.
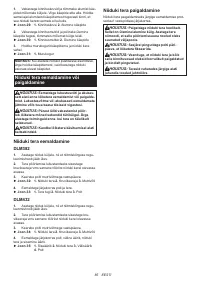
Removing or installing the mower
blade
WARNING:
Always remove the lock key and
battery cartridge when removing or installing the
blade. Failure to remove the lock key and battery
cartridge may cause a serious injury.
WARNING:
The blade coasts for a few sec-
onds after releasing the switch. Do not start any
operation until the blade comes to a complete
stop.
WARNING:
Always wear gloves when han-
dling the blade.
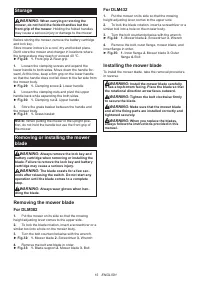
Removing the mower blade
For DLM382
1.
Put the mower on its side so that the mowing
height adjusting lever comes to the upper side.
2.
To lock the blade rotation, insert a screwdriver or a
similar tool into a hole on the mower body.
3.
Turn the bolt counterclockwise with the wrench.
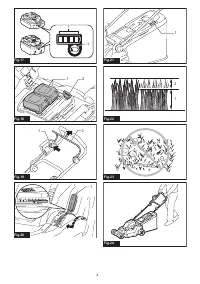
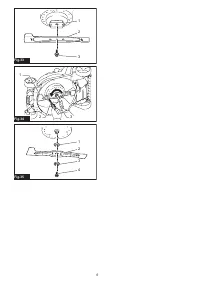
►
Fig.32:
1.
Mower blade
2.
Screwdriver
3.
Wrench
4.
Remove the bolt and blade in order.
►
Fig.33:
1.
Blade support
2.
Mower blade
3.
Bolt
For DLM432
1.
Put the mower on its side so that the mowing
height adjusting lever comes to the upper side.
2.
To lock the blade rotation, insert a screwdriver or a
similar tool into a hole on the mower body.
3.
Turn the bolt counterclockwise with the wrench.
►
Fig.34:
1.
Mower blade
2.
Screwdriver
3.
Wrench
4.
Remove the bolt, outer flange, mower blade, and
inner flange in order.
►
Fig.35:
1.
Inner flange
2.
Mower blade
3.
Outer
flange
4.
Bolt
Installing the mower blade
To install the mower blade, take the removal procedure
in reverse.
WARNING:
Install the mower blade carefully.
It has a top/bottom facing. Place the blade so that
the rotational direction arrow faces outward.
WARNING:
Tighten the bolt clockwise firmly
to secure the blade.
WARNING:
Make sure that the mower blade
and all the fixing parts are installed correctly and
tightened securely.
WARNING:
When you replace the blades,
always follow the instructions provided in this
manual.
Содержание
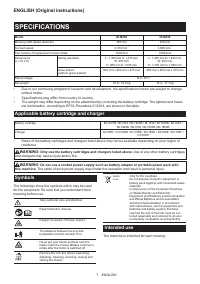
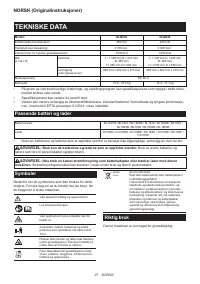
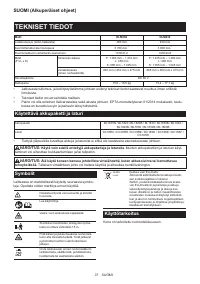
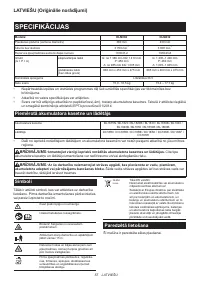
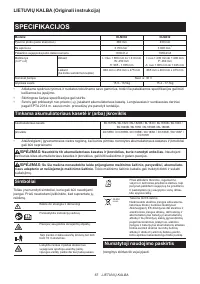
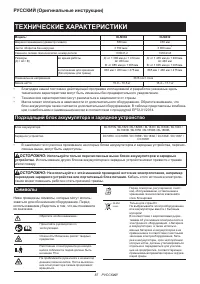
- 87 ТЕХНИЧЕСКИЕ ХАРАКТЕРИСТИКИ; Подходящий блок аккумулятора и зарядное устройство; Символы
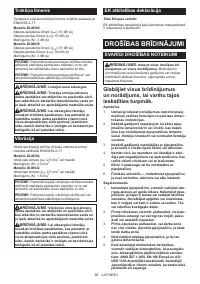
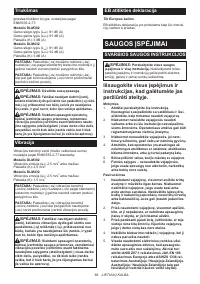
- 88 МЕРЫ БЕЗОПАСНОСТИ; Сохраните брошюру с инструк
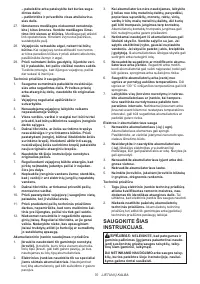
- 91 СОХРАНИТЕ ДАННЫЕ; Важные правила техники
- 92 СБОРКА; Установка крышки аккумулятора
- 93 ОПИСАНИЕ РАБОТЫ
- 94 Защита от перегрузки
- 95 ЭКСПЛУАТАЦИЯ
- 96 ОБСЛУЖИВАНИЕ; Обслуживание
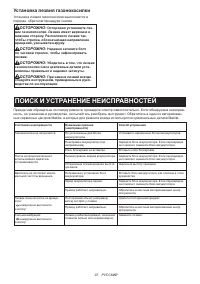
- 97 Установка лезвия газонокосилки; ПОИСК И УСТРАНЕНИЕ НЕИСПРАВНОСТЕЙ
- 98 ДОПОЛНИТЕЛЬНЫЕ


