
Газонокосилки Makita DLM382PM2 - инструкция пользователя по применению, эксплуатации и установке на русском языке. Мы надеемся, она поможет вам решить возникшие у вас вопросы при эксплуатации техники.
Если остались вопросы, задайте их в комментариях после инструкции.
"Загружаем инструкцию", означает, что нужно подождать пока файл загрузится и можно будет его читать онлайн. Некоторые инструкции очень большие и время их появления зависит от вашей скорости интернета.
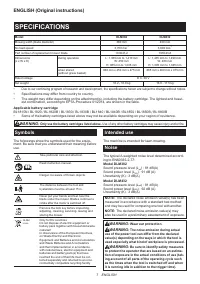


11 ENGLISH
12.
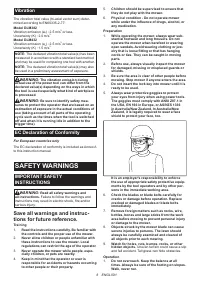
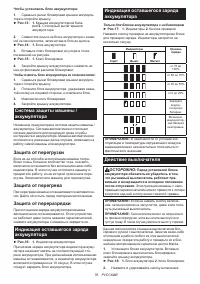
Use the batteries only with the products
specified by Makita.
Installing the batteries to
non-compliant products may result in a fire, exces
-
sive heat, explosion, or leak of electrolyte.
13.
If the tool is not used for a long period of time,
the battery must be removed from the tool.
SAVE THESE INSTRUCTIONS.
CAUTION:
Only use genuine Makita batteries.
Use of non-genuine Makita batteries, or batteries that
have been altered, may result in the battery bursting
causing fires, personal injury and damage. It will also
void the Makita warranty for the Makita tool and charger.
Tips for maintaining maximum
battery life
1.
Charge the battery cartridge before completely dis
-
charged. Always stop tool operation and charge the
battery cartridge when you notice less tool power.
2.
Never recharge a fully charged battery cartridge.
Overcharging shortens the battery service life.
3.
Charge the battery cartridge with room tempera
-
ture at 10 °C - 40 °C (50 °F - 104 °F). Let a hot
battery cartridge cool down before charging it.
4.
Charge the battery cartridge if you do not use
it for a long period (more than six months).
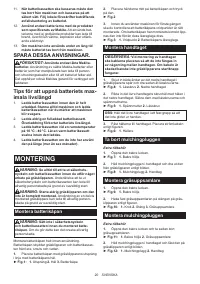
ASSEMBLY
WARNING:
Always be sure that the lock key
and battery cartridge are removed before carrying
out any work on the mower.
Failure to remove the
lock key and the battery cartridge may result in seri
-
ous personal injury from accidental start-up.
WARNING:
Never start the mower unless it is
completely assembled.
Operation of the machine
in a partially assembled state may result in serious
personal injury from accidental start-up.
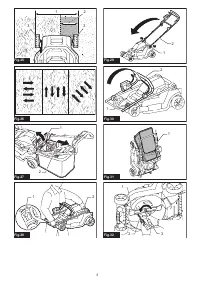
Installing the battery cover
WARNING:
Do not insert the lock key and bat-
tery cartridge before installing the battery cover.
Failure to do so may cause a serious injury.
Install the battery cover completely before the opera
-
tion. The battery cover protects the mower and battery
cartridge from mud, dirt, and water.
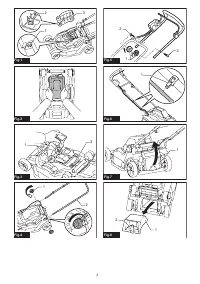
1.
Place the battery cover with the protrusions on the
mower aligned with the holes on the battery cover.
►
Fig.1:
1.
Protrusion
2.
Hole
3.
Battery cover
2.
Place your hands in the middle of the battery
cover and push it.
►
Fig.2
3.
Before the first operation, check that the pivot
point of the battery cover is attached properly. If the
battery cover is installed correctly, it will not open until
the battery cover locking lever is pulled.
►
Fig.3:
1.
Pivot point
2.
Battery cover locking lever
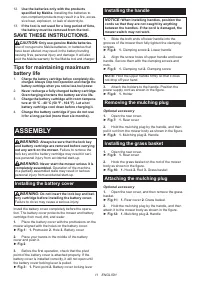
Installing the handle
NOTICE:
When installing handles, position the
cords so that they are not caught by anything
between the handles. If the cord is damaged, the
mower switch may not work.
1.
Slide the both ends of lower handle into the
grooves of the mower then fully tighten the clamping
screws.
►
Fig.4:
1.
Clamping screw
2.
Lower handle
2.
Align the screw holes of upper handle and lower
handle. Secure them with the clamping screws and
nuts.
►
Fig.5:
1.
Clamping nut
2.
Clamping screw
NOTE:
Hold the upper handle firmly so that it does
not drop off your hand.
3.
Attach the holders to the handle. Position the
power supply cord as shown in the figure.
►
Fig.6:
1.
Holder
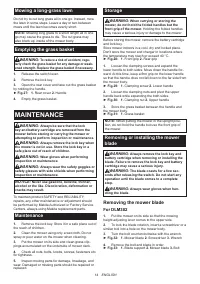
Removing the mulching plug
Optional accessory
1.
Open the rear cover.
►
Fig.7:
1.
Rear cover
2.
Hold the mulching plug by the handle, and then
pull it out from the mower body as shown in the figure.
►
Fig.8:
1.
Mulching plug
2.
Handle
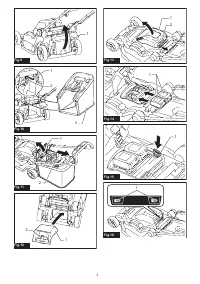
Installing the grass basket
1.
Open the rear cover.
►
Fig.9:
1.
Rear cover
2.
Hook the grass basket on the rod of the mower
body as shown in the figure.
►
Fig.10:
1.
Hook
2.
Rod
3.
Grass basket
Attaching the mulching plug
Optional accessory
1.
Open the rear cover, and then remove the grass
basket.
►
Fig.11:
1.
Rear cover
2.
Grass basket
2.
Hold the mulching plug by the handle, and then
attach it to the mower body as shown in the figure.
►
Fig.12:
1.
Mulching plug
2.
Handle
Содержание
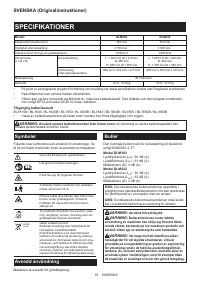
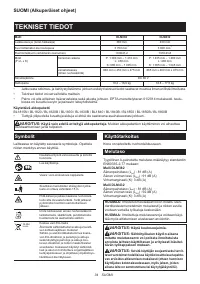
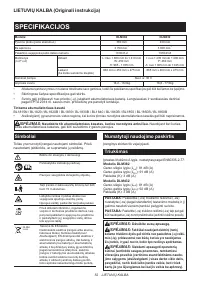
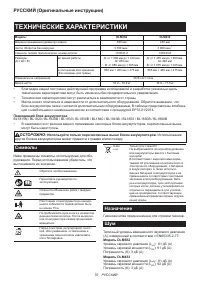
- 70 ТЕХНИЧЕСКИЕ ХАРАКТЕРИСТИКИ; Символы
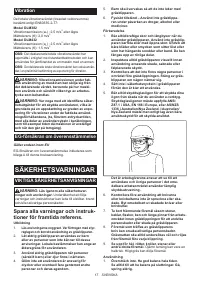
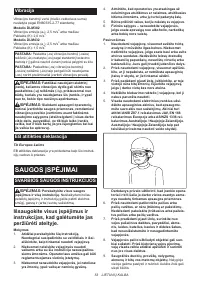
- 71 Вибрация; МЕРЫ БЕЗОПАСНОСТИ; ВАЖНЫЕ ИНСТРУКЦИИ ПО; Сохраните брошюру с инструк
- 74 Важные правила техники; СОХРАНИТЕ ДАННЫЕ
- 75 СБОРКА; ОПИСАНИЕ РАБОТЫ
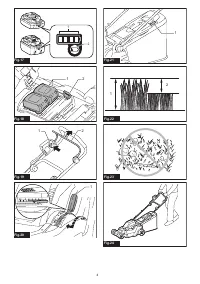
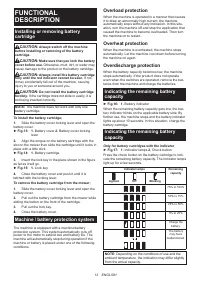
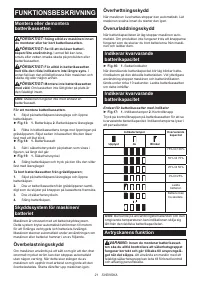
- 76 Защита от перегрузки
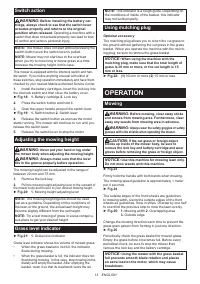
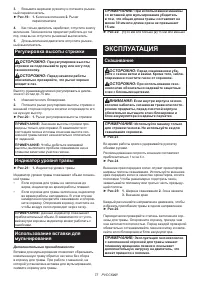
- 77 Регулировка высоты стрижки; ЭКСПЛУАТАЦИЯ; Скашивание
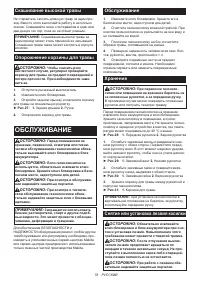
- 78 Скашивание высокой травы; ОБСЛУЖИВАНИЕ; Обслуживание
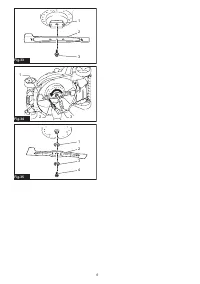
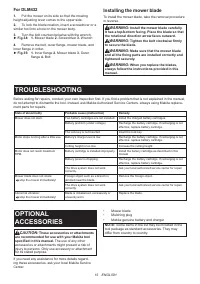
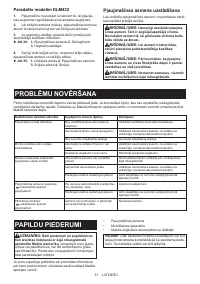
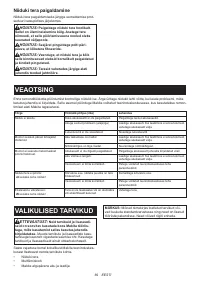
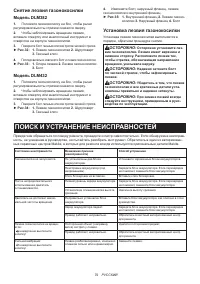
- 79 Снятие лезвия газонокосилки; ПОИСК И УСТРАНЕНИЕ НЕИСПРАВНОСТЕЙ
Характеристики

Остались вопросы?Не нашли свой ответ в руководстве или возникли другие проблемы? Задайте свой вопрос в форме ниже с подробным описанием вашей ситуации, чтобы другие люди и специалисты смогли дать на него ответ. Если вы знаете как решить проблему другого человека, пожалуйста, подскажите ему :)


