
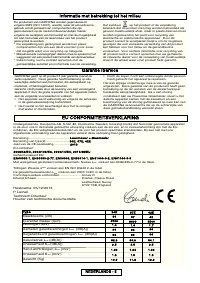
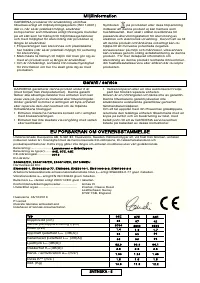
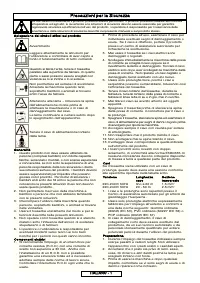
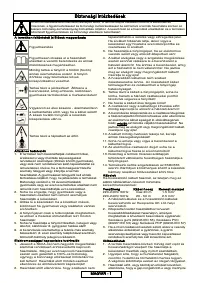
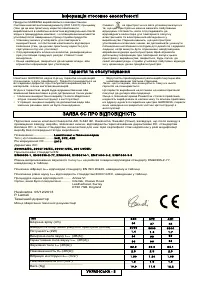
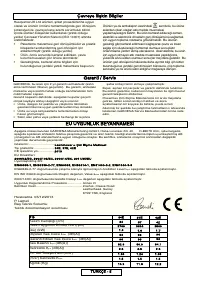
Газонокосилки GARDENA PowerMax 37 E 04075-20.000.00 - инструкция пользователя по применению, эксплуатации и установке на русском языке. Мы надеемся, она поможет вам решить возникшие у вас вопросы при эксплуатации техники.
Если остались вопросы, задайте их в комментариях после инструкции.
"Загружаем инструкцию", означает, что нужно подождать пока файл загрузится и можно будет его читать онлайн. Некоторые инструкции очень большие и время их появления зависит от вашей скорости интернета.


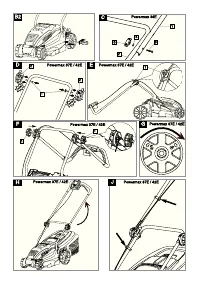

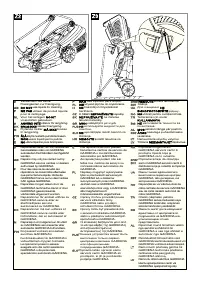


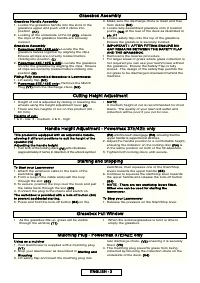


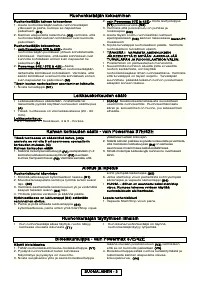


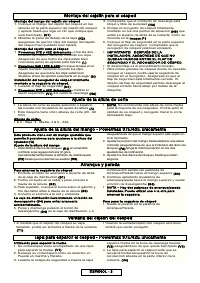


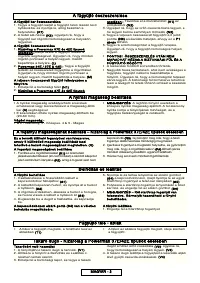


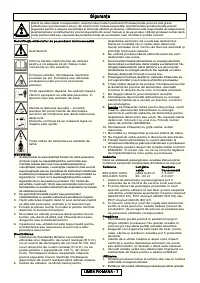


Grassbox Assembly
Grassbox Handle Assembly
1. Locate the grassbox handle into the slots in the
grassbox upper and push until it clicks into
position. (K1)
2. Looking at the underside of the lid (K2), ensure
the clips of the grassbox handle are securely
located.
Grassbox Assembly
1. Powermax 37E / 42E only:- Locate the the
grassbox halves together by aligning the clips
Ensure all clips are correctly located before
clicking into position. (L)
2. Powermax 34E / 37E
&
42E:- Locate the grassbox
lid onto the grassbox by aligning the clips. Ensure
all clips are correctly located before clicking into
position (M)
Fitting Fully Assembled Grassbox to Lawnmower.
1. Lift safety flap (N1)
2. Powermax 37E / 42E only:- Remove the Mulch
Plug (V1) from the discharge chute (N2).
3. Make sure the discharge chute is clean and free
from debris (N2)
4. Locate fully assembled grassbox onto 2 location
points (N3) at the rear of the deck as illustrated in
pic. P1
5. Locate safety flap onto the top of the grassbox.
Ensure the grassbox is securely located.
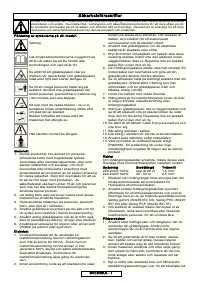
• IMPORTANT ! AFTER FITTING ENSURE NO
GAP REMAINS BETWEEN THE SAFETY FLAP
AND THE GRASSBO
X.
• Removal is the reverse procedure.
• For larger areas of grass where grass collection is
not required you can use your lawnmower without
the grassbox. Ensure the Safety Flap is fully
closed. The design of the safety flap permits the
cut grass to be discharged downward behind the
machine.
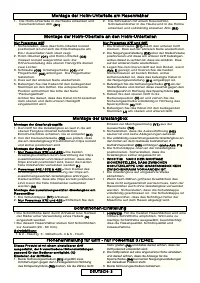
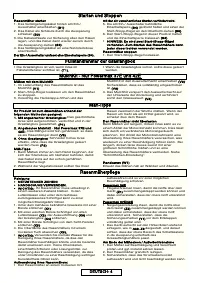
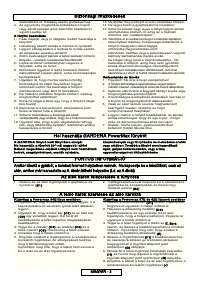
Cutting Height Adjustment
• Height of cut is adjusted by raising or lowering the
wheels using the height adjustment lever (A)
• There are five heights of cut on this product (20 -
60 mm).
Heights of cut:-
1
&
2 - low, 3 - medium, 4
&
5 - high
• NOTE
A medium height of cut is recommended for most
lawns. The quality of your lawn will suffer and
collection will be poor if you cut too low.
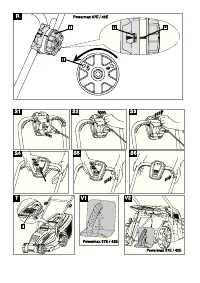
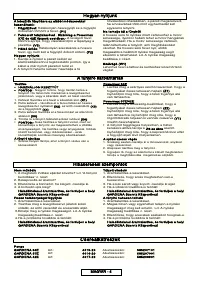
Handle Height Adjustment - Powermax 37E/42E only
This product is equipped with an adjustable handle,
allowing 5 different positions to suit the height of the
operator.(Q)
Adjustting the handle height
1. Turn both of the locking discs (R1) anti-clockwise
(approximately 2 turns) in direction of the unlock symbol
(R2) until the teeth disengage (R3), ensuring that the
upper handle is supported at all times.
2. Adjust the handle position to a comfortable height,
ensuring the indicator on the locking disc (R4) is
in the same position on both of the tilt adjusters.
3. Tighten both locking discs until secure.
Grassbox Full Window
•
As the grassbox fills up, grass will be visible
through the window (T1).
•
When the window/grassbox is full it is time to
empty the grassbox.
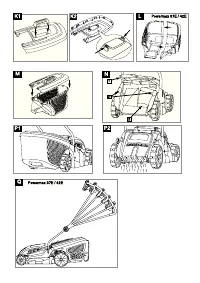
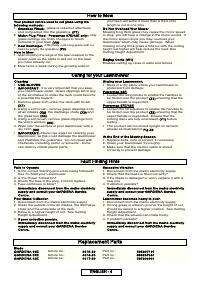
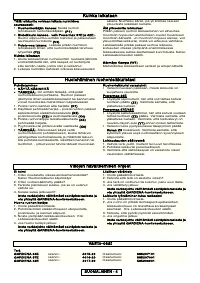
Starting and Stopping
To Start your Lawnmower
1. Attach the extension cable to the back of the
switchbox.(S1)
2. Form a loop in the cable and push the loop
through the slot. (S2)
3. To secure, position the loop over the hook and pull
the cable back through the slot (S3).
4. Connect the plug to the mains and switch on.
The switchbox is provided with a lock-off button (S4)
to prevent accidental starting.
5. Press and hold the lock-off button (S4) on the
switchbox, then squeeze one of the Start/Stop
levers towards the upper handle (S5).
6. Continue to squeeze the start/stop lever towards
the upper handle and release the lock-off button
(S6).
• NOTE - There are two start/stop levers fitted.
Either one can be used for starting the
lawnmower.
To Stop your Lawnmower
1. Release the pressure on the Start/Stop lever.
ENGLISH - 3
Using as a mulcher
1. Your lawnmower is supplied with a mulching plug.
(V1)
2. Stop your lawnmower as described in Starting and
Stopping.
3. Lift safety flap and insert the mulching plug into
rear discharge chute, (V2) ensuring it is securely
fitted. (V3)
4. The mulching plug prevents grass from being
collected by blocking the collection chute on the
underside of the deck. (V4)
Mulching Plug - Powermax 37E/42E only


