
Фрезеры Bosch GOF 130 - инструкция пользователя по применению, эксплуатации и установке на русском языке. Мы надеемся, она поможет вам решить возникшие у вас вопросы при эксплуатации техники.
Если остались вопросы, задайте их в комментариях после инструкции.
"Загружаем инструкцию", означает, что нужно подождать пока файл загрузится и можно будет его читать онлайн. Некоторые инструкции очень большие и время их появления зависит от вашей скорости интернета.


English |
17
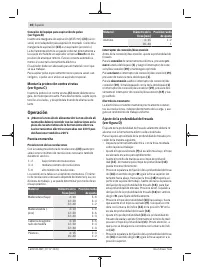
Operation
u
Products that are only sold in AUS and NZ:
Use a resid-
ual current device (RCD) with a nominal residual current
of 30 mA or less.
u
Pay attention to the mains voltage. The voltage of the
power source must match the voltage specified on the
rating plate of the power tool. Power tools marked
with 230 V can also be operated with 220 V.
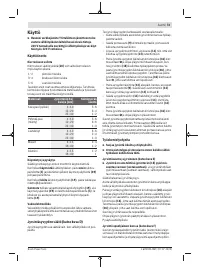
Starting Operation
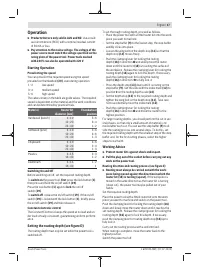
Preselecting the speed
You can preselect the required speed using the speed
preselection thumbwheel
(20)
, even during operation.
1−2
low speed
3−4
medium speed
5−6
high speed
The values shown in the table are guide values. The required
speed is dependent on the material and the work conditions
and can be determined by practical trials.
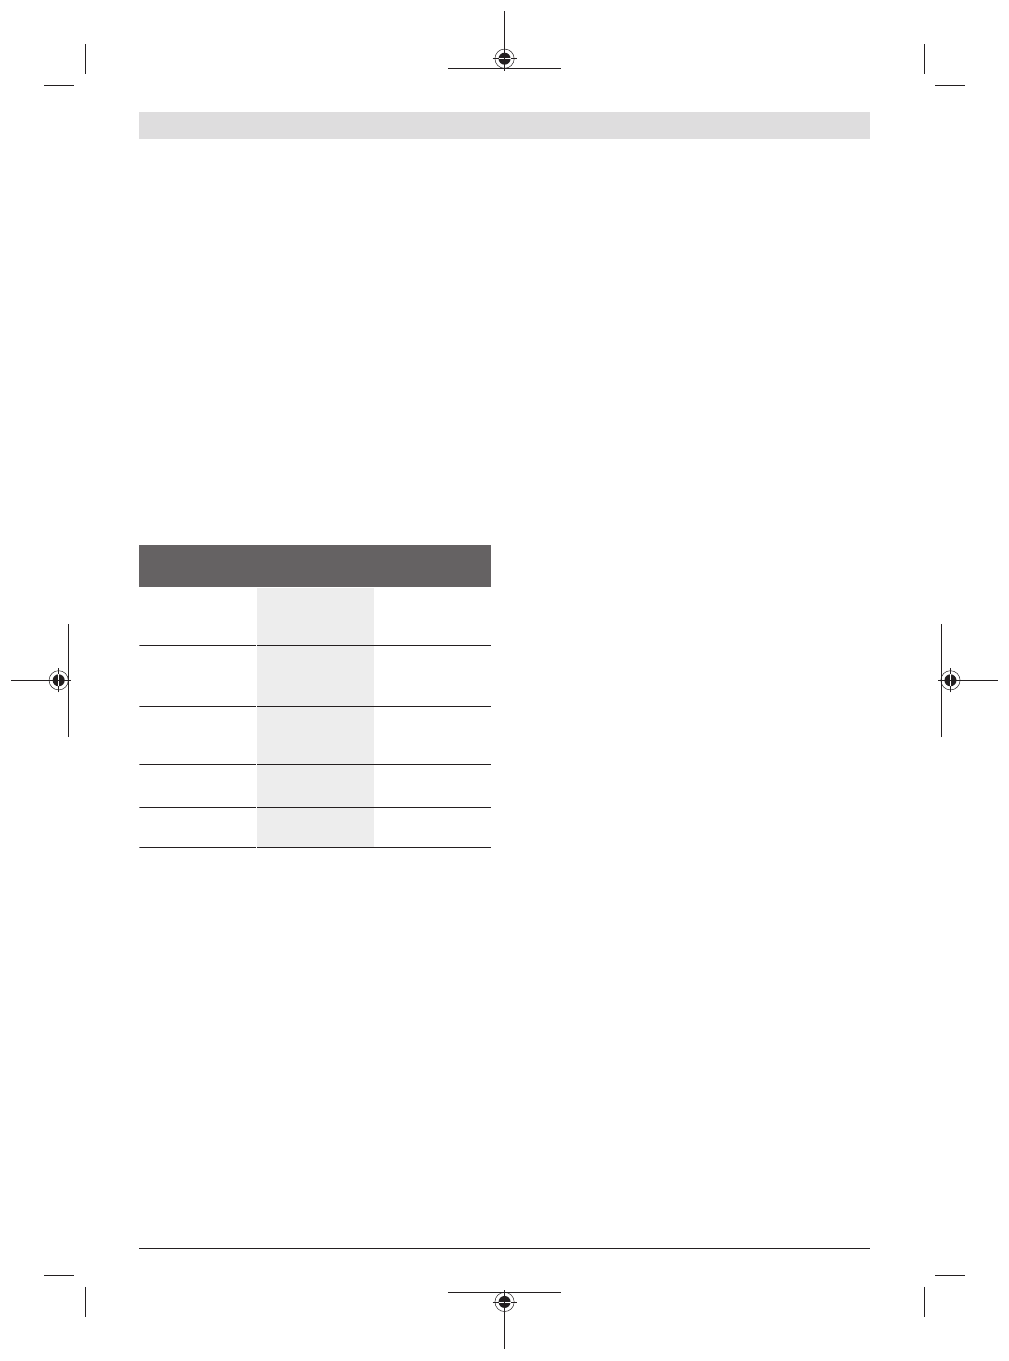
Material
Router bit
diameter [mm]
Thumbwheel
position
Hardwood (beech)
4–10
12–20
22–40
5–6
3–4
1–2
Softwood (pine)
4–10
12–20
22–40
5–6
3–6
1–3
Chipboard
4–10
12–20
22–40
3–6
2–4
1–3
Plastics
4–15
16–40
2–3
1–2
Aluminium
4–15
16–40
1–2
1
Switching On and Off
Before switching on/off, set the required routing depth.
To
switch on
the power tool,
first
press the lock button
(1)
,
then press and hold the on/off switch
(19)
.
Press the lock button
(1)
again to
lock
the on/off
switch
(19)
.
To
switch off
, release the on/off switch
(19)
. If the on/off
switch
(19)
is locked with the lock button
(1)
, briefly press
the on/off switch
(19)
and then release it.
Constant electronic control
The Constant Electronic keeps the speed at no load and un-
der load virtually consistent, guaranteeing uniform perform-
ance.
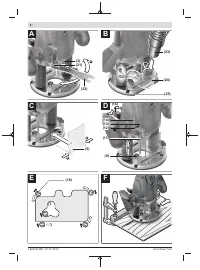
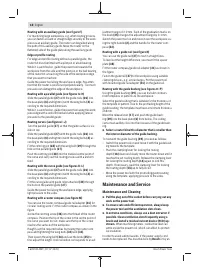
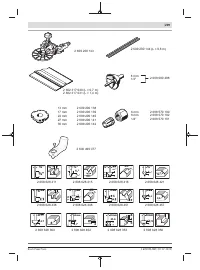
Setting the routing depth (see figure D)
The routing depth must only be set while the power tool is
switched off.
To set the rough routing depth, proceed as follows:
– Place the power tool with a fitted router bit onto the work-
piece you want to machine.
– Set the step buffer
(9)
to the lowest step; the step buffer
audibly clicks into place.
– Loosen the wing bolt on the depth stop
(11)
so that the
depth stop
(13)
moves freely.
– Push the clamping lever for locking the routing
depth
(16)
in direction
➊
and slowly move the router
down until the router bit
(18)
is touching the surface of
the workpiece. Release the clamping lever for locking the
routing depth
(16)
again to lock this depth. If necessary,
push the clamping lever for locking the routing
depth
(16)
in direction
➋
to fully lock it.
– Press the depth stop
(13)
down until it is resting on the
step buffer
(9)
. Set the slide with the index mark
(12)
to
position
0
on the routing depth scale
(14)
.
– Set the depth stop
(13)
to the required routing depth and
tighten the wing bolt on the depth stop
(11)
. Take care
not to accidentally move the index mark
(12)
.
– Push the clamping lever for locking the routing
depth
(16)
in direction
➊
and move the router to the
highest position.
For larger routing depths, you should perform the cut in sev-
eral phases, so that only a small amount of material is re-
moved after each cut. You can use the step buffer
(9)
to di-
vide the routing process into several steps. To do this, set
the required routing depth with the smallest step of the step
buffer and, for the first cutting phases, select the higher
steps to start with.
Working Advice
u
Protect router bits against shock and impact.
u
Pull the plug out of the socket before carrying out any
work on the power tool.
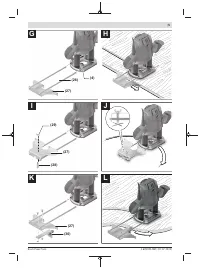
Routing direction and routing process (see figure E)
u
Routing must always be carried out with the work-
piece being moved against the direction in which the
router bit
(18) is turning (up cut).
If the workpiece is
moved in the same direction as the router bit is turning
(down cut), the power tool may be pulled out of your
hands.
Set the required routing depth.
Place the power tool with a fitted router bit onto the work-
piece you want to machine and switch on the power tool.
Push the clamping lever for locking the routing depth
(16)
down and slowly move the router down until it reaches the
set routing depth. Release the clamping lever for locking the
routing depth
(16)
again to lock this depth. If necessary,
push the clamping lever for routing depth stop
(16)
up to
fully lock it.
Carry out the routing process with a uniform feed.
When routing is complete, move the router back to the
highest position.
Switch the power tool off.
Bosch Power Tools
1 609 92A 5MT | (27.07.2020)
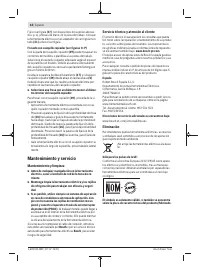
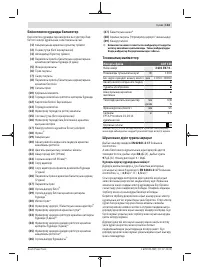
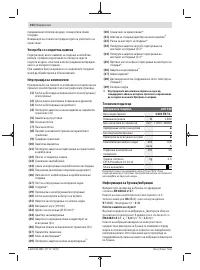
Содержание
- 115 Указания по технике безопасности; ЖДЕНИЕ
- 117 Описание продукта и услуг; Применение по назначению
- 118 Технические данные; Данные по шуму и вибрации
- 119 Сборка; Удаление пыли и стружки; Работа с инструментом; Включение электроинструмента
- 120 Указания по применению
- 122 Техобслуживание и сервис; Техобслуживание и очистка
- 123 Утилизация; Українська; Вказівки з техніки безпеки; ДЖЕННЯ
Характеристики

Остались вопросы?Не нашли свой ответ в руководстве или возникли другие проблемы? Задайте свой вопрос в форме ниже с подробным описанием вашей ситуации, чтобы другие люди и специалисты смогли дать на него ответ. Если вы знаете как решить проблему другого человека, пожалуйста, подскажите ему :)


