
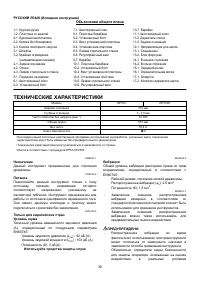
Электрорубанки Makita KP312S - инструкция пользователя по применению, эксплуатации и установке на русском языке. Мы надеемся, она поможет вам решить возникшие у вас вопросы при эксплуатации техники.
Если остались вопросы, задайте их в комментариях после инструкции.
"Загружаем инструкцию", означает, что нужно подождать пока файл загрузится и можно будет его читать онлайн. Некоторые инструкции очень большие и время их появления зависит от вашей скорости интернета.


6
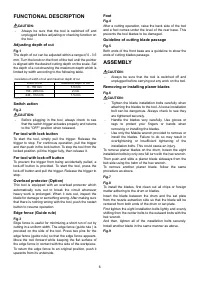
FUNCTIONAL DESCRIPTION
CAUTION:
•
Always be sure that the tool is switched off and
unplugged before adjusting or checking function on
the tool.
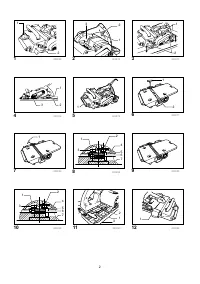
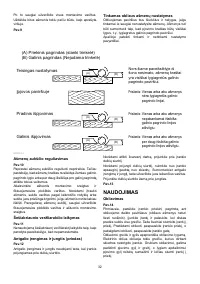
Adjusting depth of cut
Fig.1
The depth of cut can be adjusted within a range of 0 - 3.5
mm. Turn the knob on the front of the tool until the pointer
is aligned with the desired cutting depth on the scale. Set
the depth of a cut observing the maximum depth which is
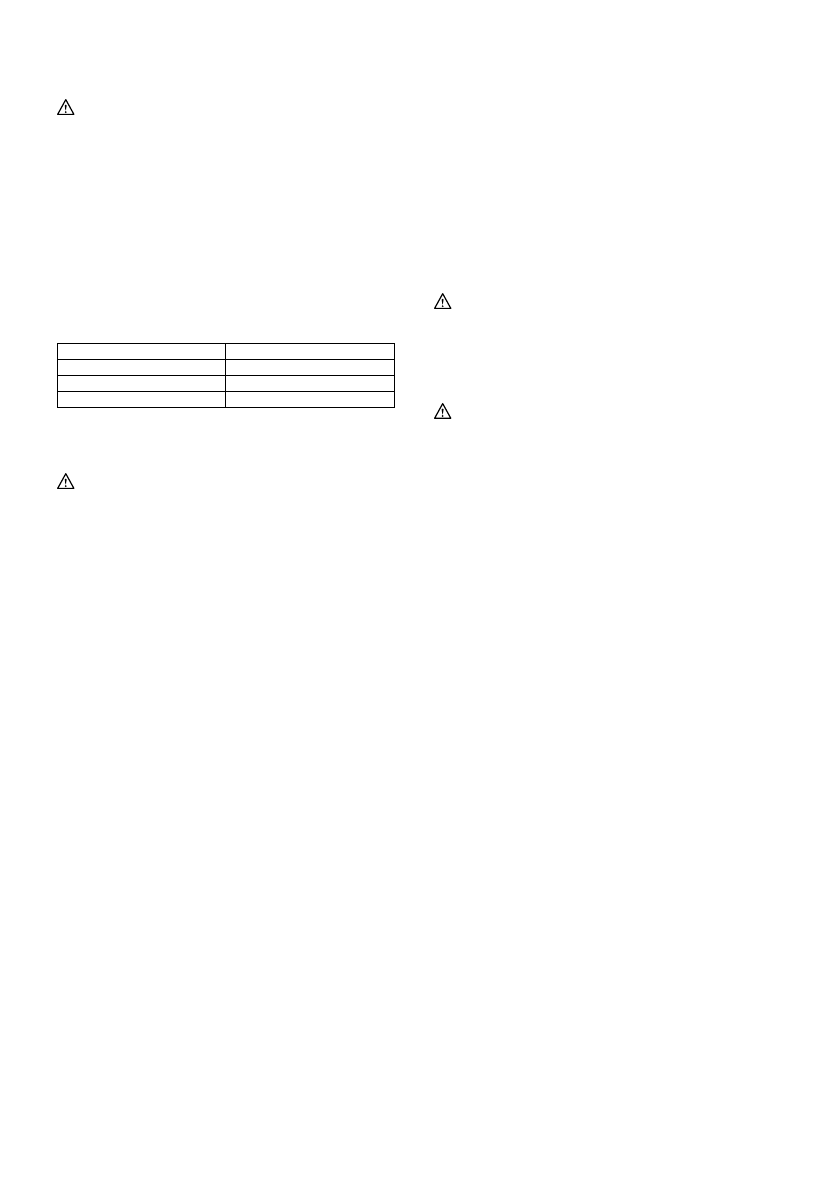
limited by width according to the following table.
Width of cut
Maximum depth of cut
0 - 150 mm
3.5 mm
150 - 240 mm
2 mm
240 - 312 mm
1.5 mm
Corelation of width of cut and maximun depth of cut
006588
Switch action
Fig.2
CAUTION:
•
Before plugging in the tool, always check to see
that the switch trigger actuates properly and returns
to the "OFF" position when released.
For tool with lock button
To start the tool, simply pull the trigger. Release the
trigger to stop. For continous operation, pull the trigger
and then push in the lock button. To stop the tool from the
locked position, pill the trigger fully, then release it.
For tool with lock-off button
To prevent the trigger from being accidentally pulled, a
lock-off button is provided. To start the tool, press the
lock-off button and pull the trigger. Release the trigger to
stop.
Overload protecter (Option)
This tool is equipped with an overload protector which
automatically cuts out to break the circuit whenever
heavy work is prolonged. When it cuts out, inspect the
blade for damage or something wrong. After making sure
that there is nothing wrong with the tool, push the restart
button to resume operation.
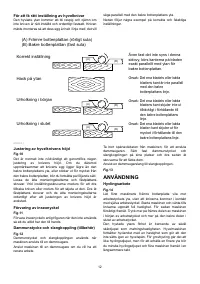
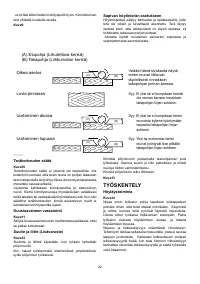
Edge fence (Guide rule)
Fig.3
Edge fence is useful for minimizing a short run of cut by
cutting in a uniform width. The edge fence (guide rule ) is
provided on the side of the tool. Press two pins for the
edge fence (guide rule) so that the edge fence appears.
Move the tool forward while keeping the flat surface of
the edge fence in contact with the side of the workpiece.
To return the edge fence to an original position, push it
upwards from its underside.
Foot
Fig.4
After a cutting operation, raise the back side of the tool
and a foot comes under the level of the rear base. This
prevents the tool blades to be damaged.
Guideline of cutting blade passage
Fig.5
Both ends of the front base are a guideline to show the
ends of cutting blades passage.
ASSEMBLY
CAUTION:
•
Always be sure that the tool is switched off and
unplugged before carrying out any work on the tool.
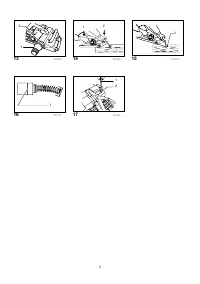
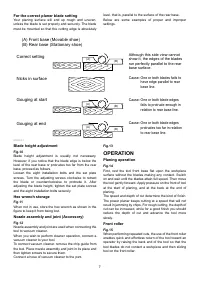
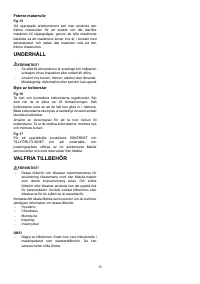
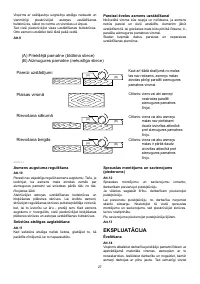
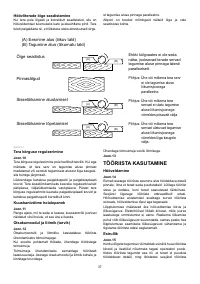
Removing or installing planer blades
Fig.6
CAUTION:
•
Tighten the blade installation bolts carefully when
attaching the blades to the tool. A loose installation
bolt can be dangerous. Always check to see they
are tightened securely.
•
Handle the blades very carefully. Use gloves or
rags to protect your fingers or hands when
removing or installing the blades.
•
Use only the Makita wrench provided to remove or
install the blades. Failure to do so may result in
overtightening or insufficient tightening of the
installation bolts. This could cause an injury.
To remove planer blades on the drum, loosen the eight
installation bolts by only one full turn with the hex wrench.
Then push and slide a planer blade sideways from the
belt side using the helm of the hex wrench.
To remove another planer blade, follow the same
procedure as above.
Fig.7
Fig.8
To install the blades, first clean out all chips or foreign
matter adhering to the drum or blades.
Insert the blade between the drum and the set plate
from the nozzle extraction side so that the blade will be
centered from both ends of the drum or set plate.
First tighten the eight installation bolts lightly and evenly
shifting from the center bolts to the outward bolts with the
hex wrench.
And then, tighten all of the installation bolts securely.
Install another blade in the same manner as above.
Fig.9
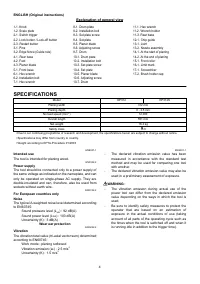
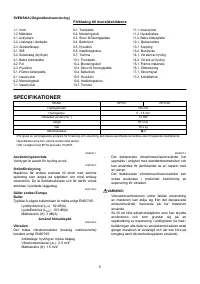
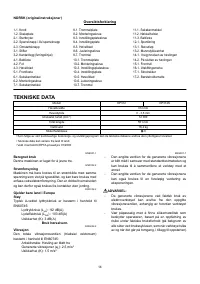
Характеристики

Остались вопросы?Не нашли свой ответ в руководстве или возникли другие проблемы? Задайте свой вопрос в форме ниже с подробным описанием вашей ситуации, чтобы другие люди и специалисты смогли дать на него ответ. Если вы знаете как решить проблему другого человека, пожалуйста, подскажите ему :)


