Электробритвы Philips SC2003/00 - инструкция пользователя по применению, эксплуатации и установке на русском языке. Мы надеемся, она поможет вам решить возникшие у вас вопросы при эксплуатации техники.
Если остались вопросы, задайте их в комментариях после инструкции.
"Загружаем инструкцию", означает, что нужно подождать пока файл загрузится и можно будет его читать онлайн. Некоторые инструкции очень большие и время их появления зависит от вашей скорости интернета.


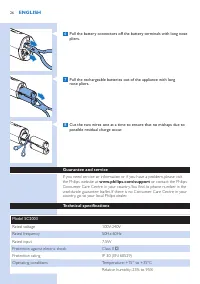


6
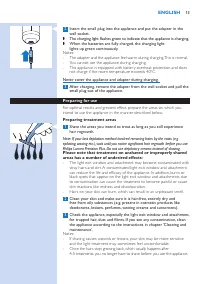
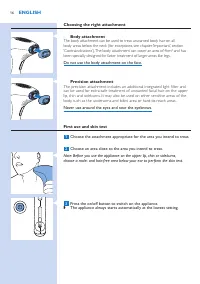
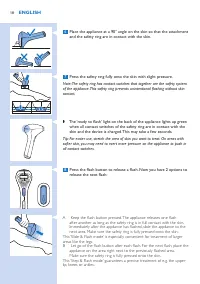
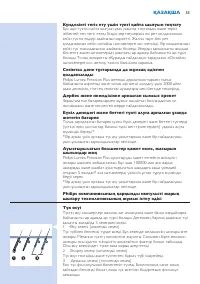
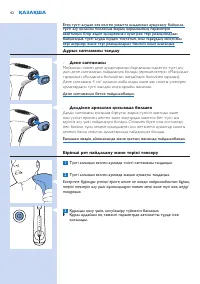
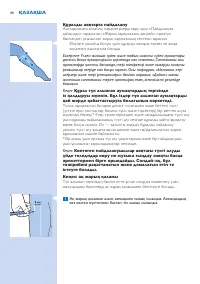
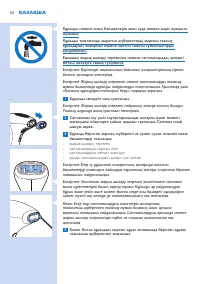
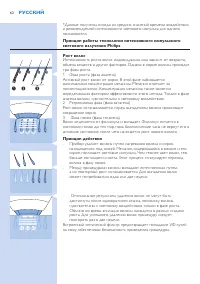
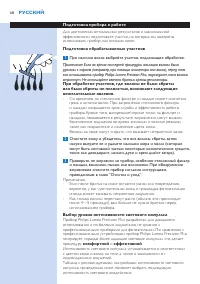
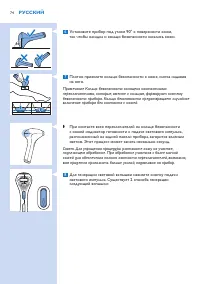
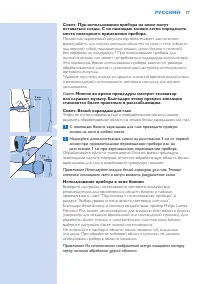
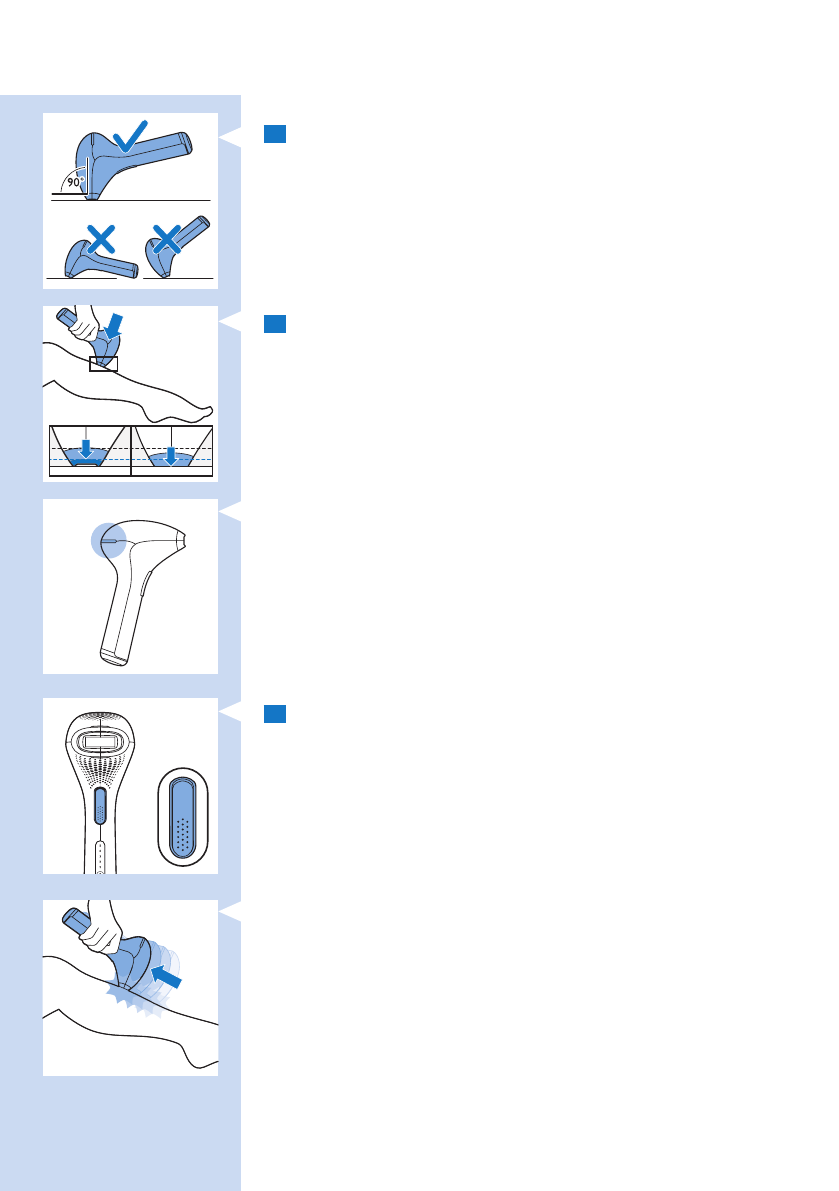
Place the appliance at a 90° angle on the skin so that the attachment
and the safety ring are in contact with the skin.
7
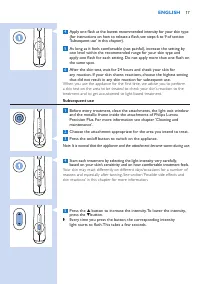
Press the safety ring fully onto the skin with slight pressure.
Note: The safety ring has contact switches that together are the safety system
of the appliance. This safety ring prevents unintentional flashing without skin
contact.
,
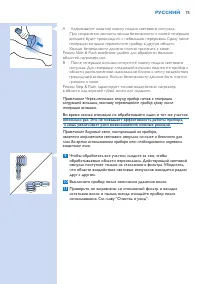
The ‘ready to flash’ light on the back of the appliance lights up green
when all contact switches of the safety ring are in contact with the
skin and the device is charged. This may take a few seconds.
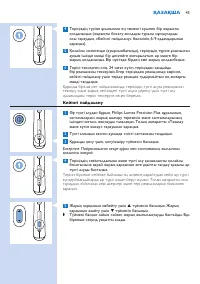
Tip: For easier use, stretch the area of skin you want to treat. On areas with
softer skin, you may need to exert more pressure on the appliance to push in
all contact switches.
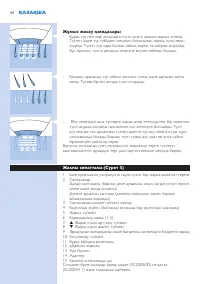
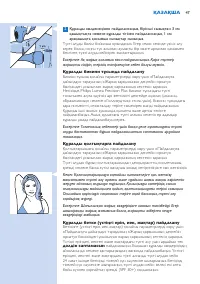
8
Press the flash button to release a flash. Now you have 2 options to
release the next flash:
A Keep the flash button pressed. The appliance releases one flash
after another as long as the safety ring is in full contact with the skin.
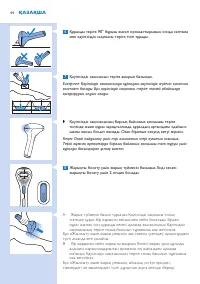
Immediately after the appliance has flashed, slide the appliance to the
next area. Make sure the safety ring is fully pressed onto the skin.
This ‘Slide & Flash mode’ is especially convenient for treatment of larger
areas like the legs.
B Let go of the flash button after each flash. For the next flash, place the
appliance on the area right next to the previously flashed area.
Make sure the safety ring is fully pressed onto the skin.
This ‘Step & Flash mode’ guarantees a precise treatment of e.g. the upper
lip, knees or ankles.
EngliSh
18
Содержание
- 60 Введение
- 61 iPl
- 67 Примечание Это не полный список. Если вы не уверены в том, можно ли; Зарядка
- 68 Подготовка прибора к работе
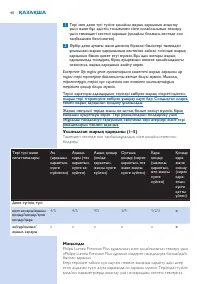
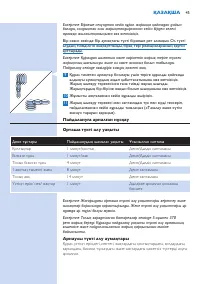
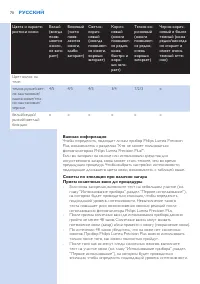
- 69 Рекомендованная интенсивность света (1–5); В таблице ниже символ “x” означает, что прибор для вас не подходит.
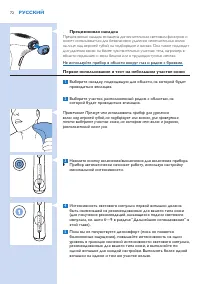
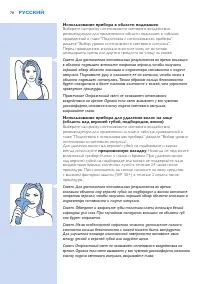
- 71 использование прибора
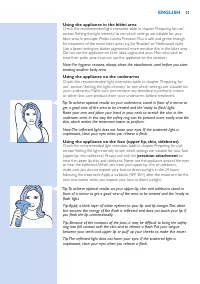
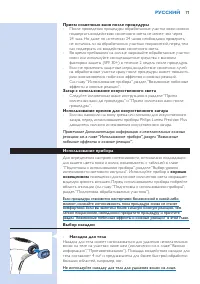
- 72 Прецизионная насадка; области подмышек и зоны бикини или в труднодоступных местах.; Первое использование и тест на небольшом участке кожи; Примечание Прежде чем использовать прибор для удаления
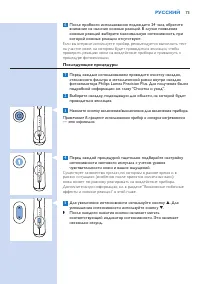
- 73 Последующие процедуры
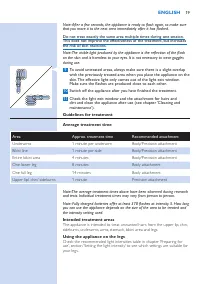
- 76 Участок; Области применения
- 80 Чтобы достичь оптимальных результатов и продлить срок службы
- 83 Гарантия и обслуживание; При возникновении проблемы или при необходимости получения


