Электробритвы Philips SC2003/00 - инструкция пользователя по применению, эксплуатации и установке на русском языке. Мы надеемся, она поможет вам решить возникшие у вас вопросы при эксплуатации техники.
Если остались вопросы, задайте их в комментариях после инструкции.
"Загружаем инструкцию", означает, что нужно подождать пока файл загрузится и можно будет его читать онлайн. Некоторые инструкции очень большие и время их появления зависит от вашей скорости интернета.


4
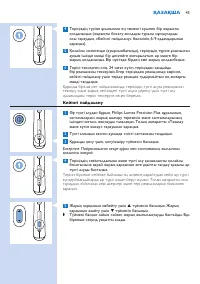
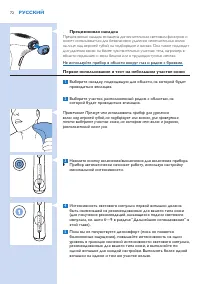
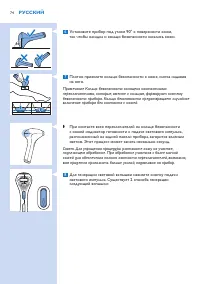
Apply one flash at the lowest recommended intensity for your skin type
(for instructions on how to release a flash, see steps 6 to 9 of section
‘Subsequent use’ in this chapter).
5
As long as it feels comfortable (not painful), increase the setting by
one level within the recommended range for your skin type and
apply one flash for each setting. Do not apply more than one flash on
the same spot.
6
After the skin test, wait for 24 hours and check your skin for
any reaction. If your skin shows reactions, choose the highest setting
that did not result in any skin reaction for subsequent use.
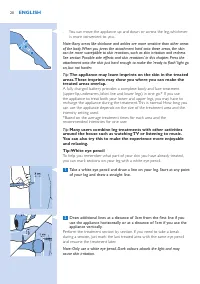
When you use the appliance for the first time, we advise you to perform
a skin test on the area to be treated to check your skin’s reaction to the
treatment and to get accustomed to light-based treatment.
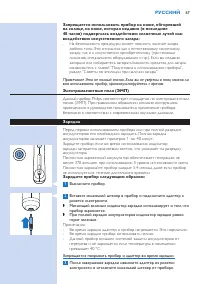
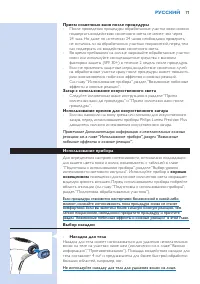
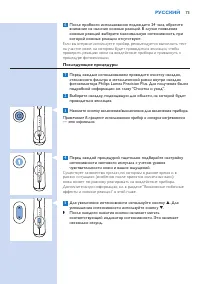
Subsequent use
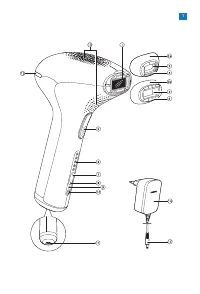
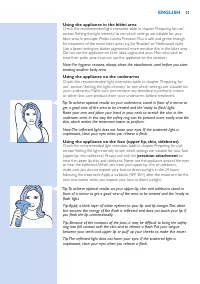
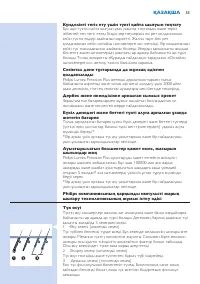
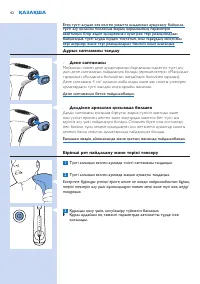
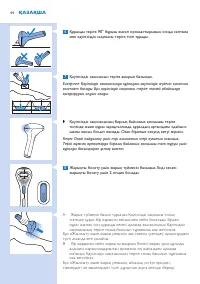
1
Before every treatment, clean the attachments, the light exit window
and the metallic frame inside the attachments of Philips Lumea
Precision Plus. For more information see chapter ‘Cleaning and
maintenance’.
2
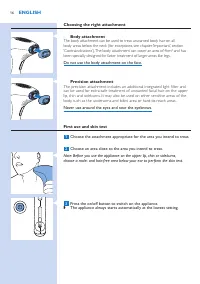
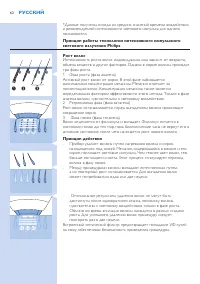
Choose the attachment appropriate for the area you intend to treat.
3
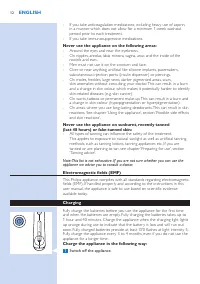
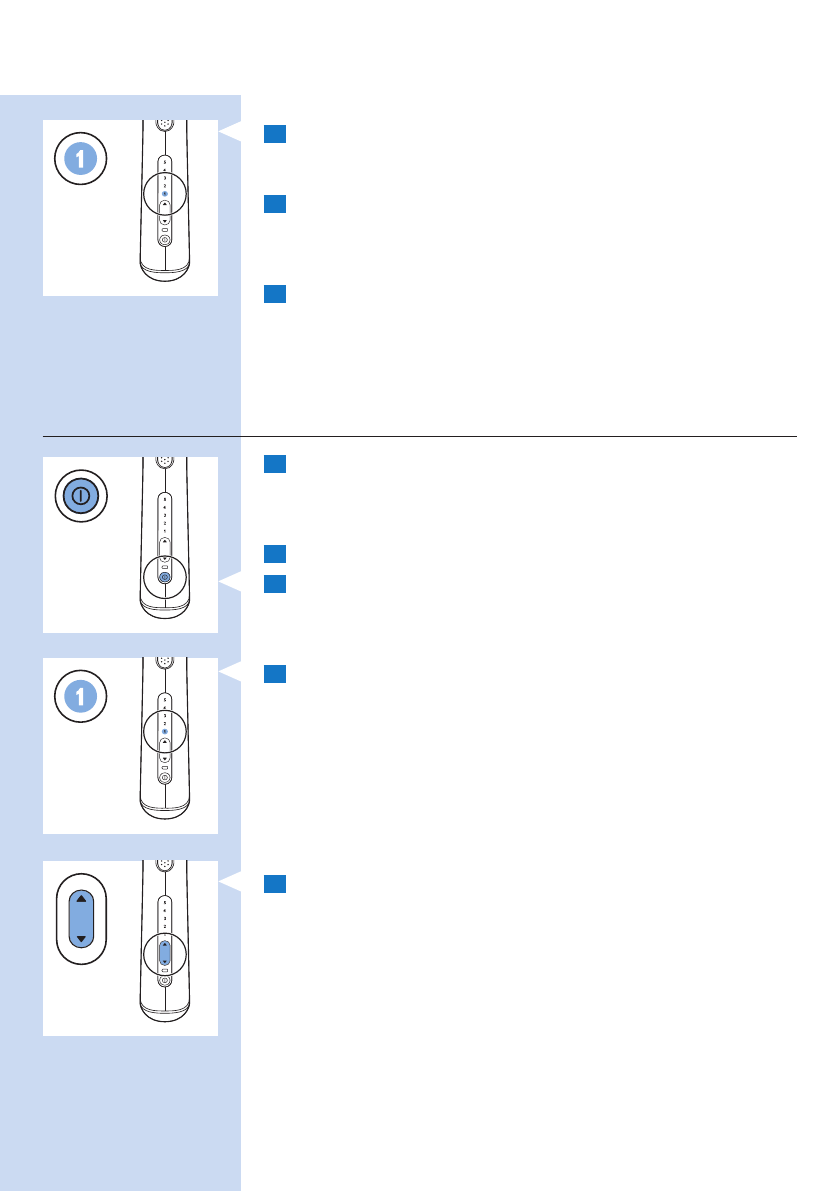
Press the on/off button to switch on the appliance.
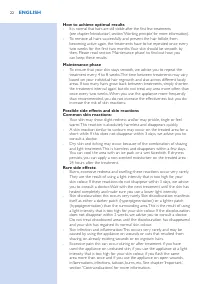
Note: It is normal that the appliance and the attachment become warm during use.
4
Start each treatment by selecting the light intensity very carefully,
based on your skin’s sensitivity and on how comfortable treatment feels.
Your skin may react differently on different days/occasions for a number of
reasons and especially after tanning. See section ‘Possible side effects and
skin reactions’ in this chapter for more information.
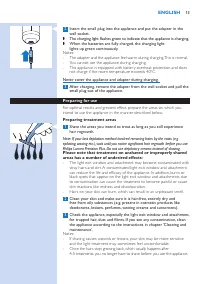
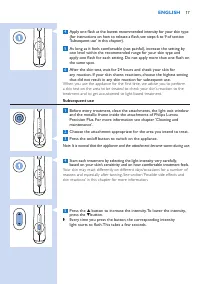
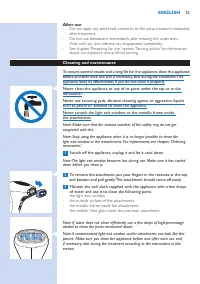
5
Press the
%
button to increase the intensity. To lower the intensity,
press the
^
button.
,
Every time you press the button, the corresponding intensity
light starts to flash. This takes a few seconds.
EngliSh
17
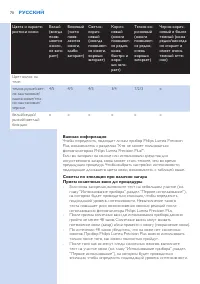
Содержание
- 60 Введение
- 61 iPl
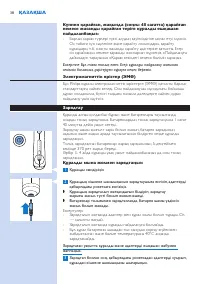
- 67 Примечание Это не полный список. Если вы не уверены в том, можно ли; Зарядка
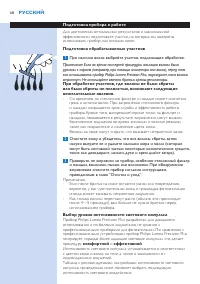
- 68 Подготовка прибора к работе
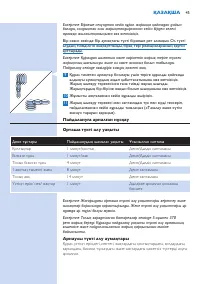
- 69 Рекомендованная интенсивность света (1–5); В таблице ниже символ “x” означает, что прибор для вас не подходит.
- 71 использование прибора
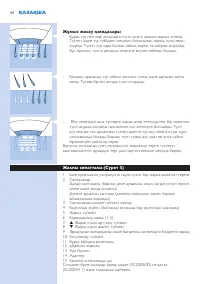
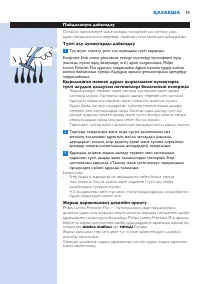
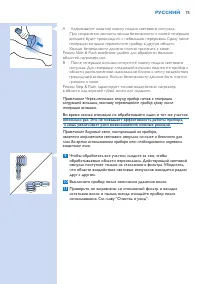
- 72 Прецизионная насадка; области подмышек и зоны бикини или в труднодоступных местах.; Первое использование и тест на небольшом участке кожи; Примечание Прежде чем использовать прибор для удаления
- 73 Последующие процедуры
- 76 Участок; Области применения
- 80 Чтобы достичь оптимальных результатов и продлить срок службы
- 83 Гарантия и обслуживание; При возникновении проблемы или при необходимости получения


