Gorenje EC55101AX - инструкции и руководства
Плита Gorenje EC55101AX - инструкции пользователя по применению, эксплуатации и установке на русском языке читайте онлайн в формате pdf
Инструкции:
Инструкция по эксплуатации Gorenje EC55101AX


Краткое содержание
2 maintenance. Thus you prevent contingent troubles and prolong the range service life. When detecting a flaw on the appliance compartment, do not repair it by yourself but put the appliance out of operation and ask an authorised person to make the repair. The maker bears no responsibility for conti...
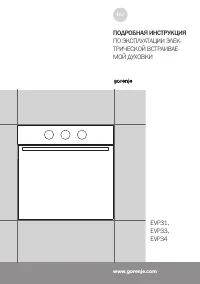
3 1. Control knob of the left front cooking zone 2. Control knob of the left rear cooking zone 3. Control knob of the right rear cooking zone 4. Control knob of the right front cooking zone 5. Oven thermostat knob 6. Oven function knob 7. Thermostat function signal lamp 8. “Power ON” control lamp 9....
4 COOKING WITH THE APPLIANCE ОБСЛУЖИВАНИЕ ПЛИТЫ ОБСЛУГОВУВАННЯ ПЛИТИ NOTICE: Solely adults may operate the appliance in accordance with these instructions. It is not allowed to leave small children without supervision in a room where the appliance is installed. This appliance is not intended for use...
Gorenje Плиты Инструкции
-
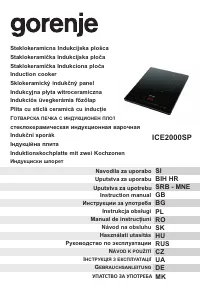 Gorenje 2000 SP
Инструкция по эксплуатации
Gorenje 2000 SP
Инструкция по эксплуатации
-
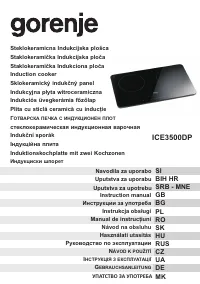 Gorenje 3500 DP
Инструкция по эксплуатации
Gorenje 3500 DP
Инструкция по эксплуатации
-
 Gorenje B7470E
Инструкция по эксплуатации
Gorenje B7470E
Инструкция по эксплуатации
-
 Gorenje B8960SG
Инструкция по эксплуатации
Gorenje B8960SG
Инструкция по эксплуатации
-
 Gorenje BC5348DX
Инструкция по эксплуатации
Gorenje BC5348DX
Инструкция по эксплуатации
-
 Gorenje BC7333AX (BX)
Инструкция по эксплуатации
Gorenje BC7333AX (BX)
Инструкция по эксплуатации
-
 Gorenje BC7345BX / BC7349DX
Инструкция по эксплуатации
Gorenje BC7345BX / BC7349DX
Инструкция по эксплуатации
-
 Gorenje BC7446AX
Инструкция по эксплуатации
Gorenje BC7446AX
Инструкция по эксплуатации
-
 Gorenje BO5306PX
Инструкция по эксплуатации
Gorenje BO5306PX
Инструкция по эксплуатации
-
 Gorenje BO5322MX
Инструкция по эксплуатации
Gorenje BO5322MX
Инструкция по эксплуатации
-
 Gorenje BO615E01XK
Инструкция по эксплуатации
Gorenje BO615E01XK
Инструкция по эксплуатации
-
 Gorenje BO615E10MG
Инструкция по эксплуатации
Gorenje BO615E10MG
Инструкция по эксплуатации
-
 Gorenje BO615E10X
Инструкция по эксплуатации
Gorenje BO615E10X
Инструкция по эксплуатации
-
 Gorenje BO615E20XG-M
Инструкция по эксплуатации
Gorenje BO615E20XG-M
Инструкция по эксплуатации
-
 Gorenje BO625E10WG
Инструкция по эксплуатации
Gorenje BO625E10WG
Инструкция по эксплуатации
-
 Gorenje BO635E11B
Инструкция по эксплуатации
Gorenje BO635E11B
Инструкция по эксплуатации
-
 Gorenje BO635E11BK-2
Инструкция по эксплуатации
Gorenje BO635E11BK-2
Инструкция по эксплуатации
-
 Gorenje BO635E11W
Инструкция по эксплуатации
Gorenje BO635E11W
Инструкция по эксплуатации
-
 Gorenje BO635E11X
Инструкция по эксплуатации
Gorenje BO635E11X
Инструкция по эксплуатации
-
 Gorenje BO635E11XK
Инструкция по эксплуатации
Gorenje BO635E11XK
Инструкция по эксплуатации