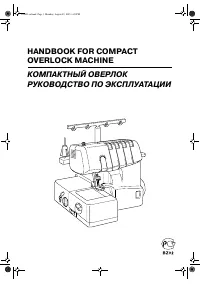
Brother LS-1520 - инструкции и руководства
Швейная машина Brother LS-1520 - инструкции пользователя по применению, эксплуатации и установке на русском языке читайте онлайн в формате pdf
Инструкции:
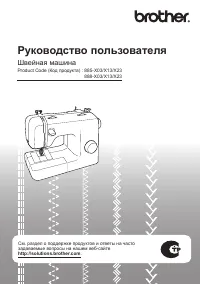
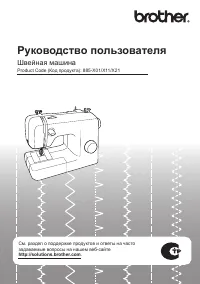
Инструкция по эксплуатации Brother LS-1520


Краткое содержание
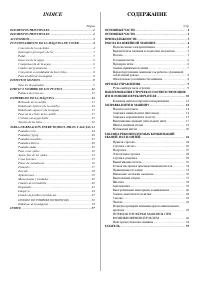
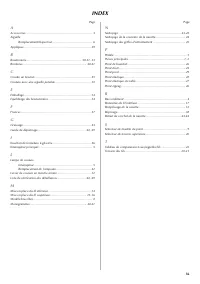
INDICE Página ELEMENTOS PRINCIPALES ......................................................... 1 ELEMENTOS PRINCIPALES ......................................................... 2 ACCESORIOS.................................................................................... 3 FUNCIONAMIENTO DE LA MÁQU...
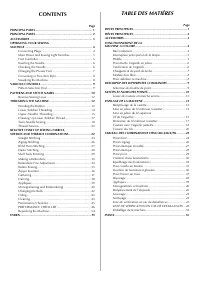
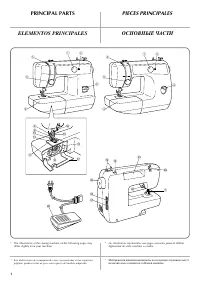
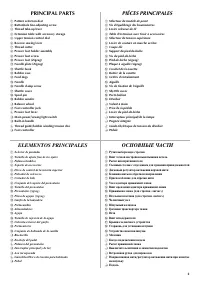
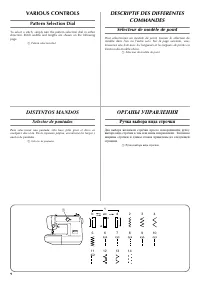
2 PRINCIPAL PARTS a Pattern selection dial b Buttonhole fine-adjusting screw c Thread take-up lever d Extension table with accessory storage e Upper tension control dial f Reverse sewing lever g Thread cutter h Presser foot holder assembly i Presser foot screw j Presser foot (Zigzag) k Needle plate ...
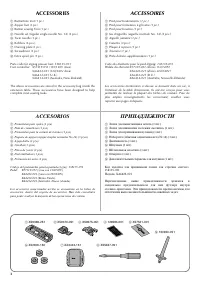
3 1 X59369-251 2 X59370-051 7 XA3442-151 9 130920-051 3 X59375-051 4 129583-001 5 X57521-001 6 X52800-150 8 X55467-051 ACCESSORIES a Buttonhole foot (1 pc.) b Zipper foot (1 pc.) c Button sewing Foot (1 pc.) d Needle set (regular single needle No. 14) (3 pcs.) e Twin needle (1 pc.) f Bobbins (3 pcs....
Brother Швейные машины Инструкции
-
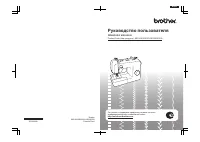
 Brother 1034D
Инструкция по эксплуатации
Brother 1034D
Инструкция по эксплуатации
-
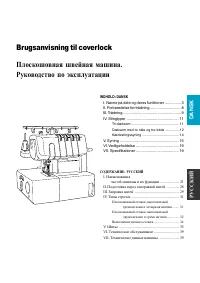 Brother 2340CV
Инструкция по эксплуатации
Brother 2340CV
Инструкция по эксплуатации
-
 Brother 250a
Инструкция по эксплуатации
Brother 250a
Инструкция по эксплуатации
-
 Brother 27s
Инструкция по эксплуатации
Brother 27s
Инструкция по эксплуатации
-
 Brother 3034D
Инструкция по эксплуатации
Brother 3034D
Инструкция по эксплуатации
-
 Brother 37s
Инструкция по эксплуатации
Brother 37s
Инструкция по эксплуатации
-
 Brother ArtCity 200
Инструкция по эксплуатации
Brother ArtCity 200
Инструкция по эксплуатации
-
 Brother ArtCity 300A
Инструкция по эксплуатации
Brother ArtCity 300A
Инструкция по эксплуатации
-
 Brother Artwork 31
Инструкция по эксплуатации
Brother Artwork 31
Инструкция по эксплуатации
-
 Brother Boutique 27 / 37
Инструкция по эксплуатации
Brother Boutique 27 / 37
Инструкция по эксплуатации
-
 Brother Classic 20
Инструкция по эксплуатации
Brother Classic 20
Инструкция по эксплуатации
-
 Brother Comfort 25
Инструкция по эксплуатации
Brother Comfort 25
Инструкция по эксплуатации
-
 Brother Comfort 25A
Инструкция по эксплуатации
Brother Comfort 25A
Инструкция по эксплуатации
-
 Brother Comfort 35A
Инструкция по эксплуатации
Brother Comfort 35A
Инструкция по эксплуатации
-
 Brother CS-8060
Инструкция по эксплуатации
Brother CS-8060
Инструкция по эксплуатации
-
 Brother DS-140 / DS-160
Инструкция по эксплуатации
Brother DS-140 / DS-160
Инструкция по эксплуатации
-
 Brother GS2700
Инструкция по эксплуатации
Brother GS2700
Инструкция по эксплуатации
-
 Brother Hanami 27s
Инструкция по эксплуатации
Brother Hanami 27s
Инструкция по эксплуатации
-
 Brother Hanami 37s
Инструкция по эксплуатации
Brother Hanami 37s
Инструкция по эксплуатации
-
 Brother HF-27
Инструкция по эксплуатации
Brother HF-27
Инструкция по эксплуатации