
Вытяжки KitchenAid KEWTP 90010 - инструкция пользователя по применению, эксплуатации и установке на русском языке. Мы надеемся, она поможет вам решить возникшие у вас вопросы при эксплуатации техники.
Если остались вопросы, задайте их в комментариях после инструкции.
"Загружаем инструкцию", означает, что нужно подождать пока файл загрузится и можно будет его читать онлайн. Некоторые инструкции очень большие и время их появления зависит от вашей скорости интернета.


10
Installation dimensions
The instructions below, to be carried out in the order in which they are numbered, refer to the figures (with
the same step numbers) given on the last pages of this manual, that are inserted in the installation
instructions manual.
Note:
Some instructions differ depending on the hood body width and height, in which case installation
differences are given in the text and in the figures.
1.
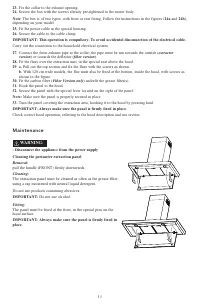
Pull the panel (FRONT) firmly downwards.
2.
Push the small lever (located in the right part of the panel) to the left.
3.
Release it from the rear supports.
4.
Mark a line on the wall up to the ceiling, corresponding to the centre line.
5.
Cut the template at the line
H6
and place the drilling diagram on the wall (fixing it with adhesive tape):
the vertical centre line printed on the drilling diagram must match the centre line drawn on the wall, and
the lower edge of the drilling diagram must match the lower edge of the hood.
Drill a hole.
6.
Remove the drilling diagram and insert plugs and screws as shown.
7.
Partially tighten the screws
8.
Assemble (120 cm wide model only) and place the flue support bracket on the wall, against the ceiling.
Drill and insert the wall plugs as shown. Fix the bracket.
9.
For Extractor Version only
- rear exhaust outlet: Make a hole in the rear wall for the exhaust pipe.
10.
For Extractor Version only
- ceiling exhaust outlet: Make a hole in the ceiling for the exhaust pipe.
11.
Prepare the connection to the household electrical system.
12.
For Filter Version only:
Fix the deflector to the flue support bracket.
120 cm wide model only:
the deflector comes in 3 pieces and must be assembled to size.
13.
Remove the adhesive tape holding the control electronics box to the motor body.
Note:
The figure is only a guide, and the box may be temporarily fixed to other sides of the motor body.
14.
Remove the grease filter(s).
15.
Hook the hood to the wall.
16.
Adjust the hood horizontally.
17.
Adjust the distance between the hood and wall.
18.
Mark the hole(s) for final fixing of the hood as shown.
19.
Remove the hood from the wall.
20.
Drill and insert wall plugs as shown.
21.
Rehook the hood to the wall.
22.
Fix the hood to the wall with screws as shown.
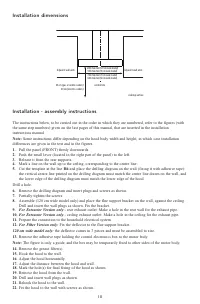
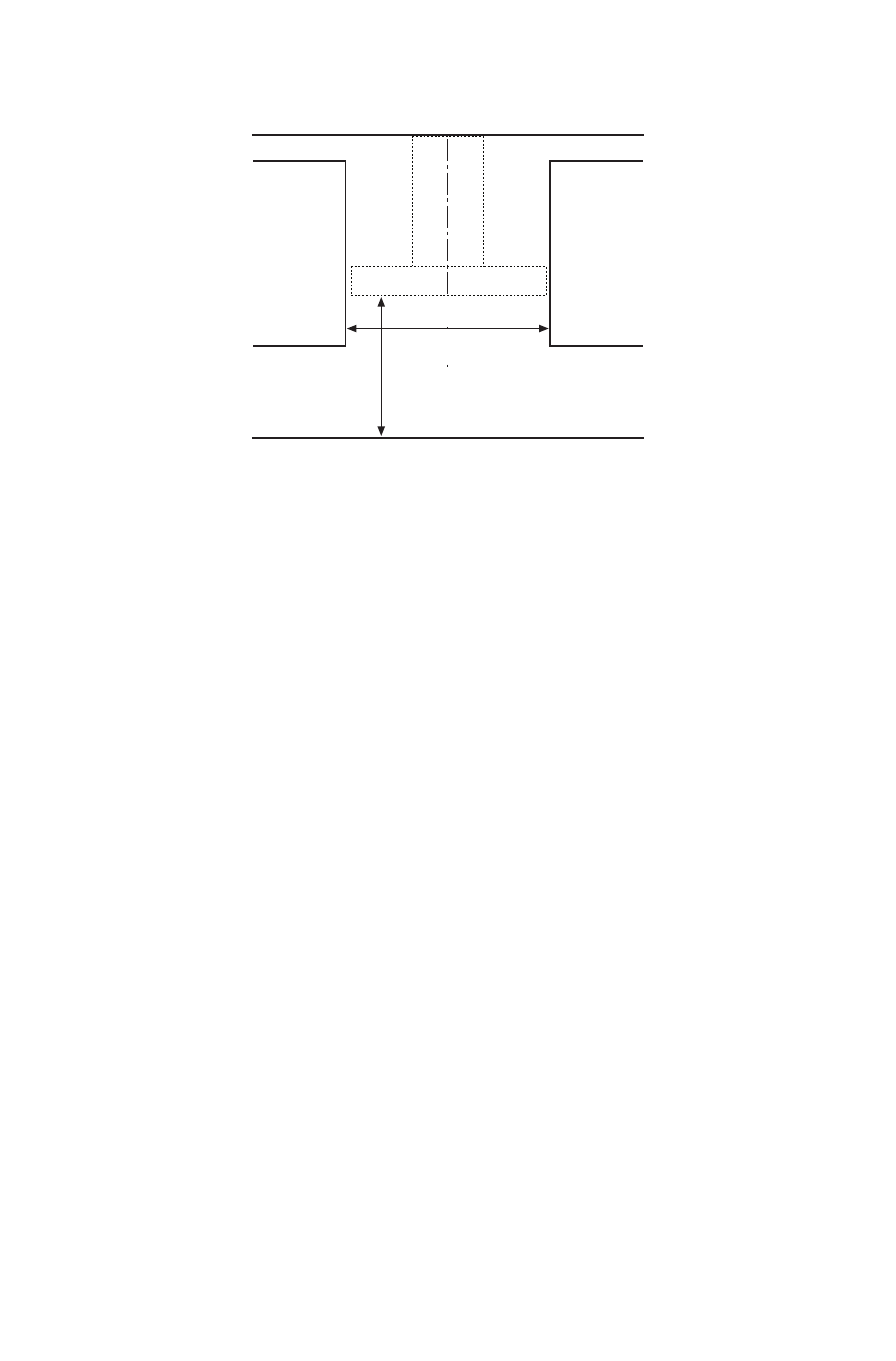
Installation - assembly instructions
Adjacent wall units
Adjacent wall units
central line
65 cm (gas or combi cookers)
50 cm (electric cookers)
cooktop surface
1200 mm min (120 cm wide model)
900 mm min (90 cm wide model)
700 mm min (70 cm wide model)
600 mm min (60 cm wide model)
Характеристики

Остались вопросы?Не нашли свой ответ в руководстве или возникли другие проблемы? Задайте свой вопрос в форме ниже с подробным описанием вашей ситуации, чтобы другие люди и специалисты смогли дать на него ответ. Если вы знаете как решить проблему другого человека, пожалуйста, подскажите ему :)


