
Вытяжки Gaggenau AW 560-191 - инструкция пользователя по применению, эксплуатации и установке на русском языке. Мы надеемся, она поможет вам решить возникшие у вас вопросы при эксплуатации техники.
Если остались вопросы, задайте их в комментариях после инструкции.
"Загружаем инструкцию", означает, что нужно подождать пока файл загрузится и можно будет его читать онлайн. Некоторые инструкции очень большие и время их появления зависит от вашей скорости интернета.


30
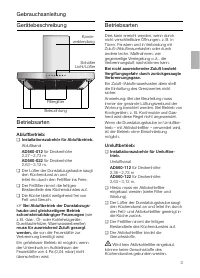
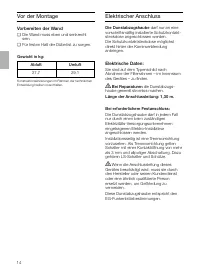
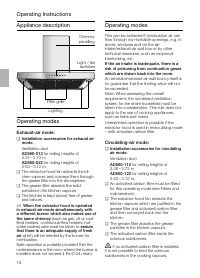
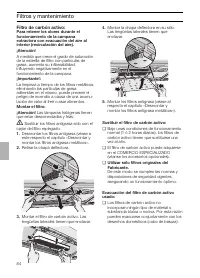
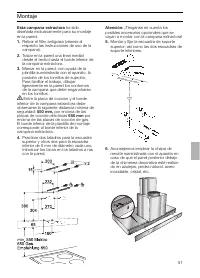
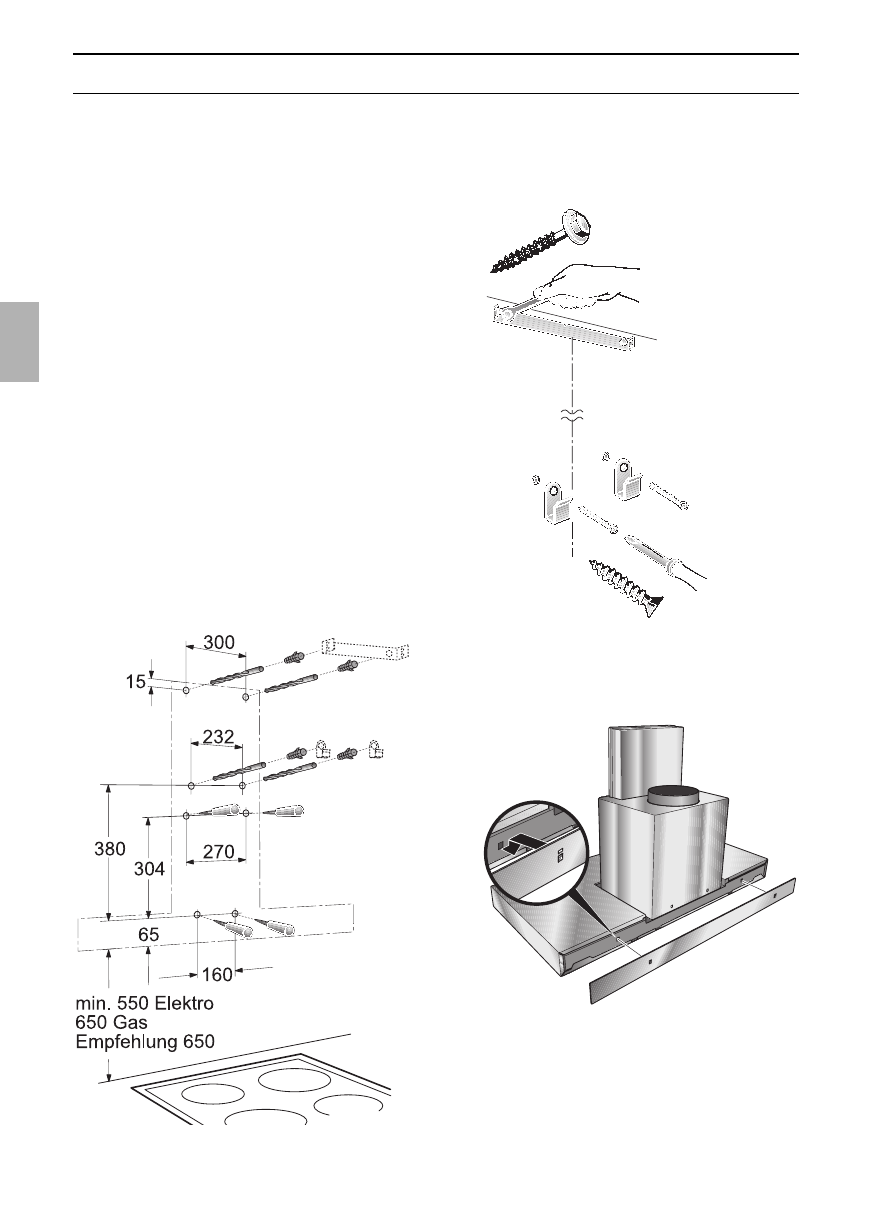
Installation
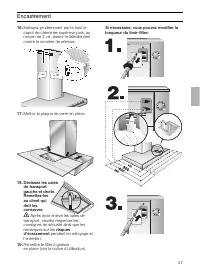
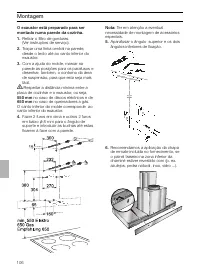
Note:
Take into account any special
accessories that are going to be fitted.
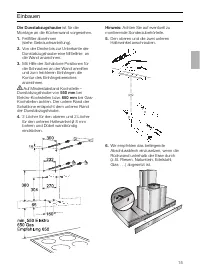
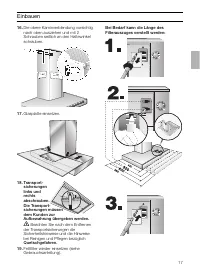
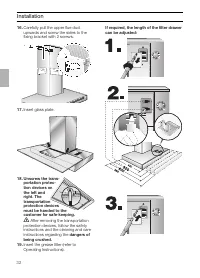
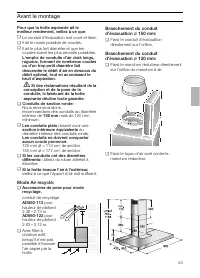
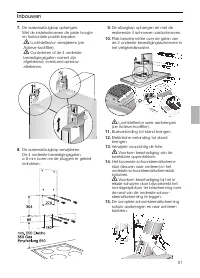
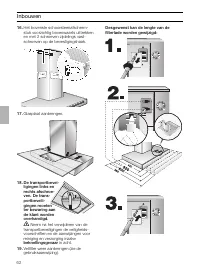
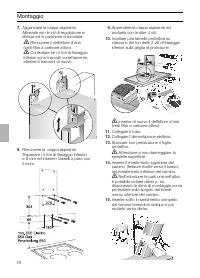
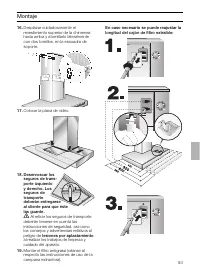
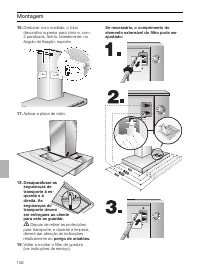
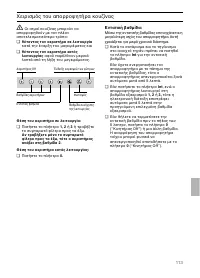
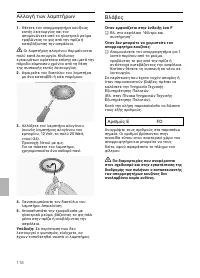
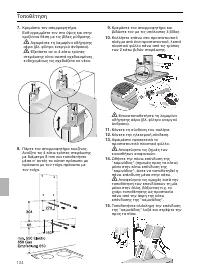
5.
Screw on the upper and the two lower
fixing brackets.
6.
We recommend inserting the enclosed
cover plate if the back wall under the
chimney is covered with e.g. tiles,
natural stone, stainless steel, glass, … .
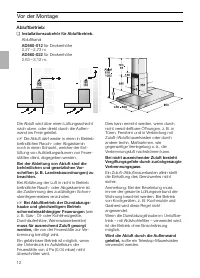
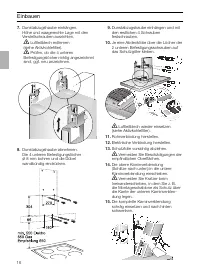
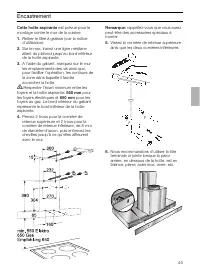
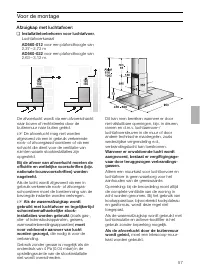
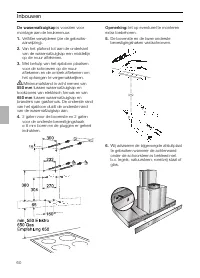
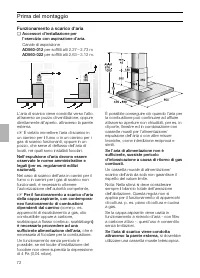
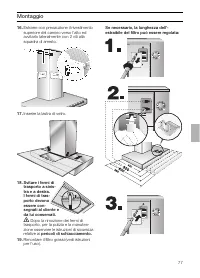
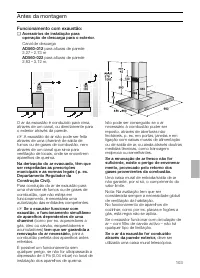
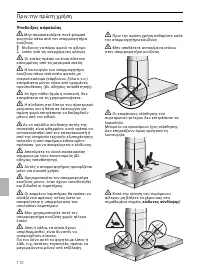
This extractor hood
is intended to be
mounted onto the kitchen wall.
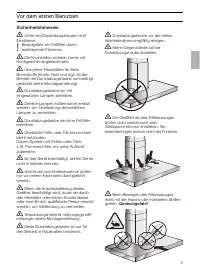
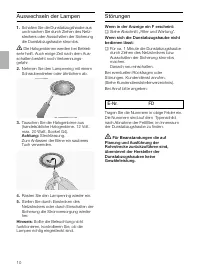
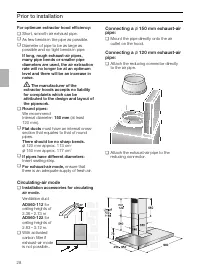
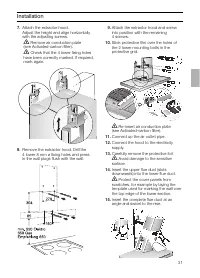
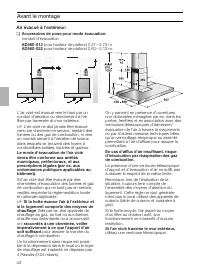
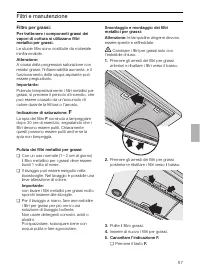
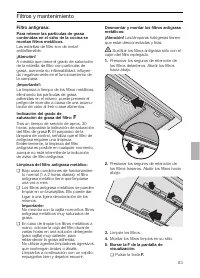
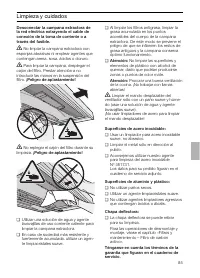
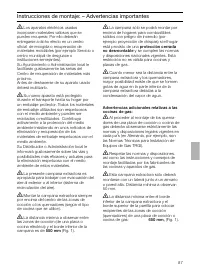
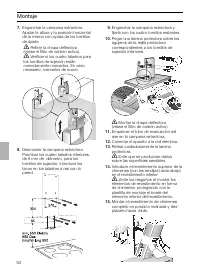
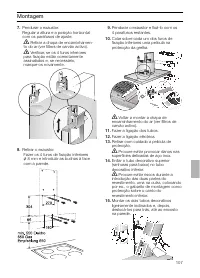
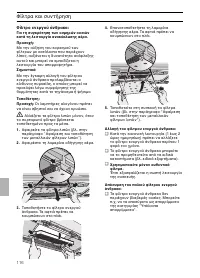
1.
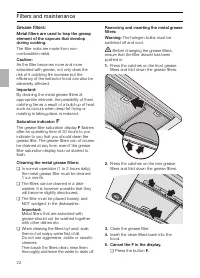
Remove the grease filter (refer to
Operating Instructions).
2.
Draw a line on the wall from the ceiling
to the lower edge of the hood at the
centre of the location where the hood is
going to be mounted.
3.
Use the template to mark the points on
the wall where the screws will be moun-
ted. In order to make it easier to hook
the hood onto the screws, draw the out-
line of the area where the hood will be
attached.
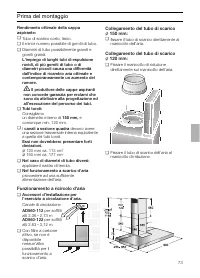
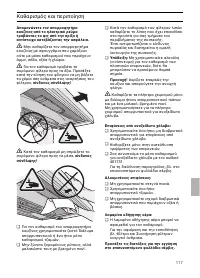
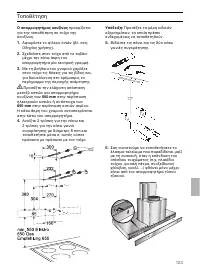
Ensure that the minimum distance
between the hob and the extractor hood is
maintained –
550 mm
for an electric hob
and
650 mm
for a gas hob. The bottom
edge of the template equates to the lower
edge of the extractor hood.
4.
Drill 2x 8 mm ø holes for the upper fixing
bracket and 2x 8 mm ø holes for the
lower fixing bracket and press in wall
plugs flush with the wall.
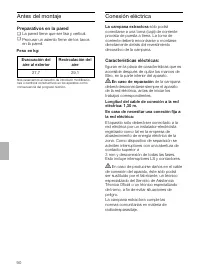
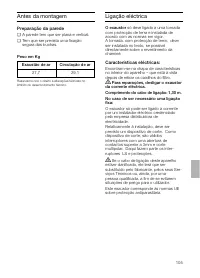
Характеристики

Остались вопросы?Не нашли свой ответ в руководстве или возникли другие проблемы? Задайте свой вопрос в форме ниже с подробным описанием вашей ситуации, чтобы другие люди и специалисты смогли дать на него ответ. Если вы знаете как решить проблему другого человека, пожалуйста, подскажите ему :)


