
Вытяжки Falmec Ghost 60 (600) - инструкция пользователя по применению, эксплуатации и установке на русском языке. Мы надеемся, она поможет вам решить возникшие у вас вопросы при эксплуатации техники.
Если остались вопросы, задайте их в комментариях после инструкции.
"Загружаем инструкцию", означает, что нужно подождать пока файл загрузится и можно будет его читать онлайн. Некоторые инструкции очень большие и время их появления зависит от вашей скорости интернета.


16
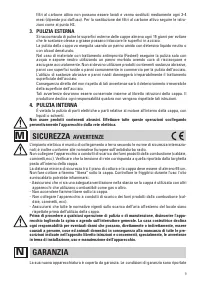
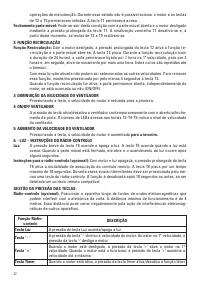
Do not connect the appliance to flues (from boilers, fireplaces, etc.). Make sure the mains volt-
age corresponds to the values on the rating plate located inside the range hood. The minimum
safety distance between the cooktop and the range hood must be at least 65 cm.
Never cook on “open” flames under the range hood.
Check deep-fryers during use: superheated oil may be flammable.
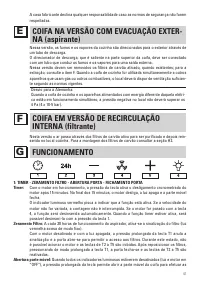
- Ensure there is adequate ventilation of the room when the rangehood is used at the same
time as appliances burning gas or other fuels.
- Do not flambe under the rangehood
- The exhaust air must not be discharged into a flue which is used for exhausting fumes from
appliances burning gas or other fuels.
- Ensure that all regulations concerning the discharge of exhaust air have been fulfilled before
you use the appliance.
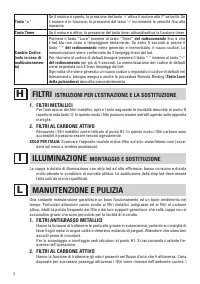
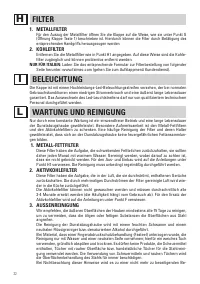
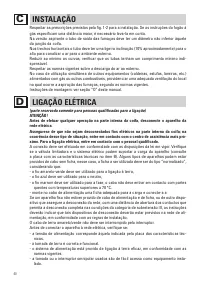
Before performing any cleaning or maintenance operations, disconnect the appliance by un-
plugging it or using the main switch. The manufacturer disclaims all liability for any damage
that may be directly or indirectly caused to people, things and animals due to the failure to
follow all the instructions provided in this booklet and above all the warnings relating to the
installation, operation and maintenance of the appliance.
WARRANTY
N
The new equipment is covered by warranty. The warranty conditions are provided by the
distributor.
The manufacturer is not liable for any inaccuracies in this booklet resulting from printing or
transcription errors. The manufacturer reserves the right to modify its products as it consid-
ers necessary or in the interests of the user, without compromising their essential safety and
operating characteristics.
O
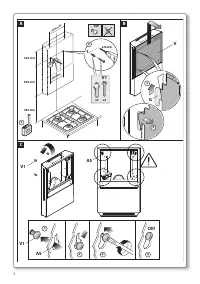
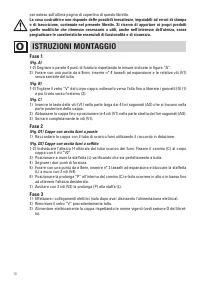
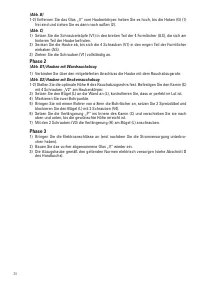
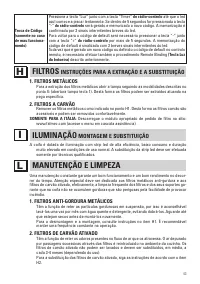
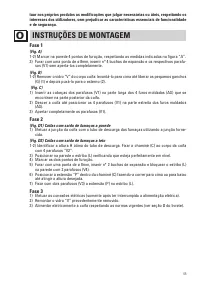
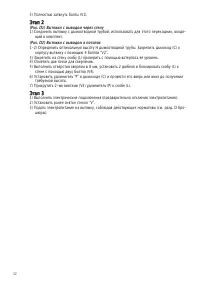
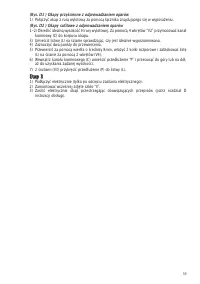
ASSEMBLY INSTRUCTIONS
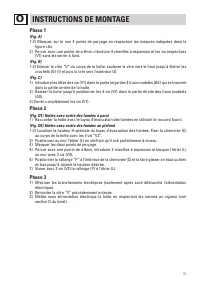
Phase 1
(Fig. A)
1-2) Mark 4 drilling points on the wall, complying with the measures indicated in figure “A”.
3) Drill using a ø 8mm tip, insert 4 expansion plugs and relative screws (V1) without tightening
them fully.
(Fig. B)
1-2) Remove glass “V” from the hood body: lift it until the hooks (G) (1) are released and then
pull it outwards (2).
(Fig. C)
1) Insert the head of the screws (V1) inside the large part of the 4 shaped holes (AS) located
at the rear side of the hood.
2) Lower the hood until placing the 4 screws (V1) inside the narrow part of the shaped holes
(AS).
3) Fully tighten the screws (V1).
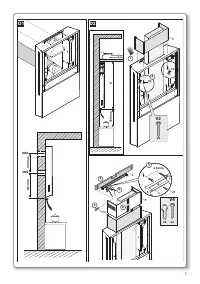
Phase 2
(Fig. D1 ) Hoods with wall fume outlet
1) Connect the hood to the fume exhaust pipe using the provided fitting.
(Fig. D2 ) Hoods with ceiling fume outlet
1-2) Detect the optimal height H of the fume exhaust pipe. Fasten the flue (C) to the hood body
using 4 “V2” screws.
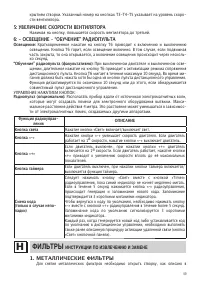
Содержание
- 49 èéÑäãûóÖçàÖ ùãÖäíêéùçÖêÉàà; Ö ÇõíüÜçéÖ ìëíêéâëíÇé ë
- 50 êÄÅéíÄ
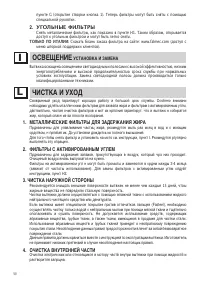
- 51 îàãúíêõ
- 52 éëÇÖôÖçàÖ; óàëíäÄ à ìïéÑ; åÖíÄããàóÖëäàÖ îàãúíêõ Ñãü áÄÑÖêÜÄçàü ÜàêÄ
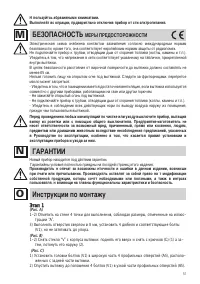
- 53 ÅÖáéèÄëçéëíú; ÉÄêÄçíàà; Этап
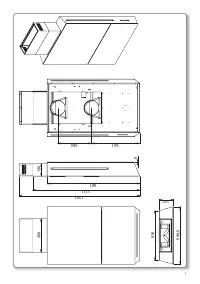
Характеристики

Остались вопросы?Не нашли свой ответ в руководстве или возникли другие проблемы? Задайте свой вопрос в форме ниже с подробным описанием вашей ситуации, чтобы другие люди и специалисты смогли дать на него ответ. Если вы знаете как решить проблему другого человека, пожалуйста, подскажите ему :)


