
Вытяжки Elica SEE YOU BL/A/90 - инструкция пользователя по применению, эксплуатации и установке на русском языке. Мы надеемся, она поможет вам решить возникшие у вас вопросы при эксплуатации техники.
Если остались вопросы, задайте их в комментариях после инструкции.
"Загружаем инструкцию", означает, что нужно подождать пока файл загрузится и можно будет его читать онлайн. Некоторые инструкции очень большие и время их появления зависит от вашей скорости интернета.


12
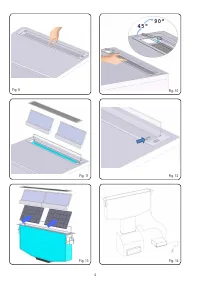
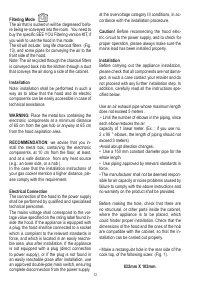
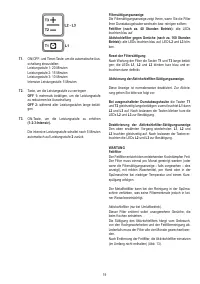
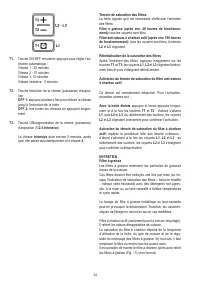
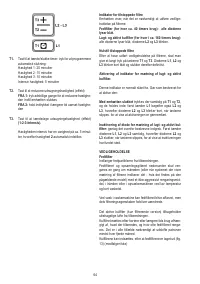
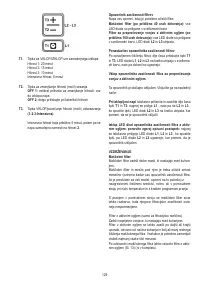
Filtering Mode
The air that is sucked in will be ‘degreased’ befo-
re being re-conveyed into the room. You need to
buy the specific SEE YOU Filtering version KIT, if
you wish to use the hood in this mode.
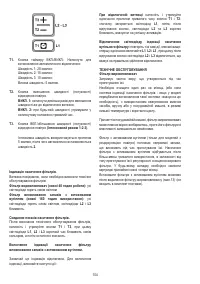
The kit will include: long life charcoal filters (Fig.
13), and some pipes for conveying the air to the
front side of the hood.
Note: The air recycled through the charcoal filters
is conveyed back into the kitchen through a duct
that conveys the air along a side of the cabinet.
Installation
Note: installation shall be performed in such a
way as to allow that the hood and its electric
components can be easily accessible in case of
technical assistance.
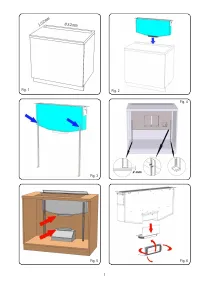
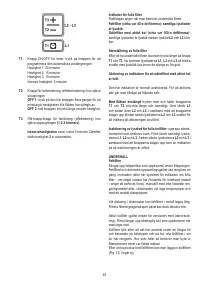
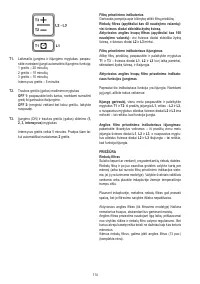
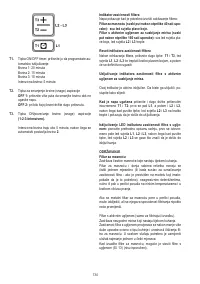
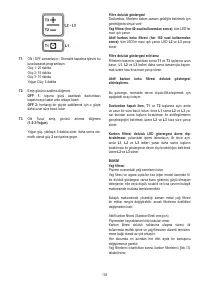
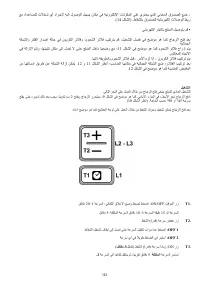
WARNING:
Place the metal box containing the
electronic components at a minimum distance
of 65 cm from the gas hob or anyway at 65 cm
from the hood aspiration area.
RECOMMENDATION:
we advise that you in-
stall the metal box, containing the electronic
components, at 10 cm from the floor, at least,
and at a safe distance from any heat source
(e.g.: an oven side, or a hob ).
In the case that the installation instructions of
your gas cooker mention a higher distance, ple-
ase comply with this requirement.
Electrical Connection
The connection of the hood to the power supply
shall be performed by qualified and specialised
technical personnel.
The mains voltage shall correspond to the vol-
tage value specified on the rating label found in-
side the hood. If the appliance is equipped with
a plug, the hood shall be connected to a socket
which is compliant to the relevant standards in
force, and which is located in an easily reacha-
ble area, also after installation. If the appliance
is not equipped with a plug (direct connection
to power supply), or if the plug is not found in
an easily reachable place after installation, use
an approved double-pole main switch, ensuring
complete disconnection from the power supply
at the overvoltage category III conditions, in ac-
cordance with the installation procedure.
Caution!
Before reconnecting the hood elec-
tric circuit to the power supply, and to check for
proper operation, please always make sure the
mains lead has been installed properly.
Installation
Before carrying out the appliance installation,
please check that all components are not dama-
ged, in such a case contact your retailer and do
not proceed with any further installation step. In
addition, carefully read all the instructions spe-
cified below.
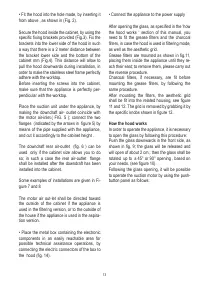
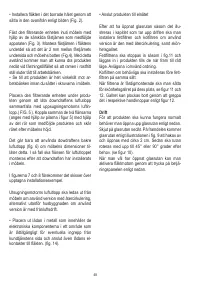
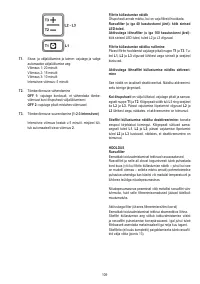
Use an air exhaust pipe whose maximum length
does not exceed 5 meters .
.• Limit the number of elbows in the piping, since
each elbow reduces the air
capacity of 1 linear meter. (Ex. : if you use no.
2 x 90 ° elbows, the length of piping should not
exceed 3 meters)
•Avoid abrupt direction changes.
• Use a 150 mm constant diameter pipe for the
whole length
• Use piping approved by relevant standards in
force.
• The manufacturer shall not be deemed respon-
sible for air capacity or noise problems caused by
failure to comply with the above instructions and
no warranty on the product shall be provided.
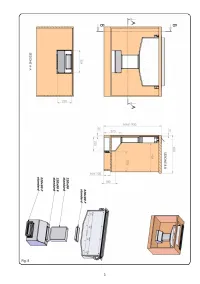
Before making the hole, check that there are
no structural, or other parts inside the cabinet,
where the appliance is to be placed, which
could hinder proper installation. Check that the
dimensions of the hood and the ones of the hob
are compatible with the cabinet, so that the in-
stallation can be carried out properly.
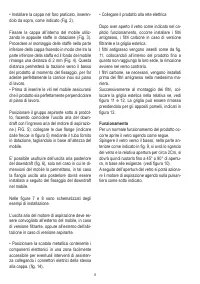
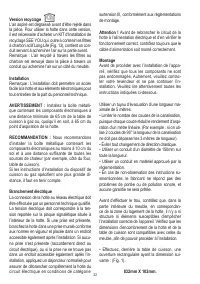
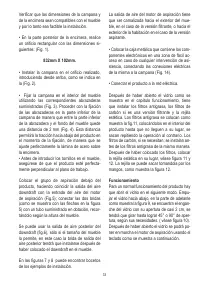
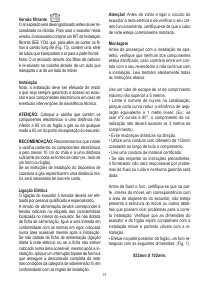
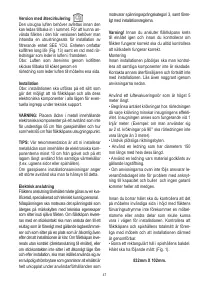
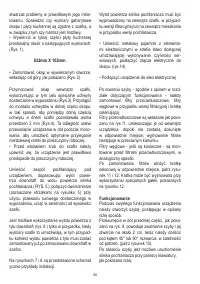
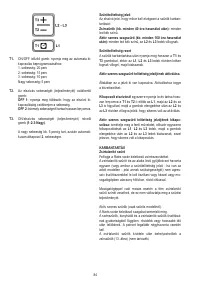
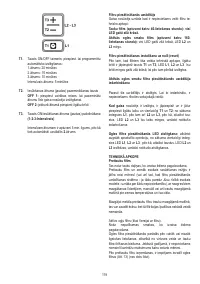
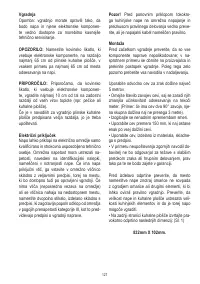
• Make a rectangular hole in the rear side of the
cook top, of the following sizes: (Fig. 1).
832mm X 102mm.
Характеристики

Остались вопросы?Не нашли свой ответ в руководстве или возникли другие проблемы? Задайте свой вопрос в форме ниже с подробным описанием вашей ситуации, чтобы другие люди и специалисты смогли дать на него ответ. Если вы знаете как решить проблему другого человека, пожалуйста, подскажите ему :)


