Водонагреватели Gorenje OGB80SEDDSB6 - инструкция пользователя по применению, эксплуатации и установке на русском языке. Мы надеемся, она поможет вам решить возникшие у вас вопросы при эксплуатации техники.
Если остались вопросы, задайте их в комментариях после инструкции.
"Загружаем инструкцию", означает, что нужно подождать пока файл загрузится и можно будет его читать онлайн. Некоторые инструкции очень большие и время их появления зависит от вашей скорости интернета.


15
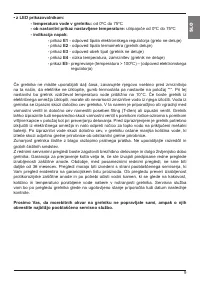
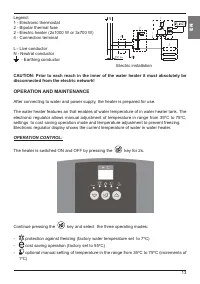
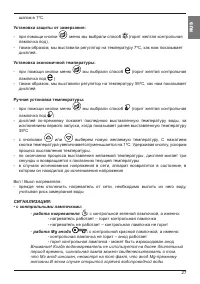
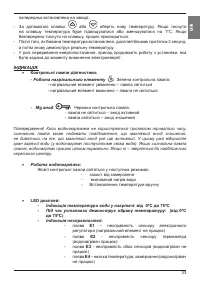
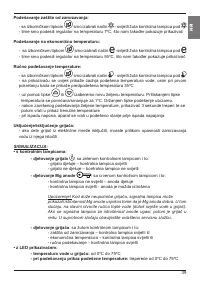
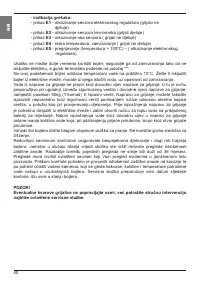
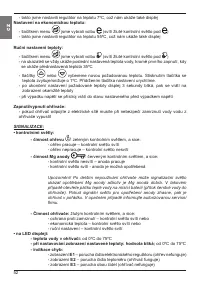
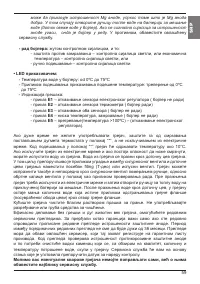
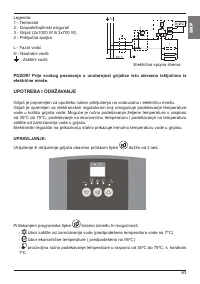
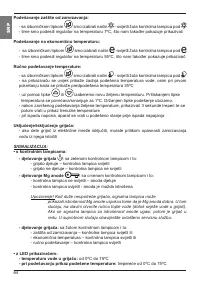
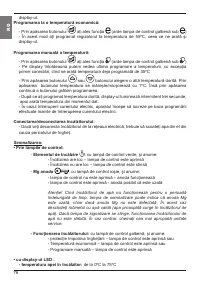
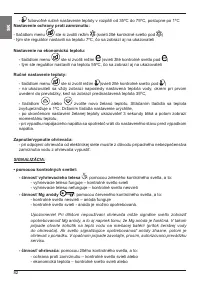
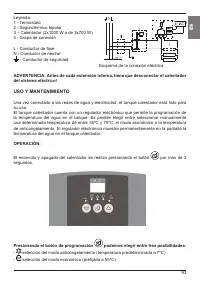
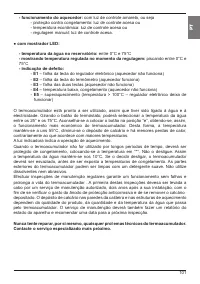
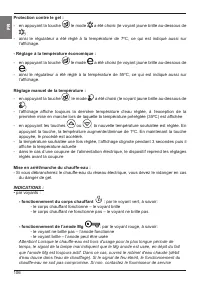
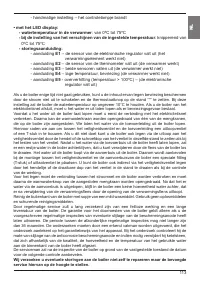
• LED display:
-
Water temperature of in the heater
:
from 0ºC to 75ºC
-
When set, display of the adjusted temperature
:
(flashing from 0ºC to
75ºC)
-
Error indication
:
-
display
E1
–
failure of the electronic regulator sensor (the
heating element doesn’t operate)
-
display
E2
-
failure of the thermometer sensor (water heater
operates)
-
display
E3
-
failure of both sensors (water heater doesn’t
operate)
-
display
E4
–
low temperature, freezing (water heater doesn’t
operate)
-
display
E5
–
overheating (temperature > 100ºC) – (failure of
electronic regulator)
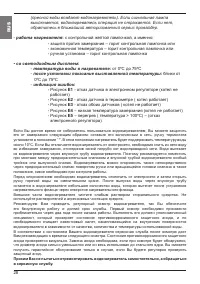
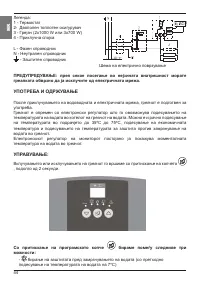
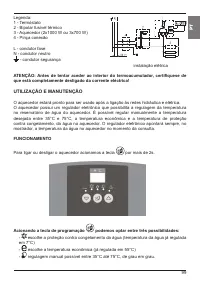
When the water heater is not in use for longer periods of time, it should be protected from
freezing by setting the temperature to “*”. Do not disconnect the power. Thus the temperature
of water is maintained at about 10°C. Should you choose to disconnect the power, the
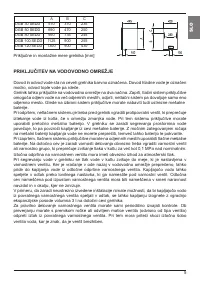
water heater should be thoroughly drained before the onset of freezing conditions. Water is
discharged from heater via the inlet pipe. To this purpose, a special fitting (T-fitting) must be
mounted between the relief valve and the heater inlet pipe, or a discharge tap. The heater
can be discharged directly through the relief valve, by rotating the handle or the rotating
valve cap to same position as for checking the operation. Before discharge, make sure
the heater is disconnected from the power supply, open the hot water on the connected
mixer tap. After discharging through the inlet pipe, there is still some water left in the water
heater. The remaining water will be discharged after removing the heating flange, through
the heating flange opening.
The external parts of the water heater may be cleaned with a mild detergent solution. Do not
use solvents and abrasives.
Regular preventive maintenance inspections ensure faultless performance and long
life of your heater. The first of these inspections should be carried out by the authorised
maintenance service provider about two years from installation in order to inspect the
wear of the protective anticorrosion anode and remove the lime coating and sediment as
required. The lime coating and sediment on the walls of the tank and on the heating element
is a product of quality, puantity and temperature of water flowing through the water heater.
The maintenance service provider shall also issue a condition report and recommend the
approximate date of the next inspection.
Never try to repair any possible faults of the water heater by yourself, but inform
about it the
nearest authorised service workshop.
EN


