
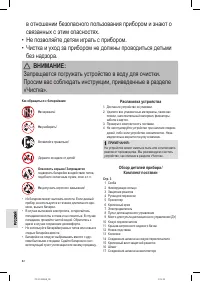
Вентиляторы ProfiCare PC-VL 3089 LB - инструкция пользователя по применению, эксплуатации и установке на русском языке. Мы надеемся, она поможет вам решить возникшие у вас вопросы при эксплуатации техники.
Если остались вопросы, задайте их в комментариях после инструкции.
"Загружаем инструкцию", означает, что нужно подождать пока файл загрузится и можно будет его читать онлайн. Некоторые инструкции очень большие и время их появления зависит от вашей скорости интернета.


PC-VL3089LB_IM
10.12.20
55
•
A relative humidity ranging from 45 % to 65 % can pro
-
vide for pleasant air humidity.
•
We recommend using this air humidifier at temperatures
between 5 °C and 40 °C and low humidity.
•
It prevents the raising of dust and is therefore ideally
suited for allergy sufferers.
•
Your skin is supplied with moisture.
•
It protects your furniture from drying out and prevents a
forming of gaps in parquet or wood floors.
•
Electrostatic charge in the air is suppressed.
Location
•
A suitable location is a non-slip, even surface.
•
Press the locking brake for the rollers downward.
•
Do not place the appliance onto wood, to avoid deforma
-
tion due to moisture.
•
Watch out for electrical devices close by. They must not
get wet.
•
Keep a distance of 2 meters from electrical equipment
and delicate furniture to protect these from moisture.
•
The appliance works more effectively if you have the
windows and doors closed during operation.
NOTE:
Do not forget to air on a regular basis.
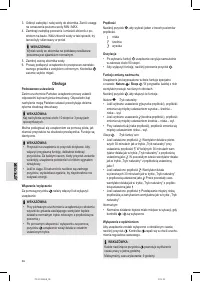
Electrical Connection
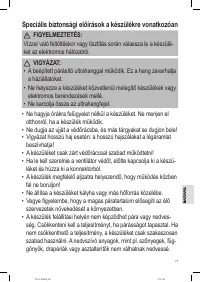
Before inserting the plug into the socket. Make sure that the
mains voltage to be used matches that of the appliance.
You can find this information on the nameplate.
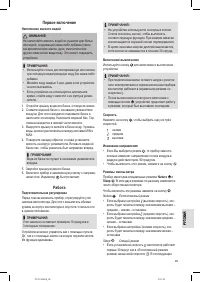
Fitting Batteries into the Remote Control
(Batteries not supplied)
1.
Open the lid of the battery compartment on the rear of
the remote control.
2.
Insert 2 MICRO batteries of type R03 “AAA” 1.5 V.
Please ensure the correct polarity. Details can be found
in the battery compartment.
3.
Close the battery compartment.
Remote Control Range
The range of the remote control is limited. If this range
becomes shorter, the batteries must be changed.
•
To use the remote control, point it at the sensor on the
front of the switch housing.
•
Make sure there are no obstacles between the remote
control and the sensor.
•
The angle of the remote control to the remote control
sensor should not exceed 90 ° to the right, left, up, and
down.
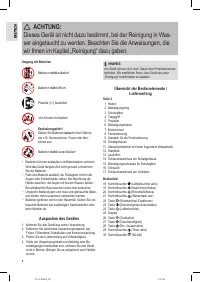
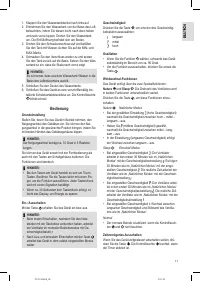
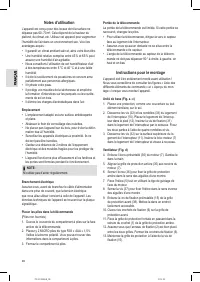
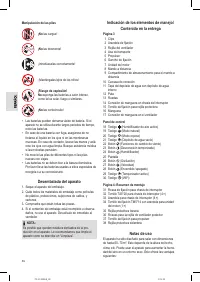
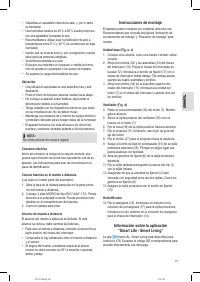
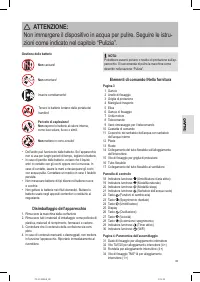
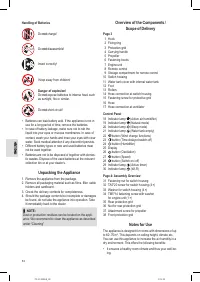
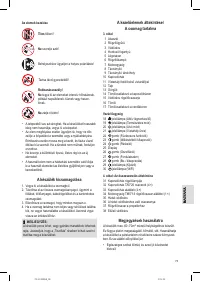
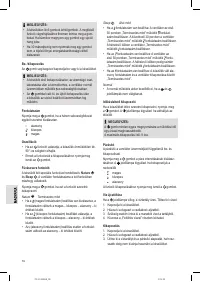
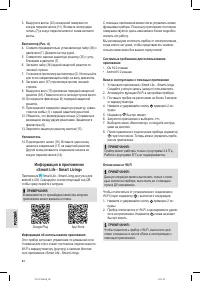
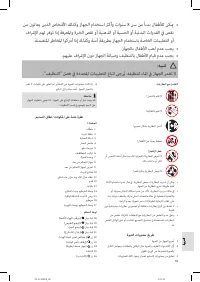
Assembly Instructions
The appliance must be fully assembled before use! We
recommend that you refer to the figures “Overview of the
Components” and “Assembly Overview” when assembling.
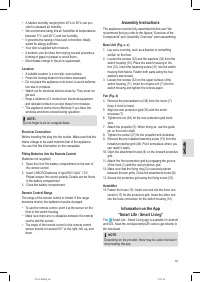
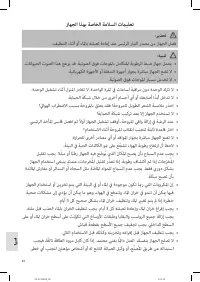
Base Unit (Fig. a - c)
1.
Lay out a covering, such as a blanket or something
similar, on the floor.
2.
Loosen the screws (32) and the washers (33) from the
switch housing (10). Place the switch housing in the
foot (12). Insert the fastening screw (31) into the switch
housing from below. Fasten both parts using the four
washers and screws.
3.
Loosen the screws (32) on the upper surface of the
switch housing (11). Insert the engine unit (7) into the
switch housing and tighten the screws again.
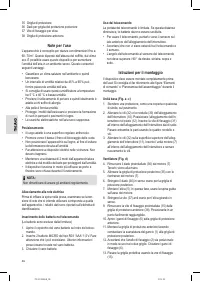
Fan (Fig. d)
4.
Remove the preinstalled nut (36) from the motor (7).
Keep it close to hand.
5.
Align the rear protection grid (35) with the motor
recesses (7).
6.
Tighten the nut (36) for the rear protection grid clock
-
wise.
7.
Attach the propeller (5). When doing so, use the guide
pin on the motor shaft.
8.
Tighten the screw (37) for the propeller anti-clockwise.
9.
Remove the pre-installed fastening screw (15) from the
forward protective grid (38). Put it someplace where you
can reach it easily.
10.
Open the attachment hooks (6) on the forward protective
grid.
11.
Attach the front protection grid by engaging the groove
of the hook (1) with the rear protection grid.
12.
Make sure that the fixing ring (2) is securely placed
between the two grids. Close the attachment hooks (6).
13.
Secure the protective grid using the fixing screw (15).
Humidifier
14.
Fasten the hose (16). Insert one end into the hose con
-
nection (17) for the protective grid. Insert the other end
into the hose connection for the switch housing (14).
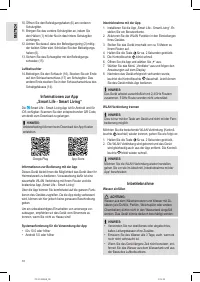
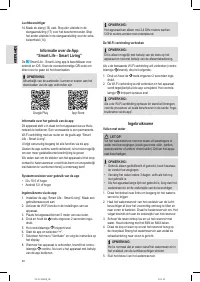
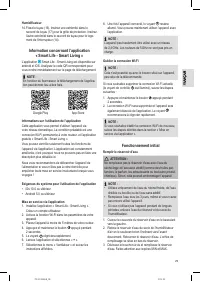
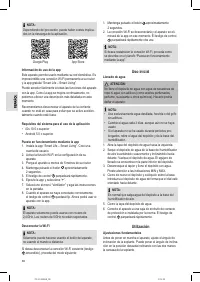
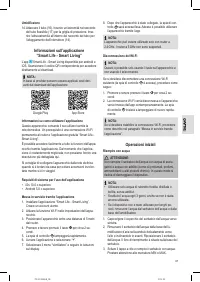
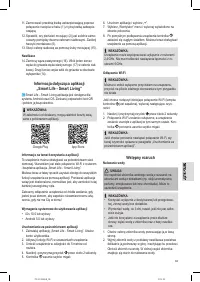
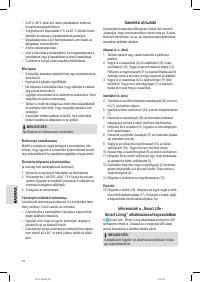
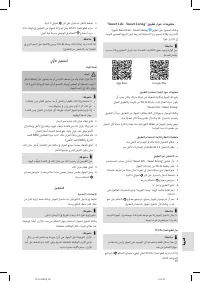
Information on the App
“Smart Life - Smart Living”
The Smart Life - Smart Living app is available for android
and iOS. Scan the corresponding QR code to get directly to
the download.
NOTE:
Depending on the provider, there may be costs involved in
downloading the app.
Характеристики

Остались вопросы?Не нашли свой ответ в руководстве или возникли другие проблемы? Задайте свой вопрос в форме ниже с подробным описанием вашей ситуации, чтобы другие люди и специалисты смогли дать на него ответ. Если вы знаете как решить проблему другого человека, пожалуйста, подскажите ему :)


