Утюги Saturn ST-CC7129 - инструкция пользователя по применению, эксплуатации и установке на русском языке. Мы надеемся, она поможет вам решить возникшие у вас вопросы при эксплуатации техники.
Если остались вопросы, задайте их в комментариях после инструкции.
"Загружаем инструкцию", означает, что нужно подождать пока файл загрузится и можно будет его читать онлайн. Некоторые инструкции очень большие и время их появления зависит от вашей скорости интернета.


4
may overheat. Care should be taken to
arrange the cord so that it cannot be
pulled or tripped over.
SAVE THESE INSTRUCTIONS
More specifically
:
DO NOT
let children or untrained per-
sons use the appliance without supervi-
sion.
NEVER
immerse the iron, cable or plug
in any liquid.
DO NOT
leave the hot iron touching
fabrics or very inflammable surfaces.
DO NOT
leave the appliance unneces-
sarily plugged in. Disconnect the plug
from the
mains when the appliance is not being
used.
NEVER
touch the appliance with wet or
damp hands.
DO NOT
use the power cord or the ap-
pliance in order to pull the plug out of
the socket.
DO NOT
leave the appliance exposed to
the weather (rain, sun, etc.).
DO NOT
leave the iron without supervi-
sion when it is connected to the power
supply.
DO NOT
fill the reservoir with water
before removing the plug from the
socket.
PLEASE NOTE!
Do not use chemical additive,
scented substances or decalcifiers.
Failure to comply with the above-
mentioned regulations leads to the
loss of guarantee.
ANTI-CALC SYSTEM
A special resin filter inside the water
reservoir softens the water and prevents
scale build-up in the plate. The resin
filter is permanent and does not need
replacing.
Please note:
Use tap water only. Distilled and dema-
terialized water makes the “Zero-Calc”
anti-calc system ineffective by altering
its physicochemical characteristics.
ANTI-DRIP SYSTEM
With the anti-drip system, you can per-
fectly iron even the most delicate fab-
rics.
Always iron these fabrics at low temper-
atures. The plate may cool down to the
point where no more steam comes out,
but rather drops of boiling water that
can leave marks or stains. In these cas-
es, the Anti-drip system automatically
activates to prevent vaporization, so
that you can iron the most delicate fab-
rics without risk of spoiling or staining
them.
General Instructions
When using the iron for the first time,
you may notice a slight emission of
smoke and hear some sounds made by
the expanding plastics. This is quite
normal and it stops after a short time.
We also recommend passing the iron
over an ordinary cloth before using it for
the first time.
PREPARATIONS
Soft the laundry to be ironed according
to the international symbols on the
garment label, or if this is missing, ac-
cording to the type of fabric.
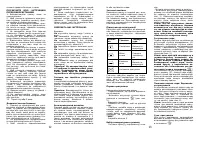
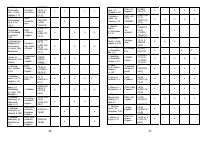
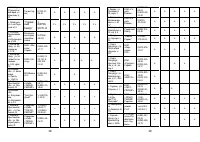
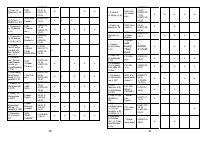
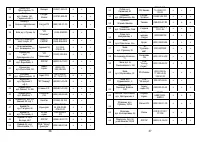
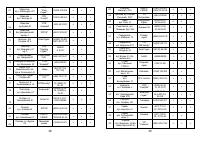
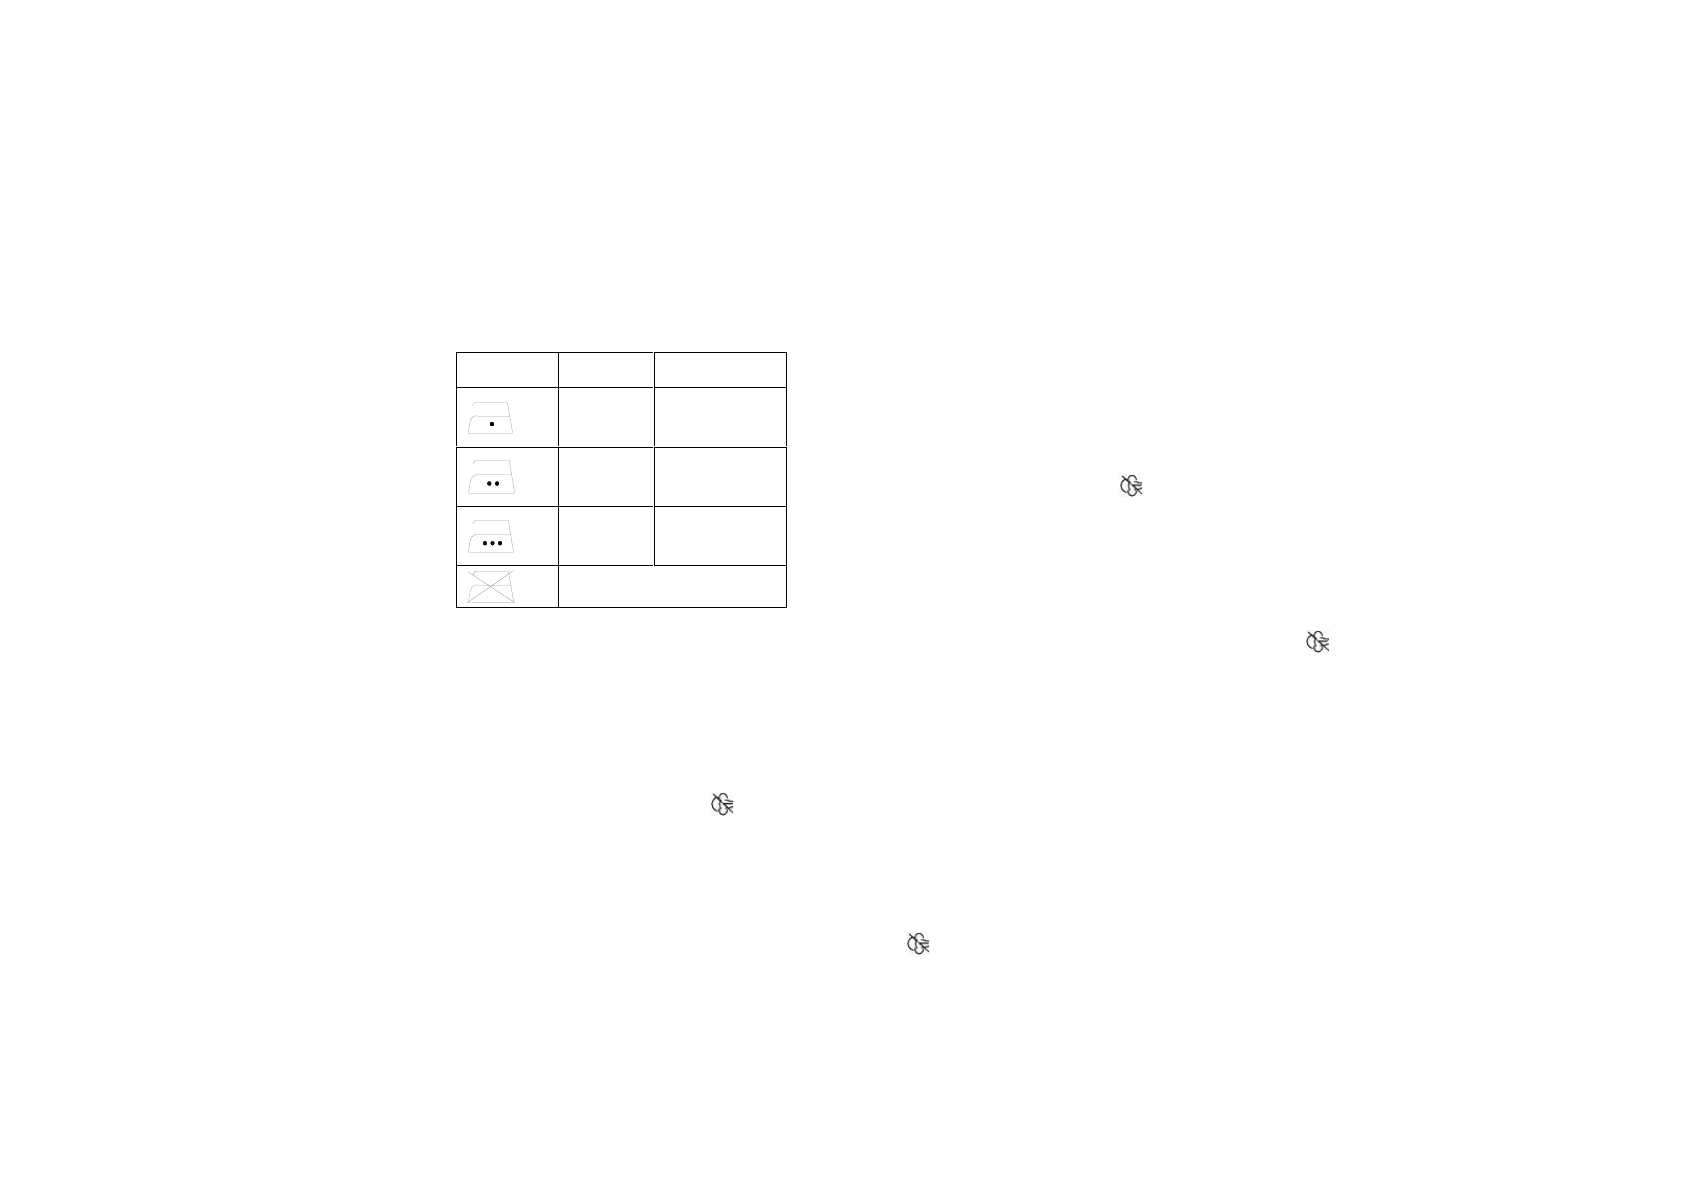
GARMENT
LABEL
FABRIC
TYPE
THERMOSTAT
REGULATION
synthetic
·
low tempera-
ture
silk -
wool
··
medium
temperature
cotton -
linen
···
high temper-
ature
Fabric not to be ironed
Start ironing the garments requiring a
low temperature.
This reduces the waiting times (the iron
takes less time to heat up than to cool
down) and eliminates the risk of scorch-
ing the fabric.
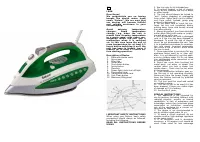
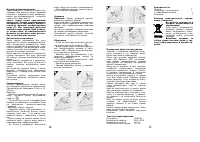
STEAM IRONING
Filling the reservoir:
- Check that the plug is disconnected
from the socket.
- Move the steam knob 4 to “
” [Fig.
5].
- Open the cap.
- Raise the tip of the iron to help the
water enter the opening without over-
flowing [Fig. 1].
- Slowly pour the water into the reser-
voir using the special measure and tak-
ing care not to go over the maximum
level (about 300 ml) indicated by “MAX”
on the reservoir.
- Close the cap 3.
Selecting the temperature
- Put the iron in a vertical position.
- Put the plug in the socket.
5
- Adjust the temperature knob accord-
ing to the international symbol on the
garment label [Fig. 3]. The power light
indicates that the iron is heating up.
Wait until the power light goes off be-
fore ironing.
Warning: during ironing, the power
light 8 comes on at intervals, indi-
cating that the selected tempera-
ture is maintained. If you lower the
selected temperature after ironing
at a high temperature, do not start
ironing until the power light comes
on again.
Selecting the steam
The quantity of steam is regulated by
the steam knob.
- Turn the steam knob to a position be-
tween minimum and maximum depend-
ing on the quantity of steam required
and the temperature selected [Fig. 5].
Warning: the iron gives off steam
continuously only if you hold the
iron horizontally. You can stop the
continuous steam by placing the
iron in a vertical position or by mov-
ing the steam knob to “
”.
As indi-
cated on the steam knob and in the
initial table, you can only use steam at
the highest temperatures. If the select-
ed temperature is too low, water may
drip onto the plate.
Selecting Shot-steam and steam
when ironing vertically
Press the shot-steam button 5 to gener-
ate a powerful burst of steam that can
penetrate the fabrics and smooth the
most difficult and tough creases. Wait
for a few seconds before pressing again
[Fig. 4].
By pressing the shot-steam button at
intervals you can also iron vertically
(curtains, hung garments, etc.) [Fig. 6].
Warning: the shot-steam function
can only be used at high tempera-
tures. Stop the emission when the
power light 8 comes on, than start
ironing again only after the light
has gone off.
DRY IRONING
To iron without steam, follow the in-
structions in section “steam ironing”,
leaving the steam selector 4 on position
“
”.
SPRAY FUNCTION
Make sure that there is water in the
reservoir. Press the spray button F slow-
ly (for a dense spray) or quickly (for a
vaporized spray) [Fig. 2].
Warning: for delicate fabrics, we
recommend moistening the fabric
beforehand using the spray func-
tion, or putting a damp cloth be-
tween the iron and the fabric. To
avoid staining, do not use the spray
on silk or synthetic fabrics.
AUTO STOP (automatic safety shut-
off)
If the iron is left motionless for more
than 30 seconds, the heating element
will be switch off, automatically. To indi-
cate that the iron has shut off, the Auto
stop pilot light (green) will start blinking
and six sound signals will be audible.
In a horizontal position, this will happen
after 30 seconds.
In a vertical position, this will happen
after 8 minutes.
When picking up the iron again, the
Auto stop pilot light will go out. The
supply pilot light
will come on. This indicates that the iron
is heating up again.
Wait for the supply pilot light to go
out. Then you can recommence
ironing.
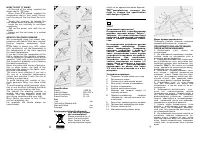
SELF-CLEANING
The self-cleaning feature cleans inside
the plate, removing impurities. We rec-
ommend using it every 10-15days.
Di-
rections:
- Fill the reservoir up to the maximum
level indicated and set the steam dial to
“
”
- Adjust the temperature knob 9 to the
highest temperature and wait for the
light (red) to turn off.
- Pull the plug out of the socket and
hold the iron horizontally over the sink.
- Hold the calc-clean button 11 setting
until all the boiling water, steam, impu-
rities come out [Fig. 7].
-When the soleplate has cooled down,
you can clean it with a damp cloth.
CLEANING
Please note:
before cleaning the iron in
any way, make sure that the appliance
plug is not connected to the socket.
Any deposits, starch residue or size left
on the plate can be removed using a
damp cloth or an unabrasive liquid de-
tergent.
Avoid scratching the plate with steel
wool or metallic objects.
The plastic parts can be cleaned with a
damp cloth then wiped over with a dry
cloth.

